Floral Tutorial by Petal & Print

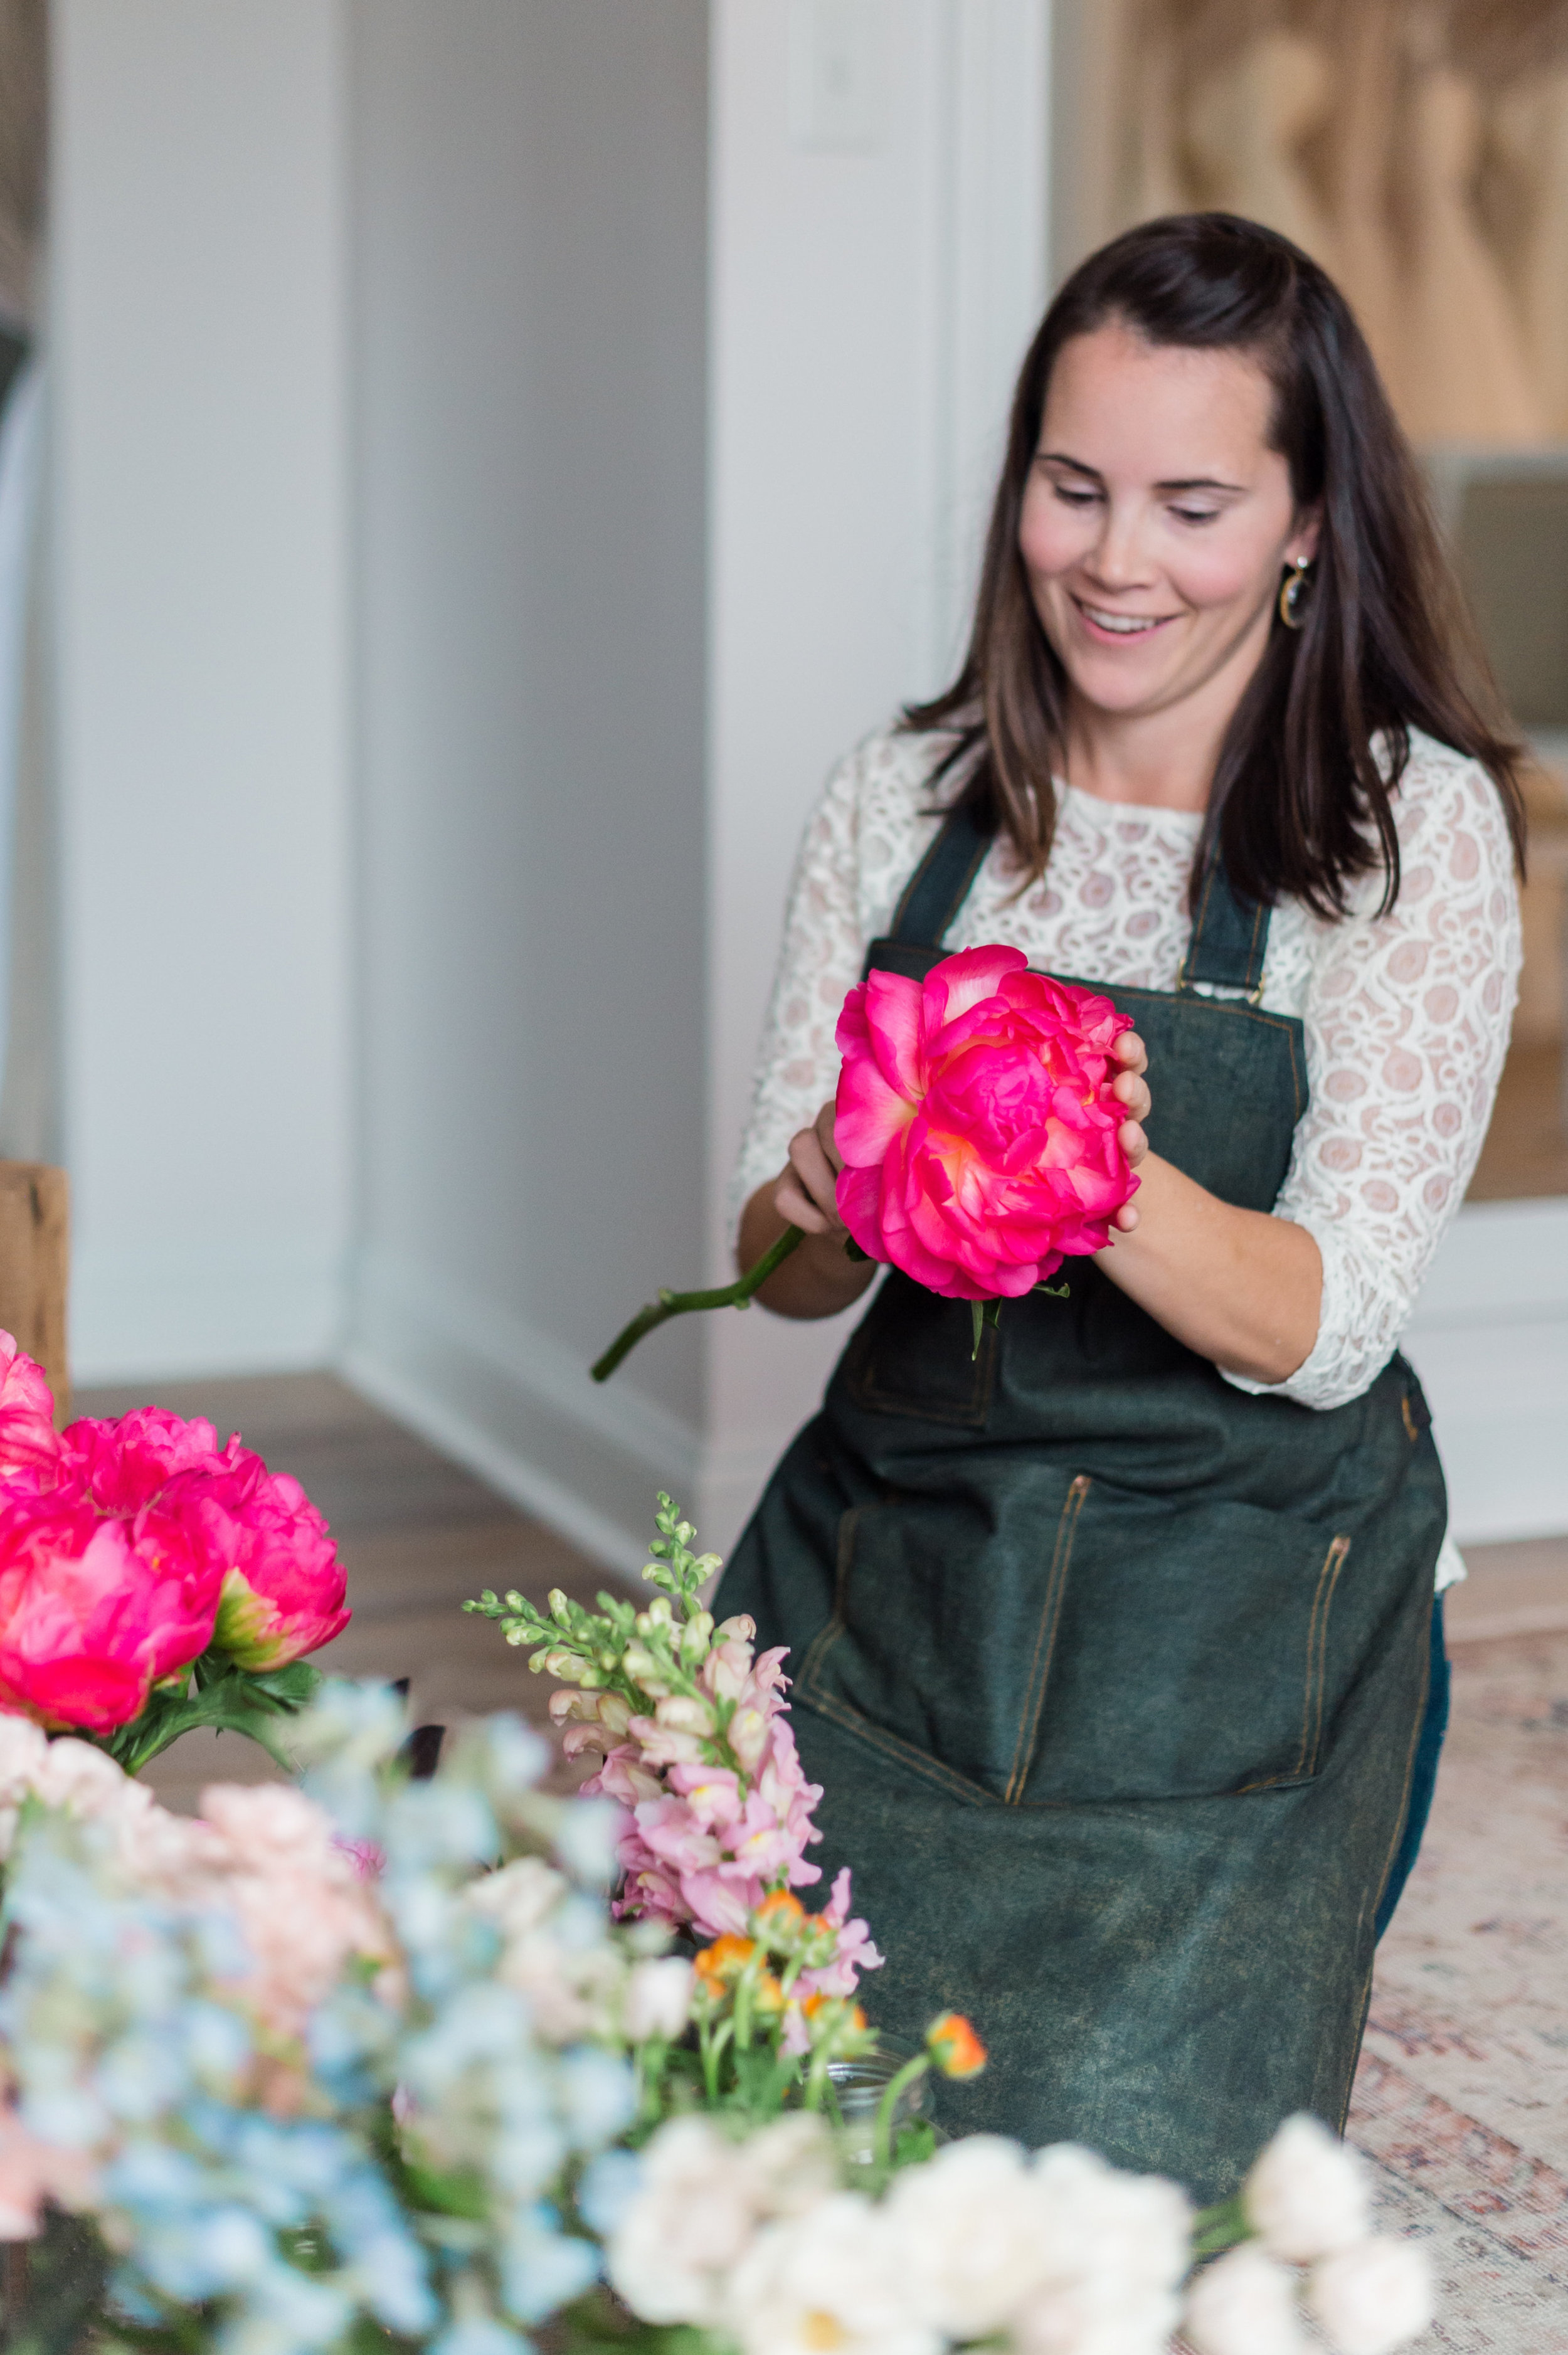
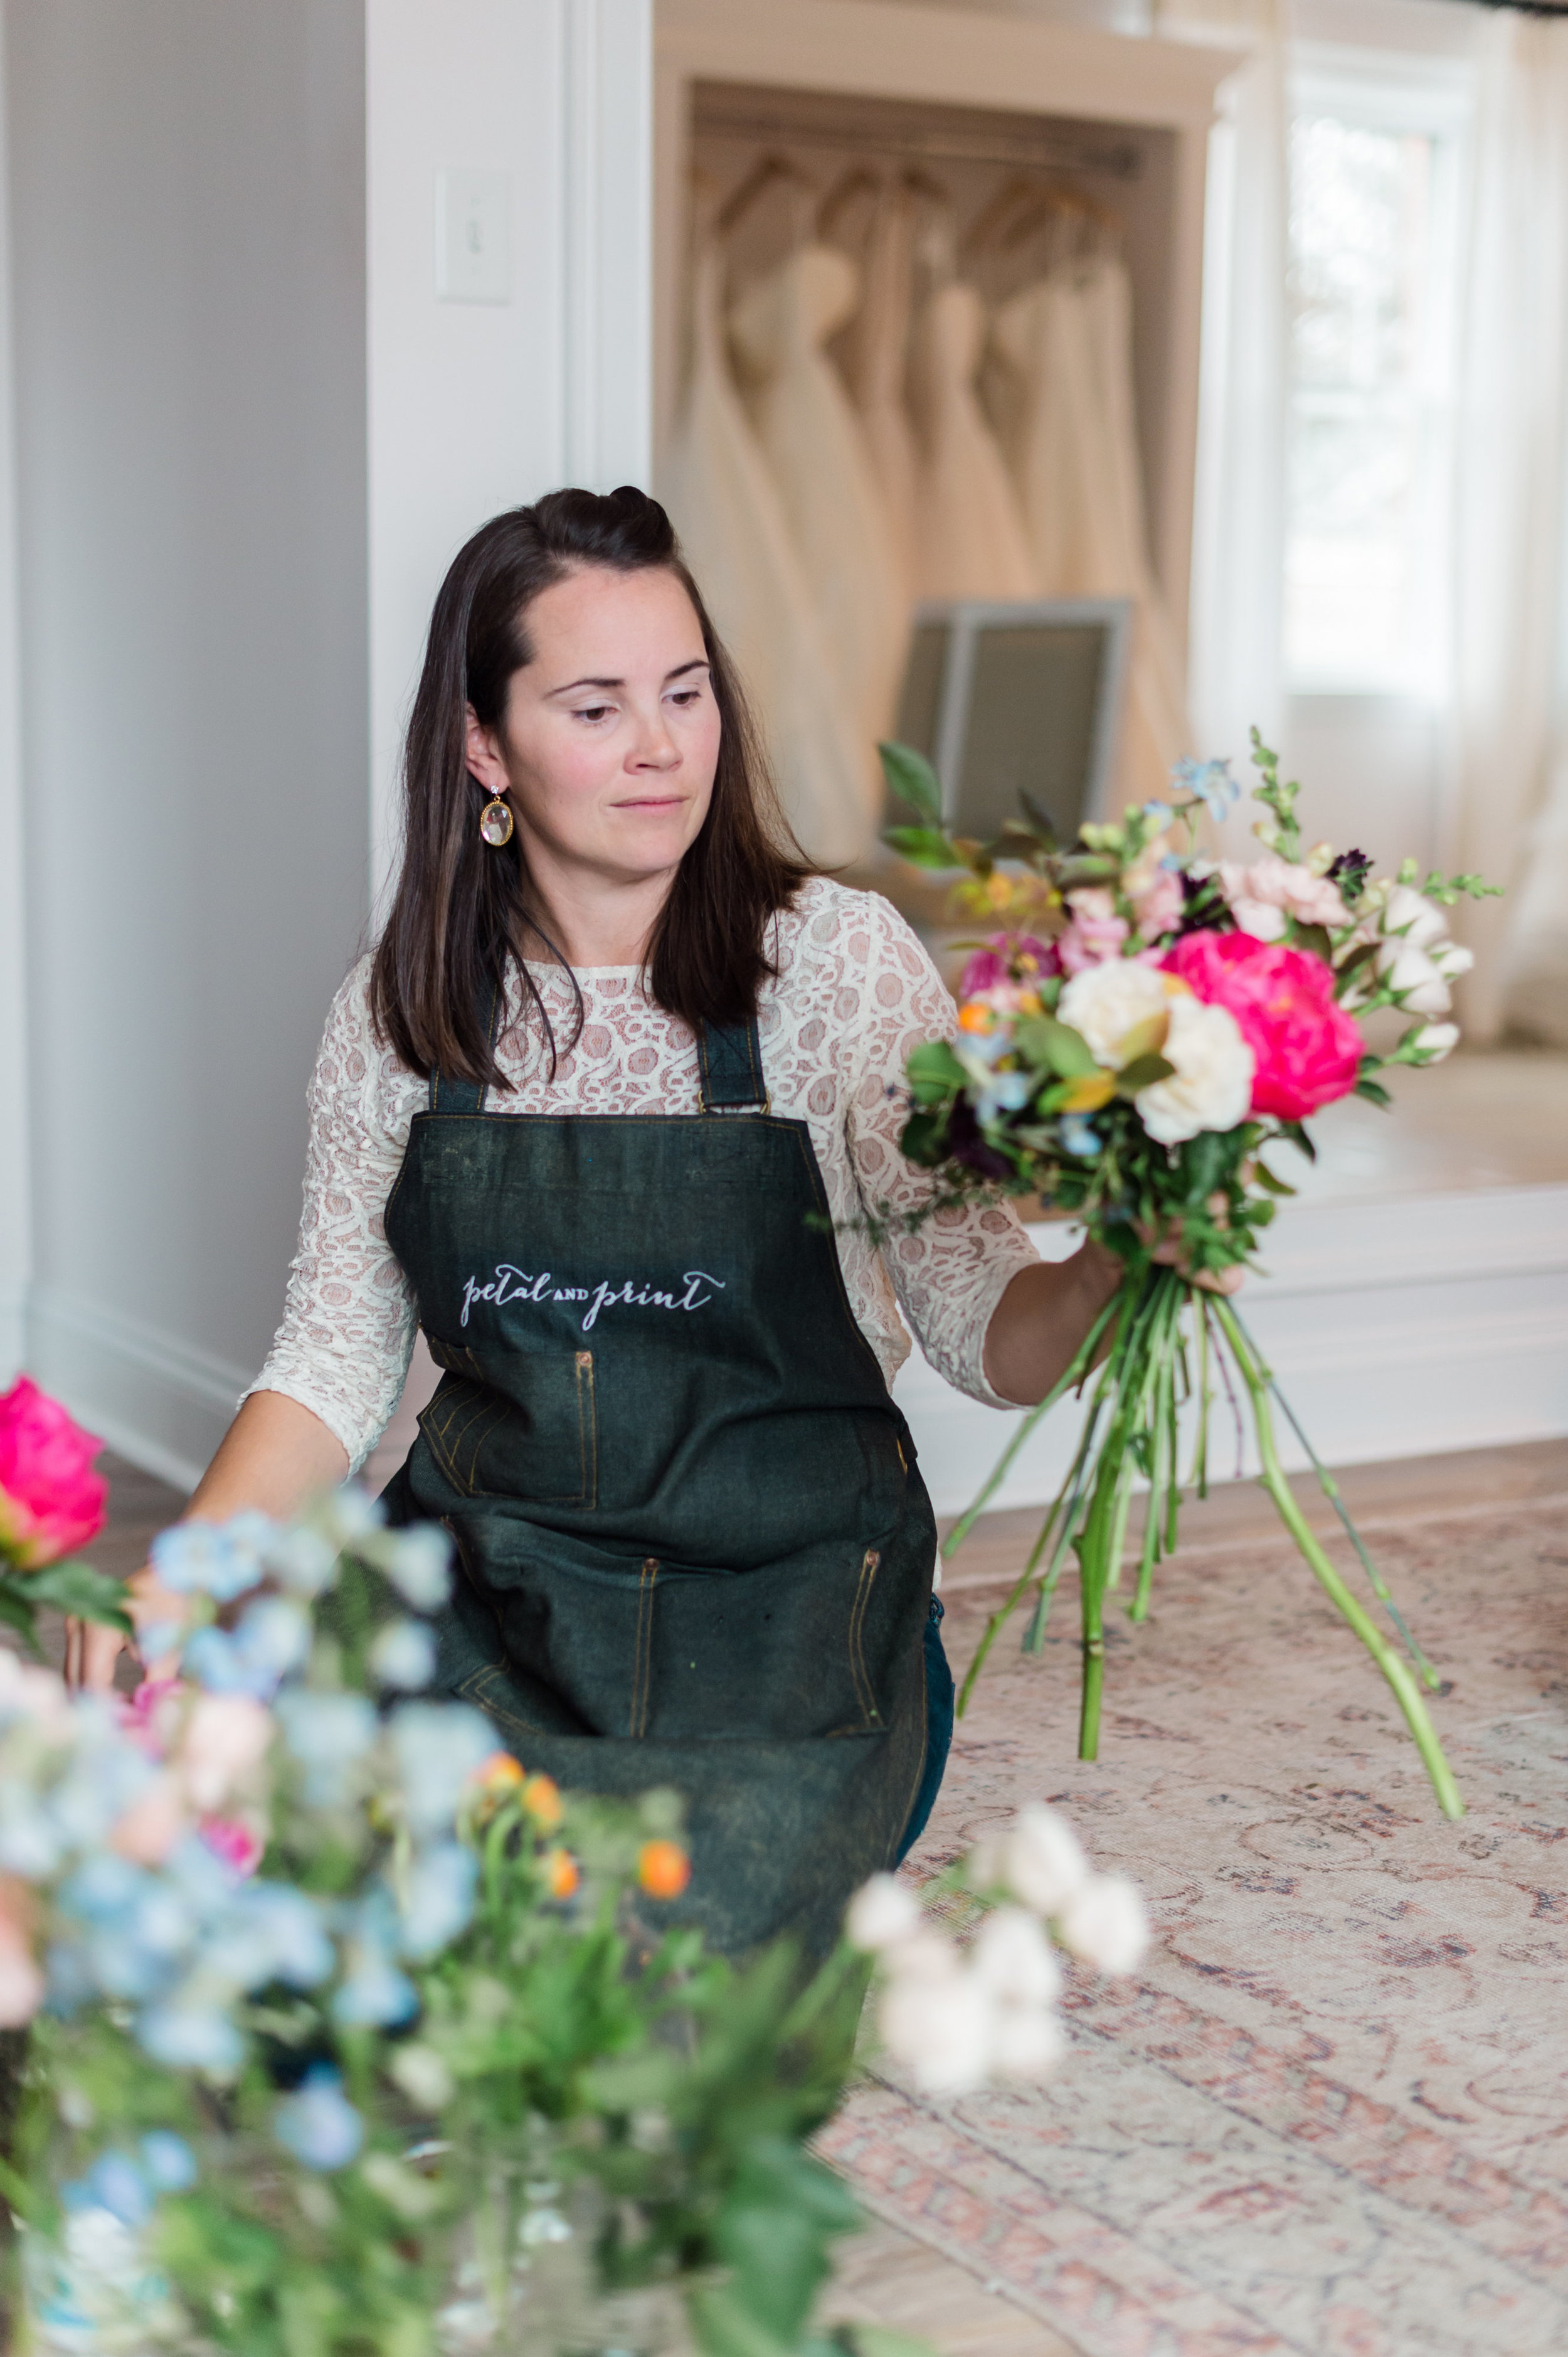
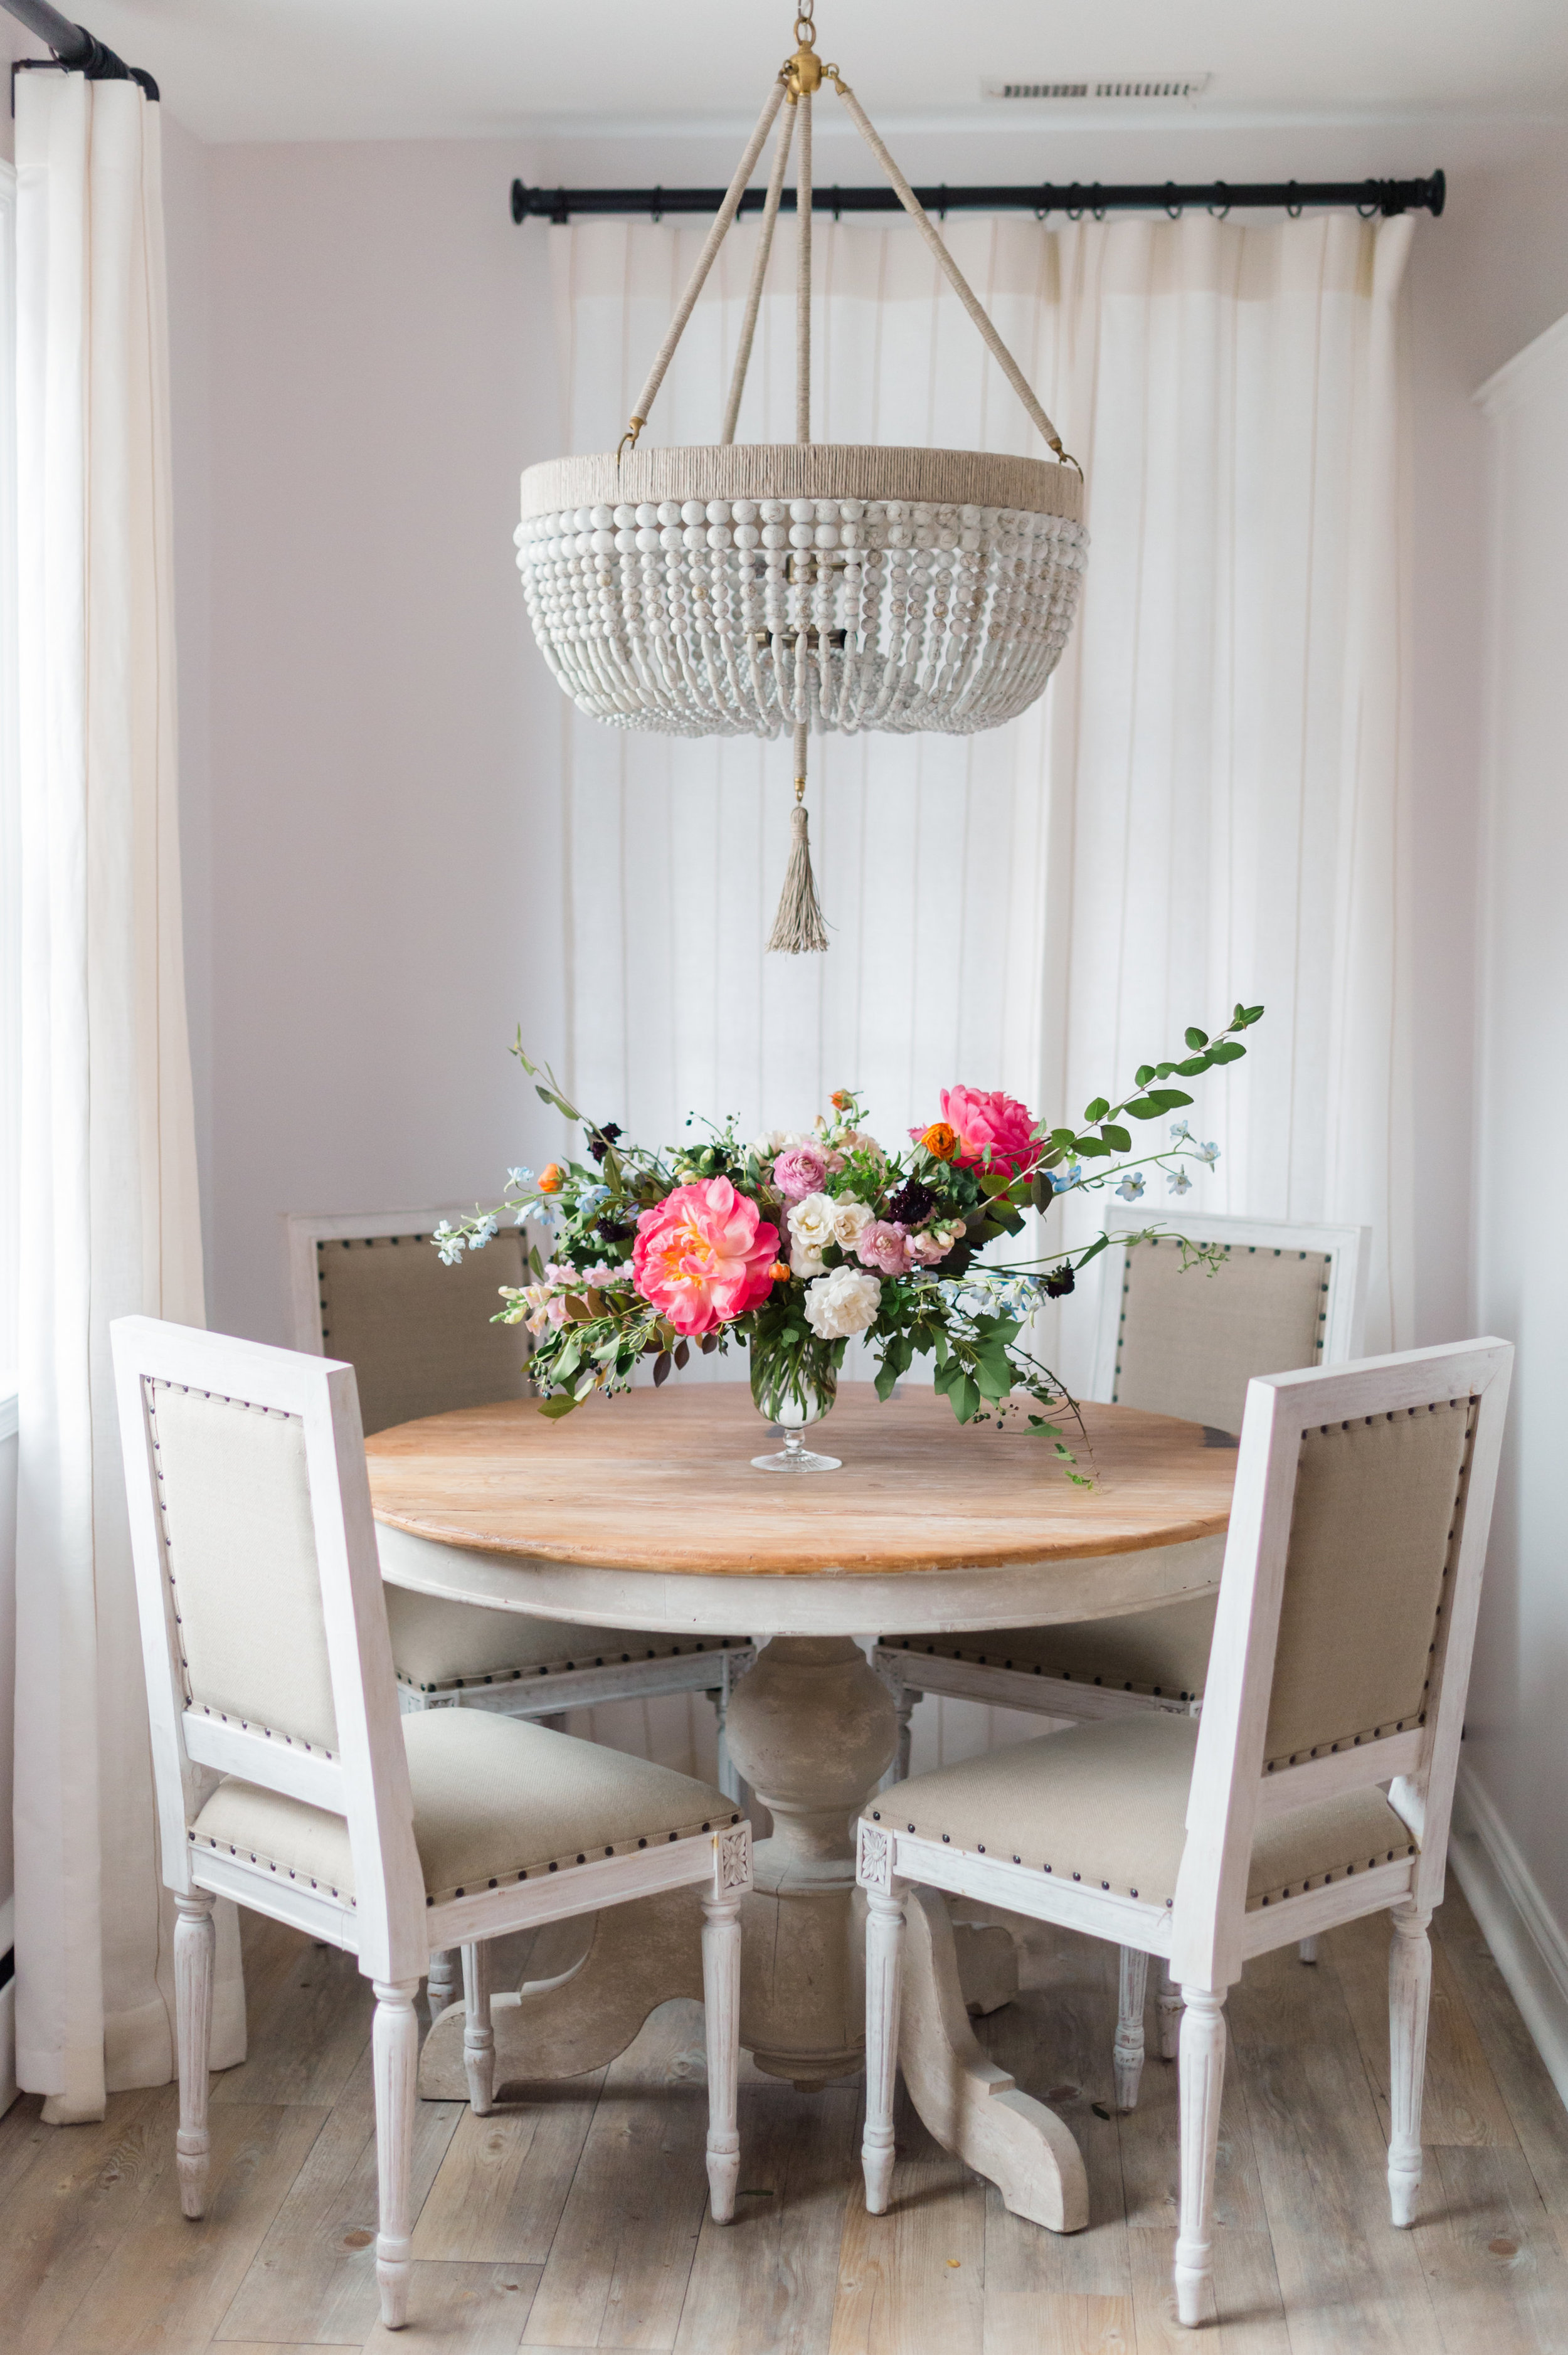
Is anyone else ready for the fresh color palettes of spring? Even for those of us who adore winter, the chill in the air can leave us begging for the warmth of coming seasons. Today, we wanted to bring some of that warmth into our homes with a fresh floral arrangement! We partnered with Silver Cup Artist Lauren R. Swann and Katie of Petal and Print to share a tutorial for this lovely arrangement! First, Katie is sharing some basic tips for floral arranging. Get the scoop then read on for the full tutorial!
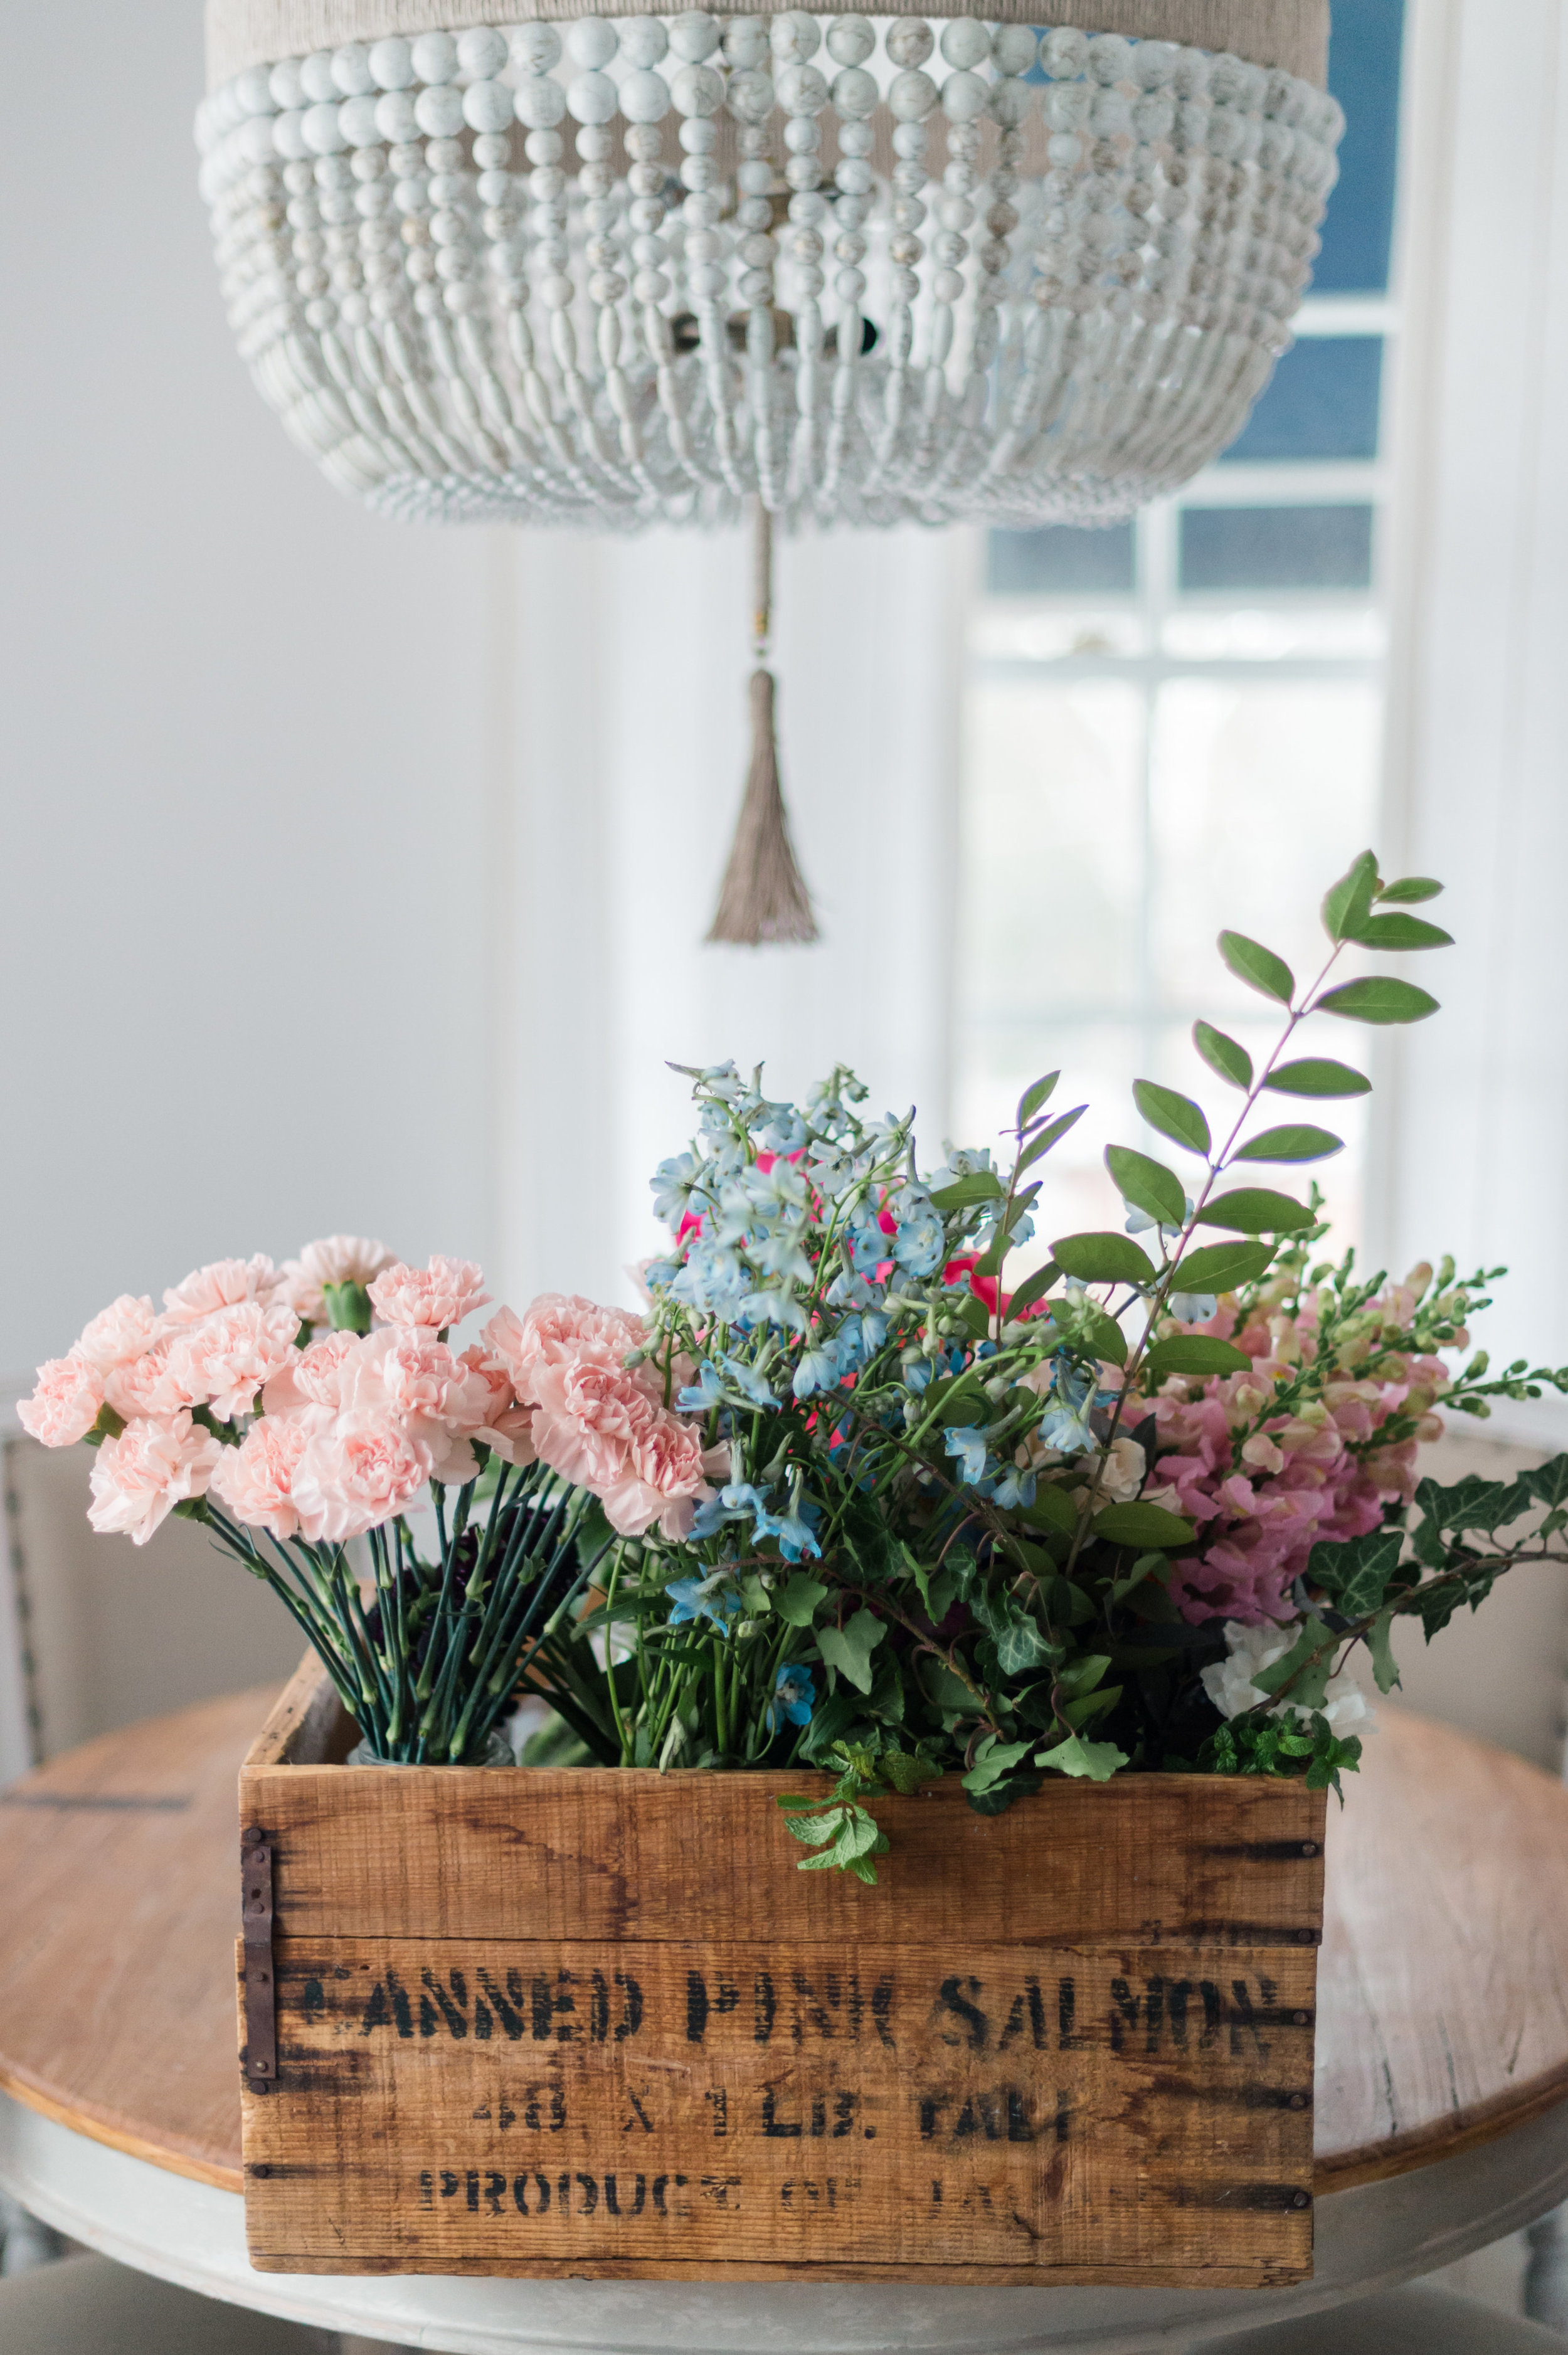
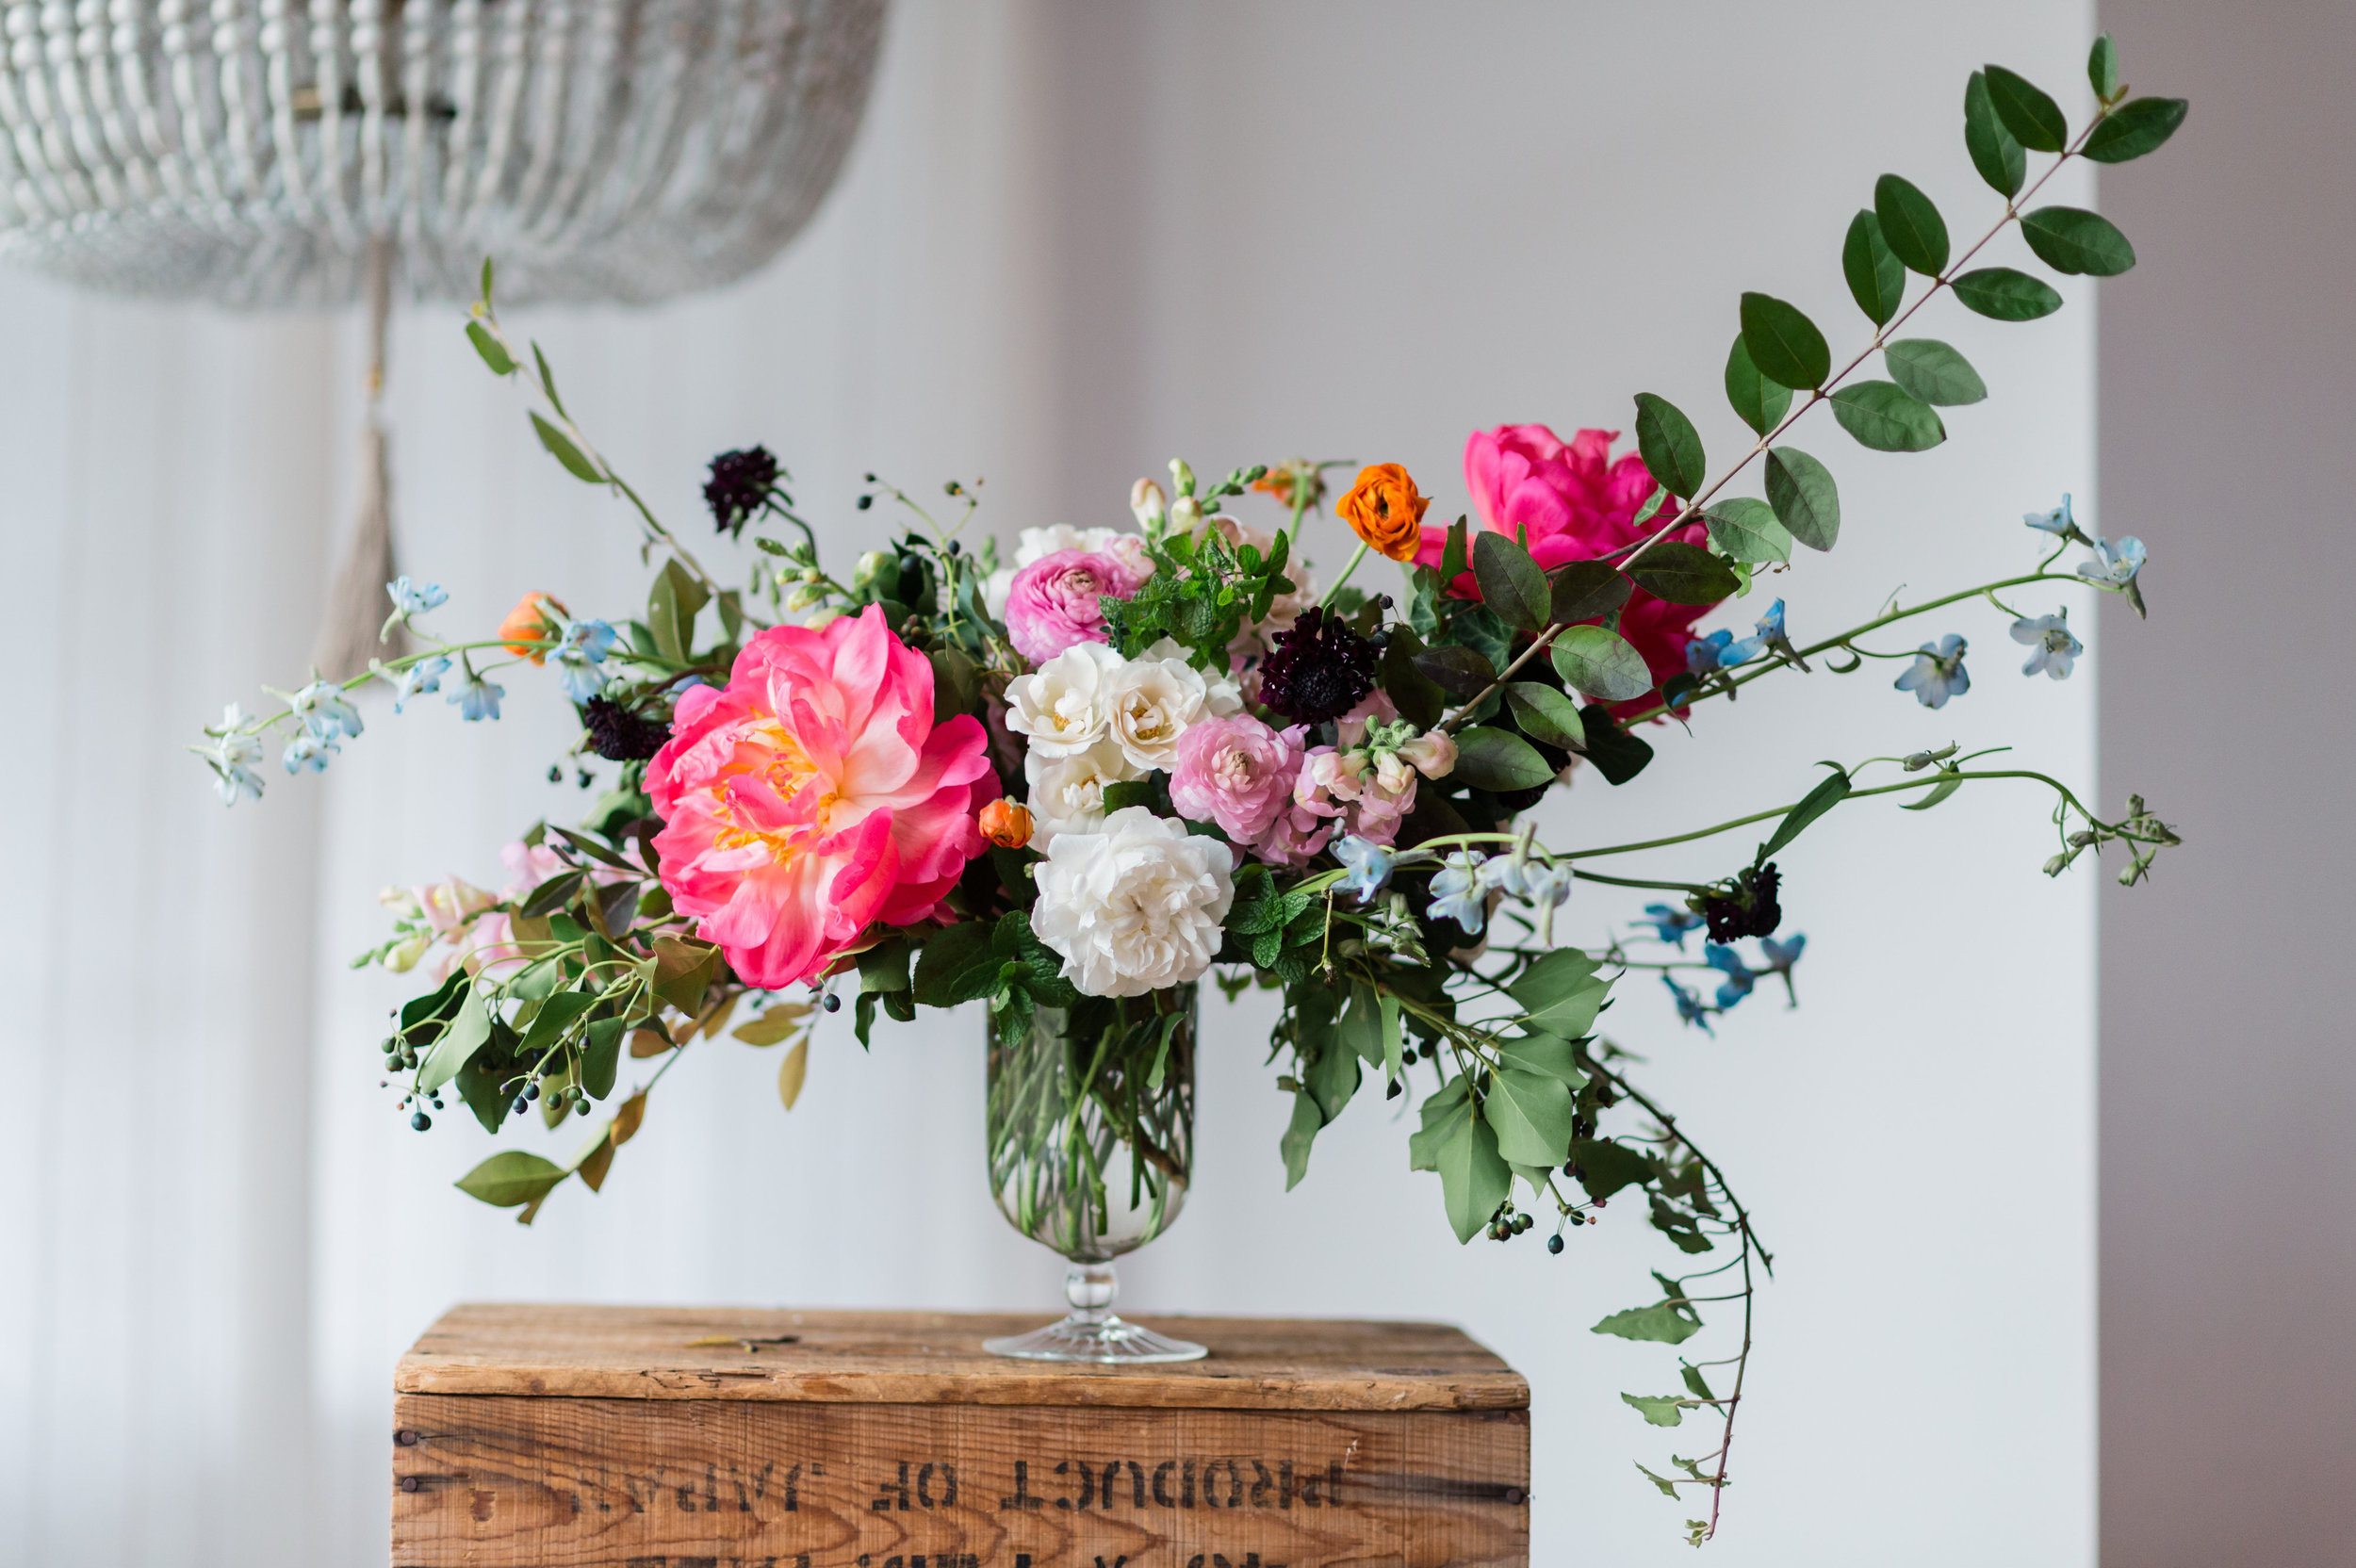
Work with colors, shapes and textures you like, and try to mix in as much seasonal and local clippings as you can. I made this piece at the end of November and we still had garden roses, mint and other herbs growing in the yard! In winter I love to clip evergreens and mix them with blooms from my wholesale accounts and even Whole Foods, they generally have an awesome selection if you are working with grocery store blooms!
Doing a good job of processing your flowers helps make arranging so much easier, and helps your flowers to hydrate and last longer. Also, the longer you keep your stems when processing, the more options you have and the more drape you can get in the piece.
When choosing my vessel I like to think about where the piece will be displayed. Will it be against a wall or in the center of a round table? If your piece is going to be on the smaller side, no need to build a tape or wire structure, but sometimes on bigger pieces, or if you want to have some larger draping pieces, having a grid for your base is helpful (We will learn how to build a grid below!)
I work on tall countertops or a box, to bring the arrangement up to my eye level as I design.
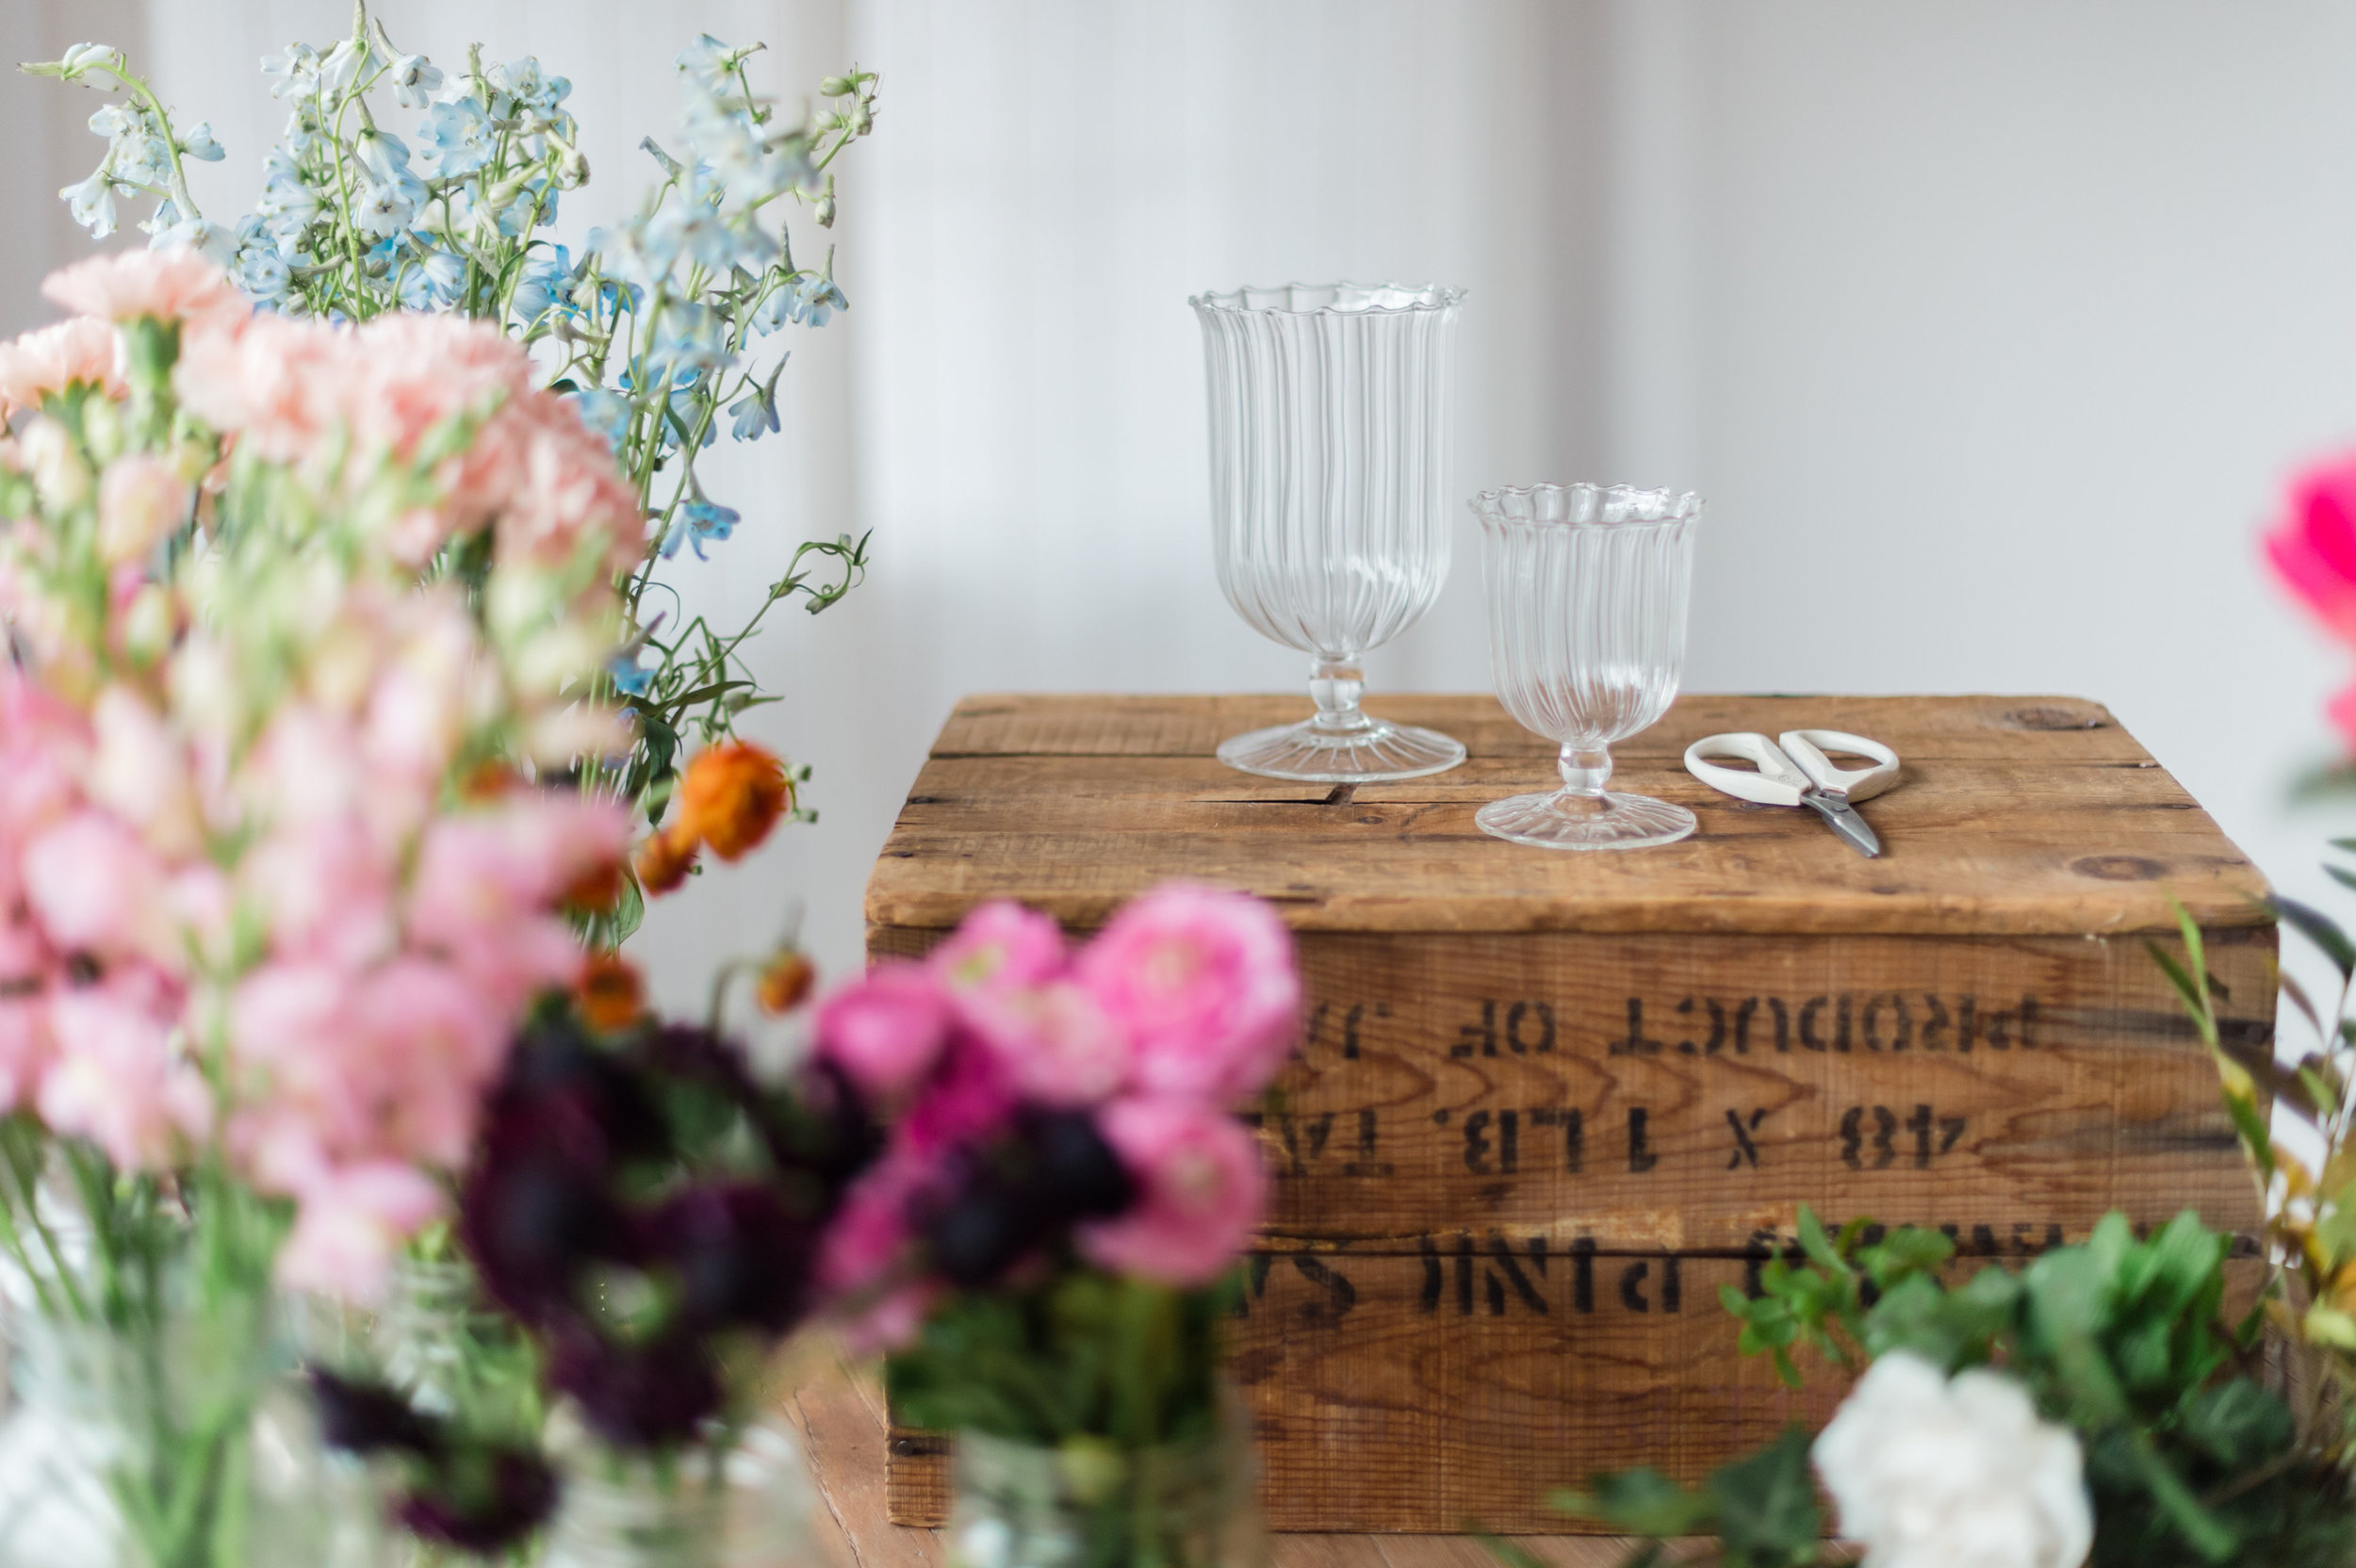
Tools:
Clippers
Waterproof floral tape
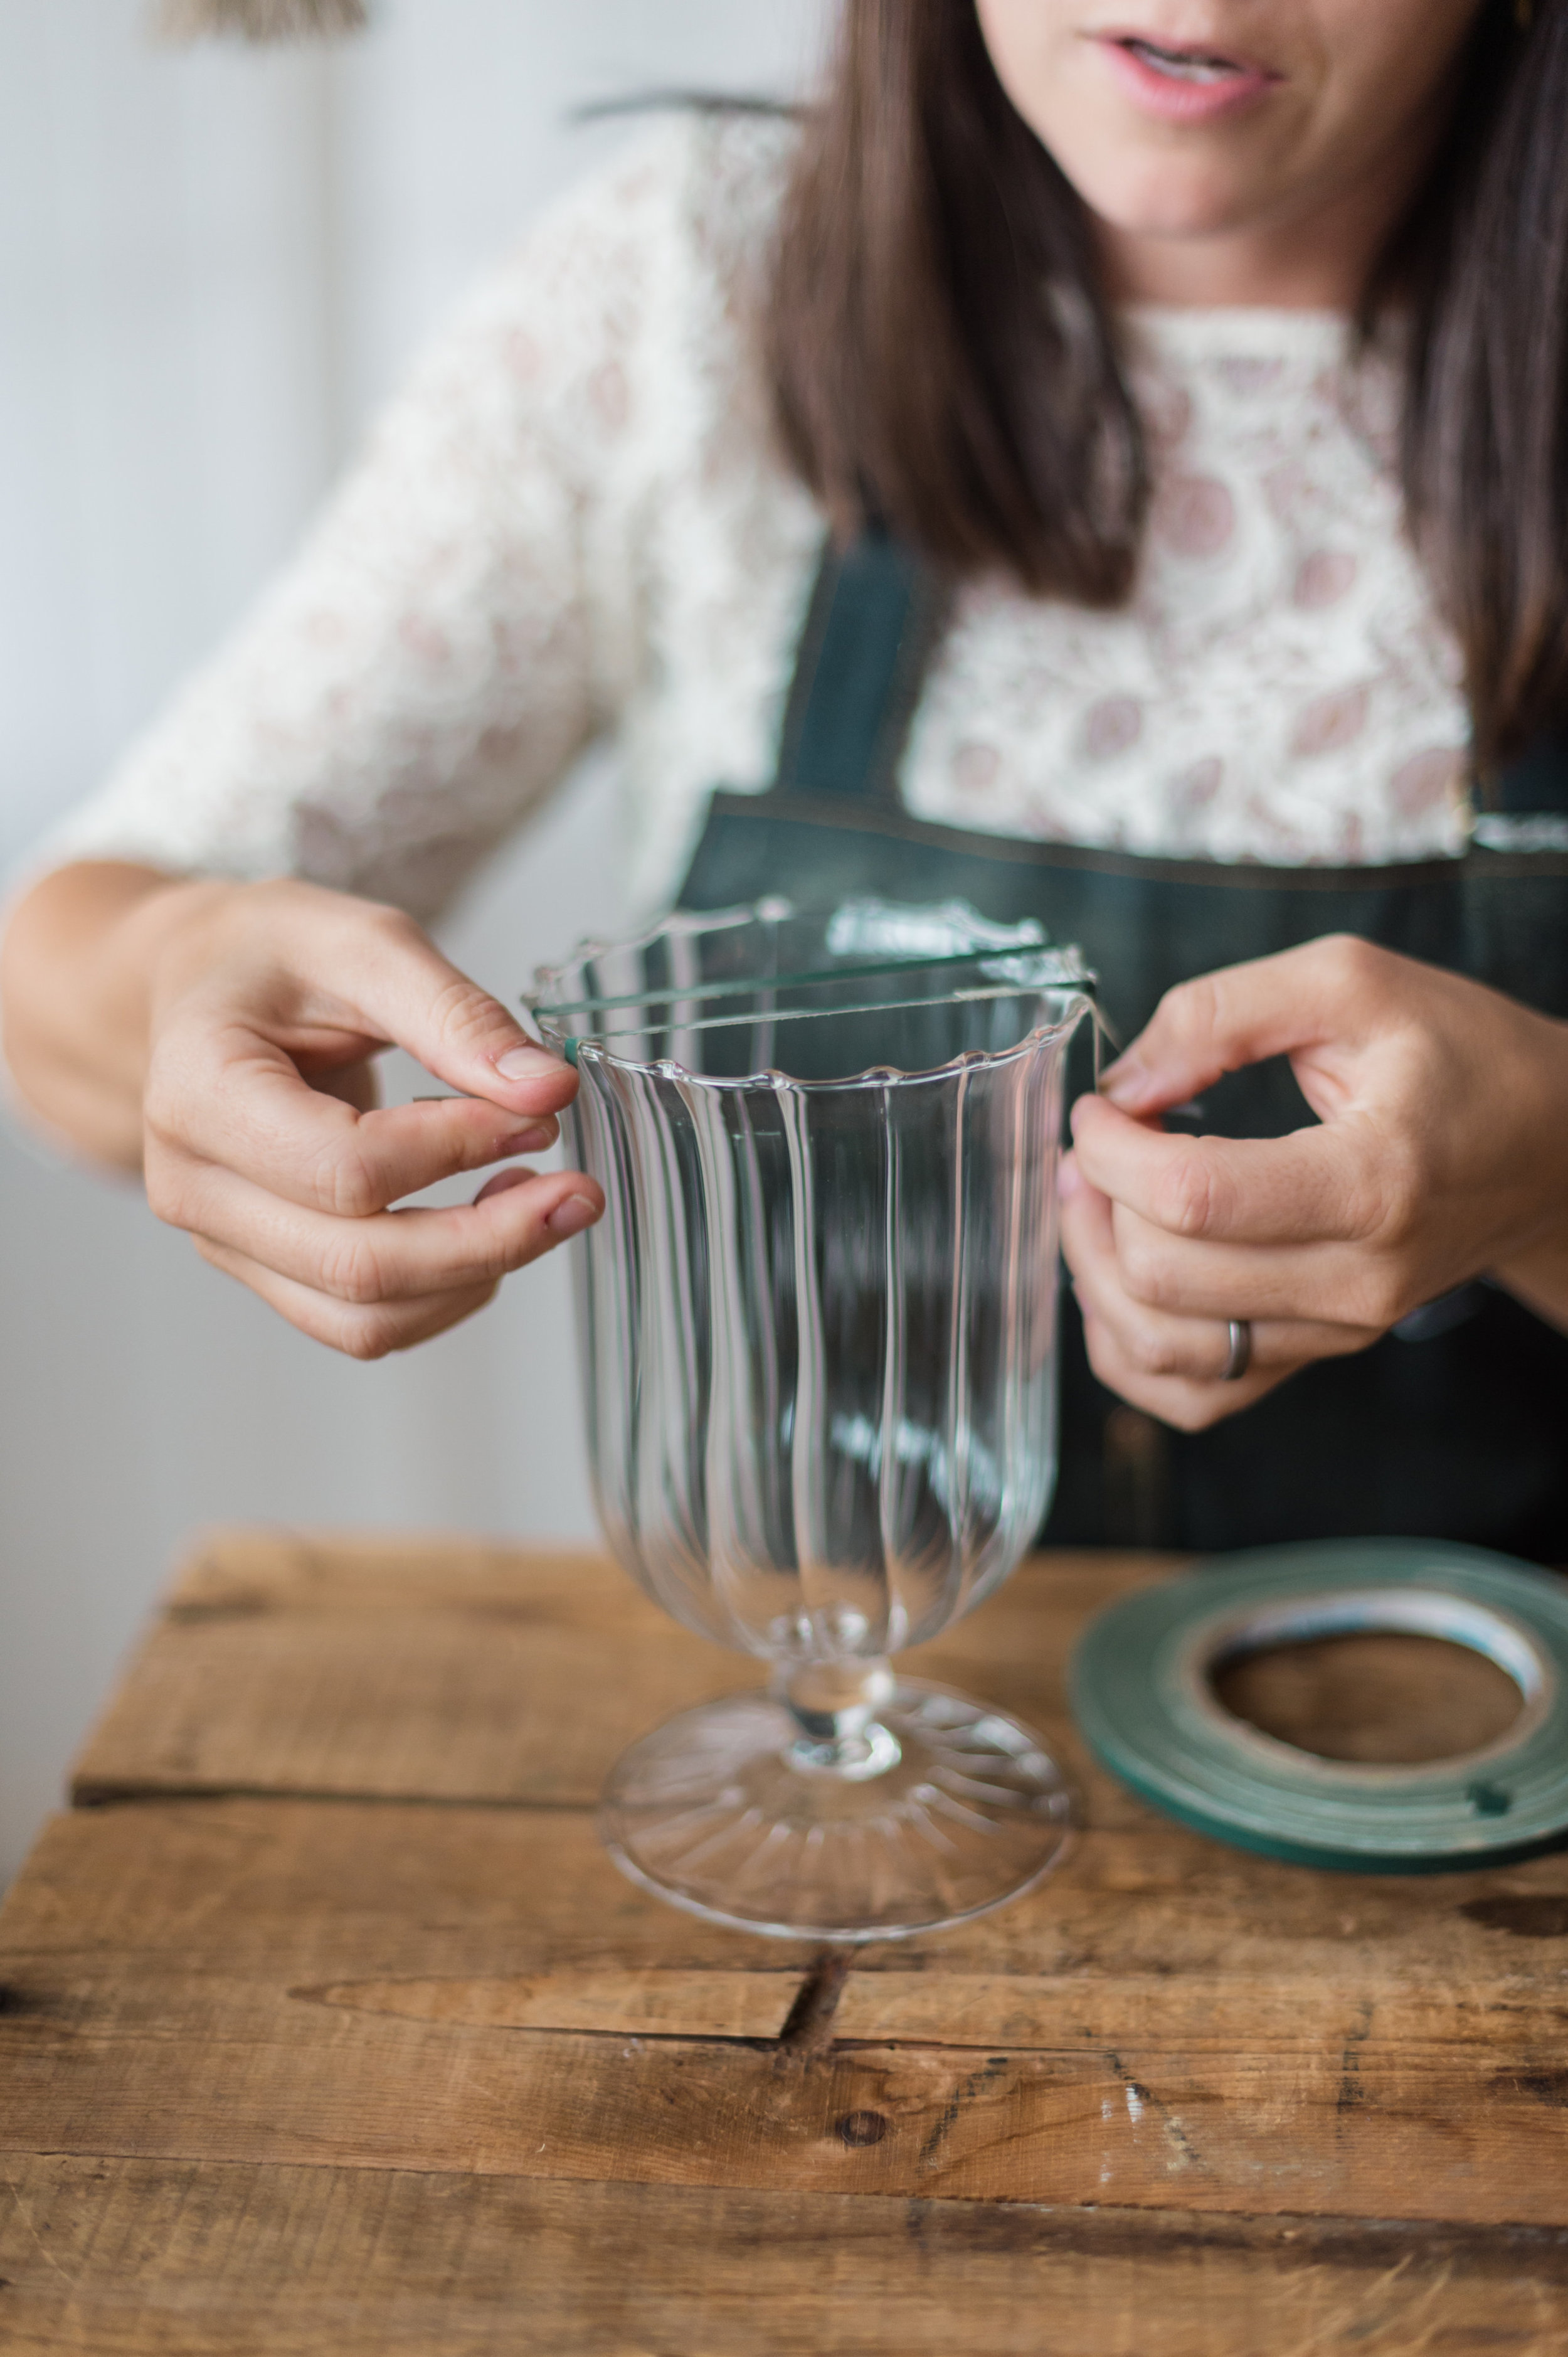
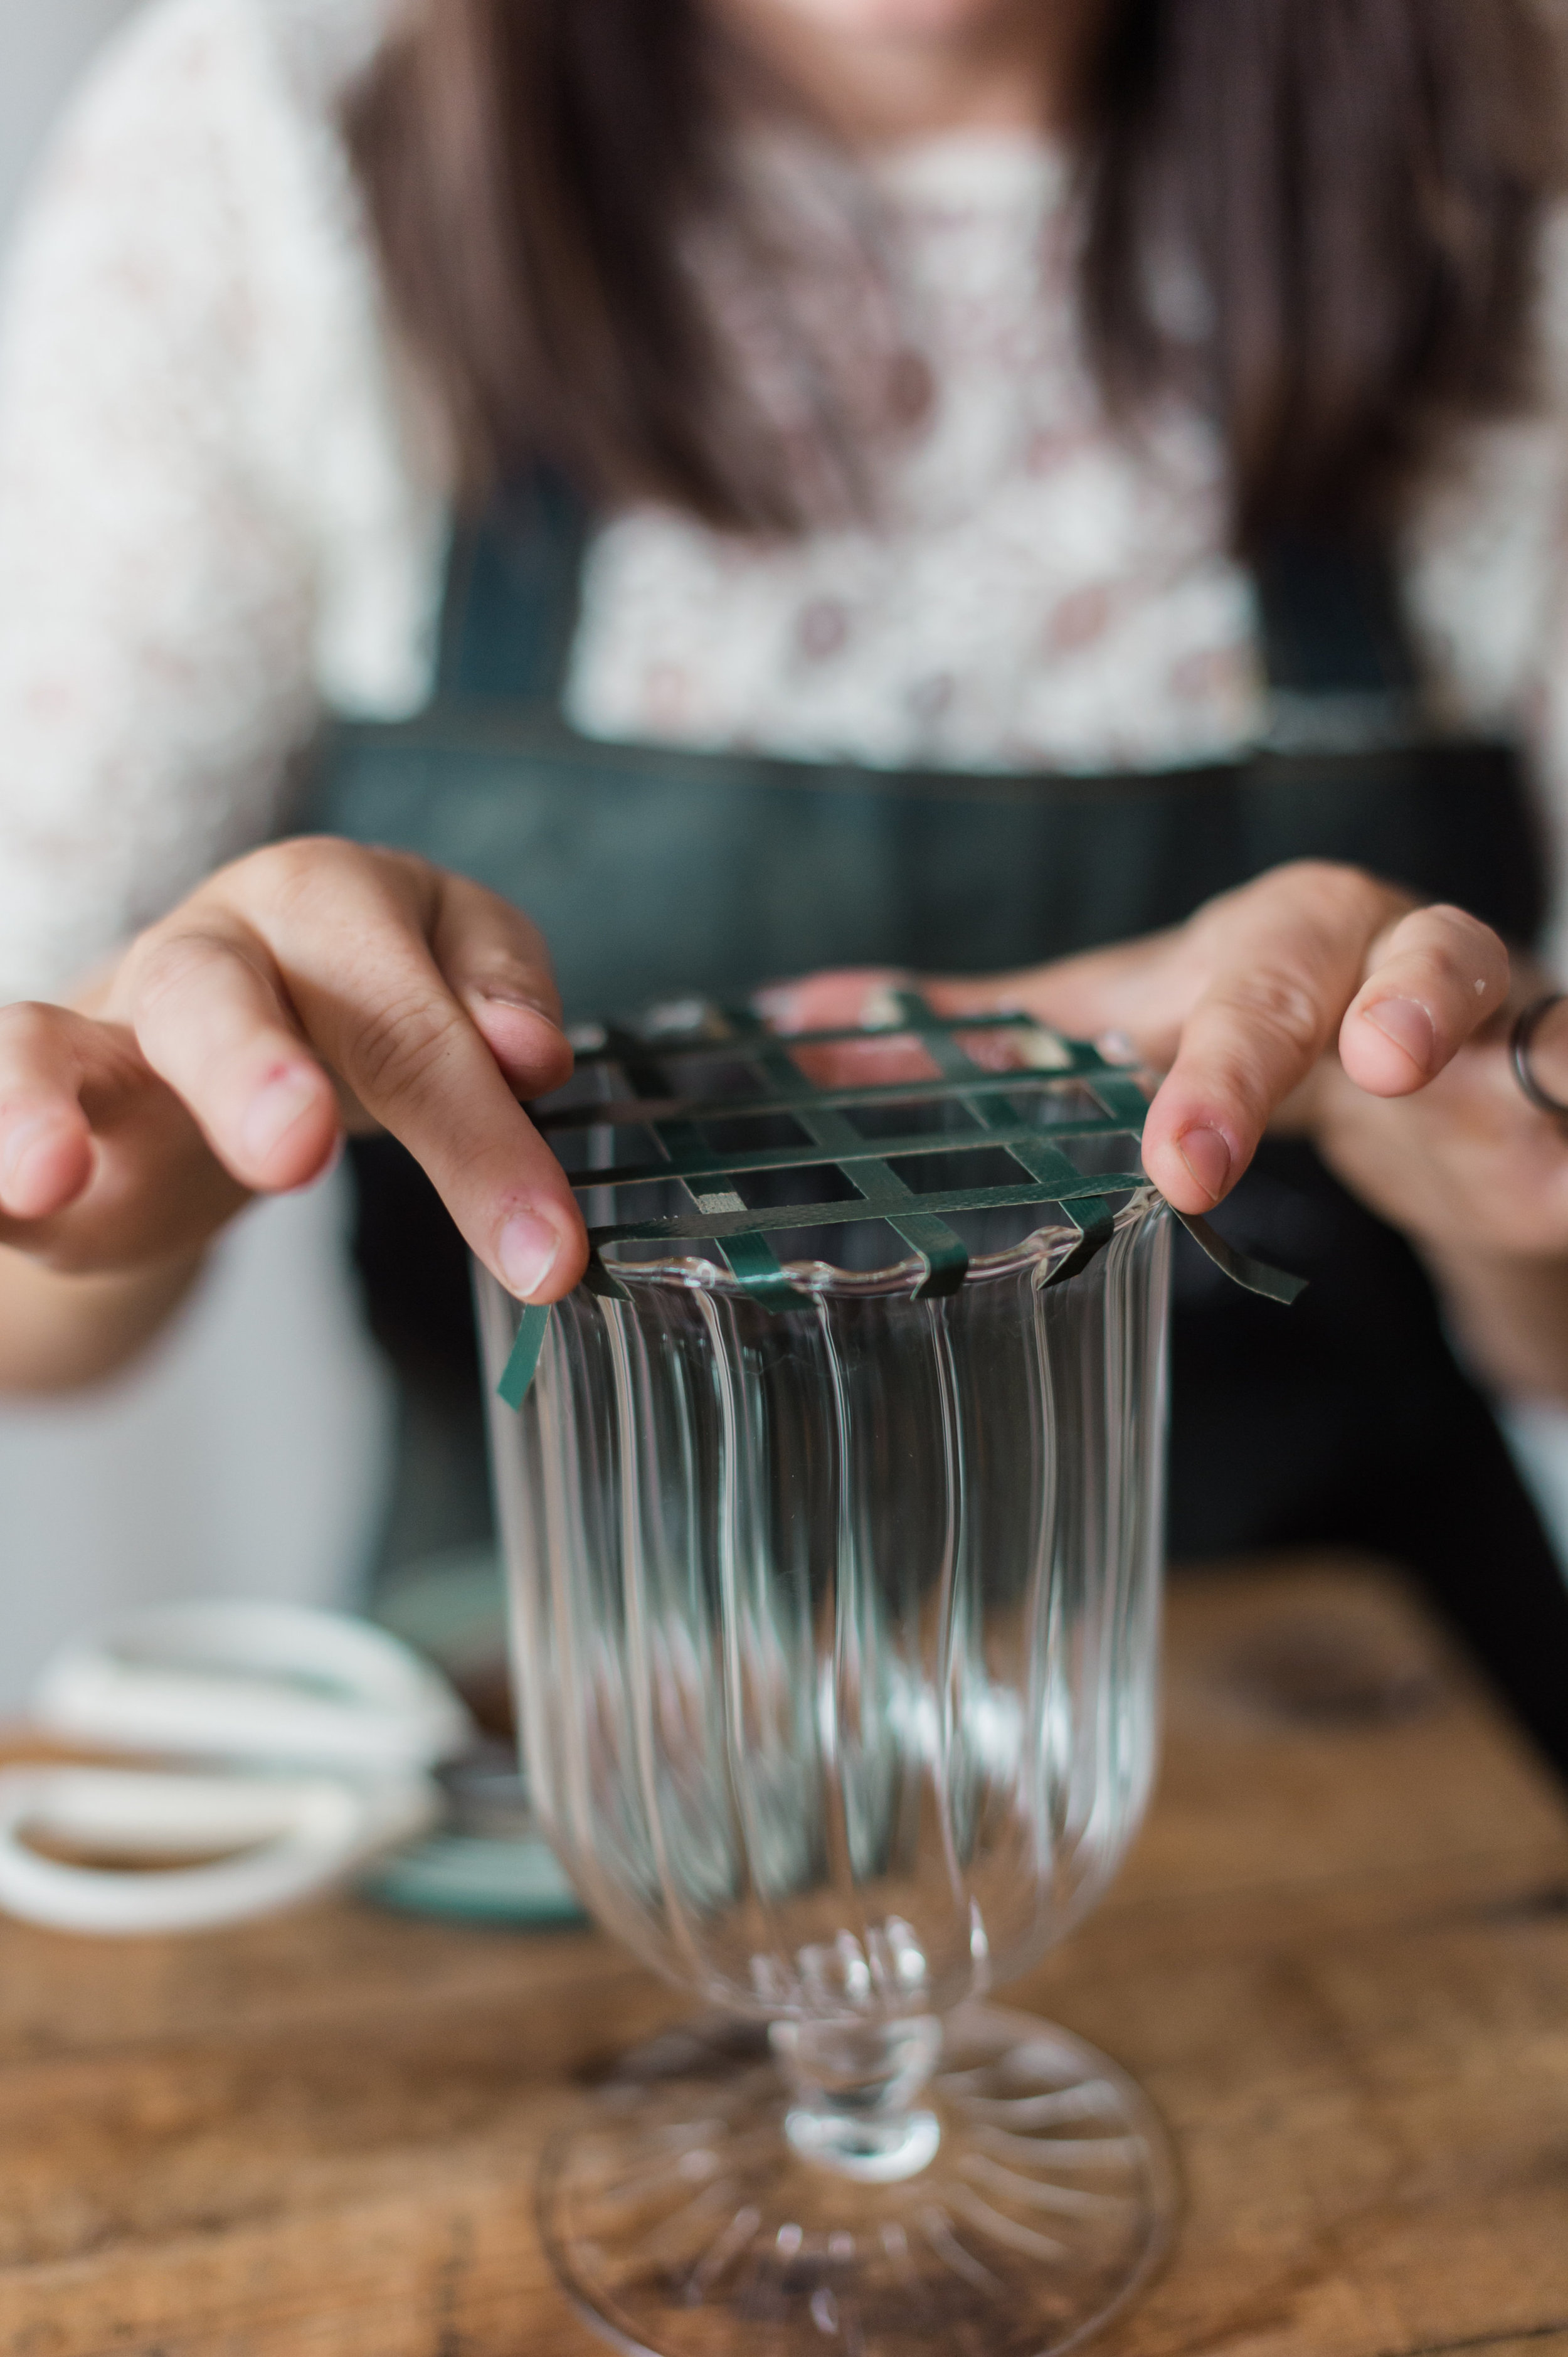
Glass footed Vase - small and large
Floral List :
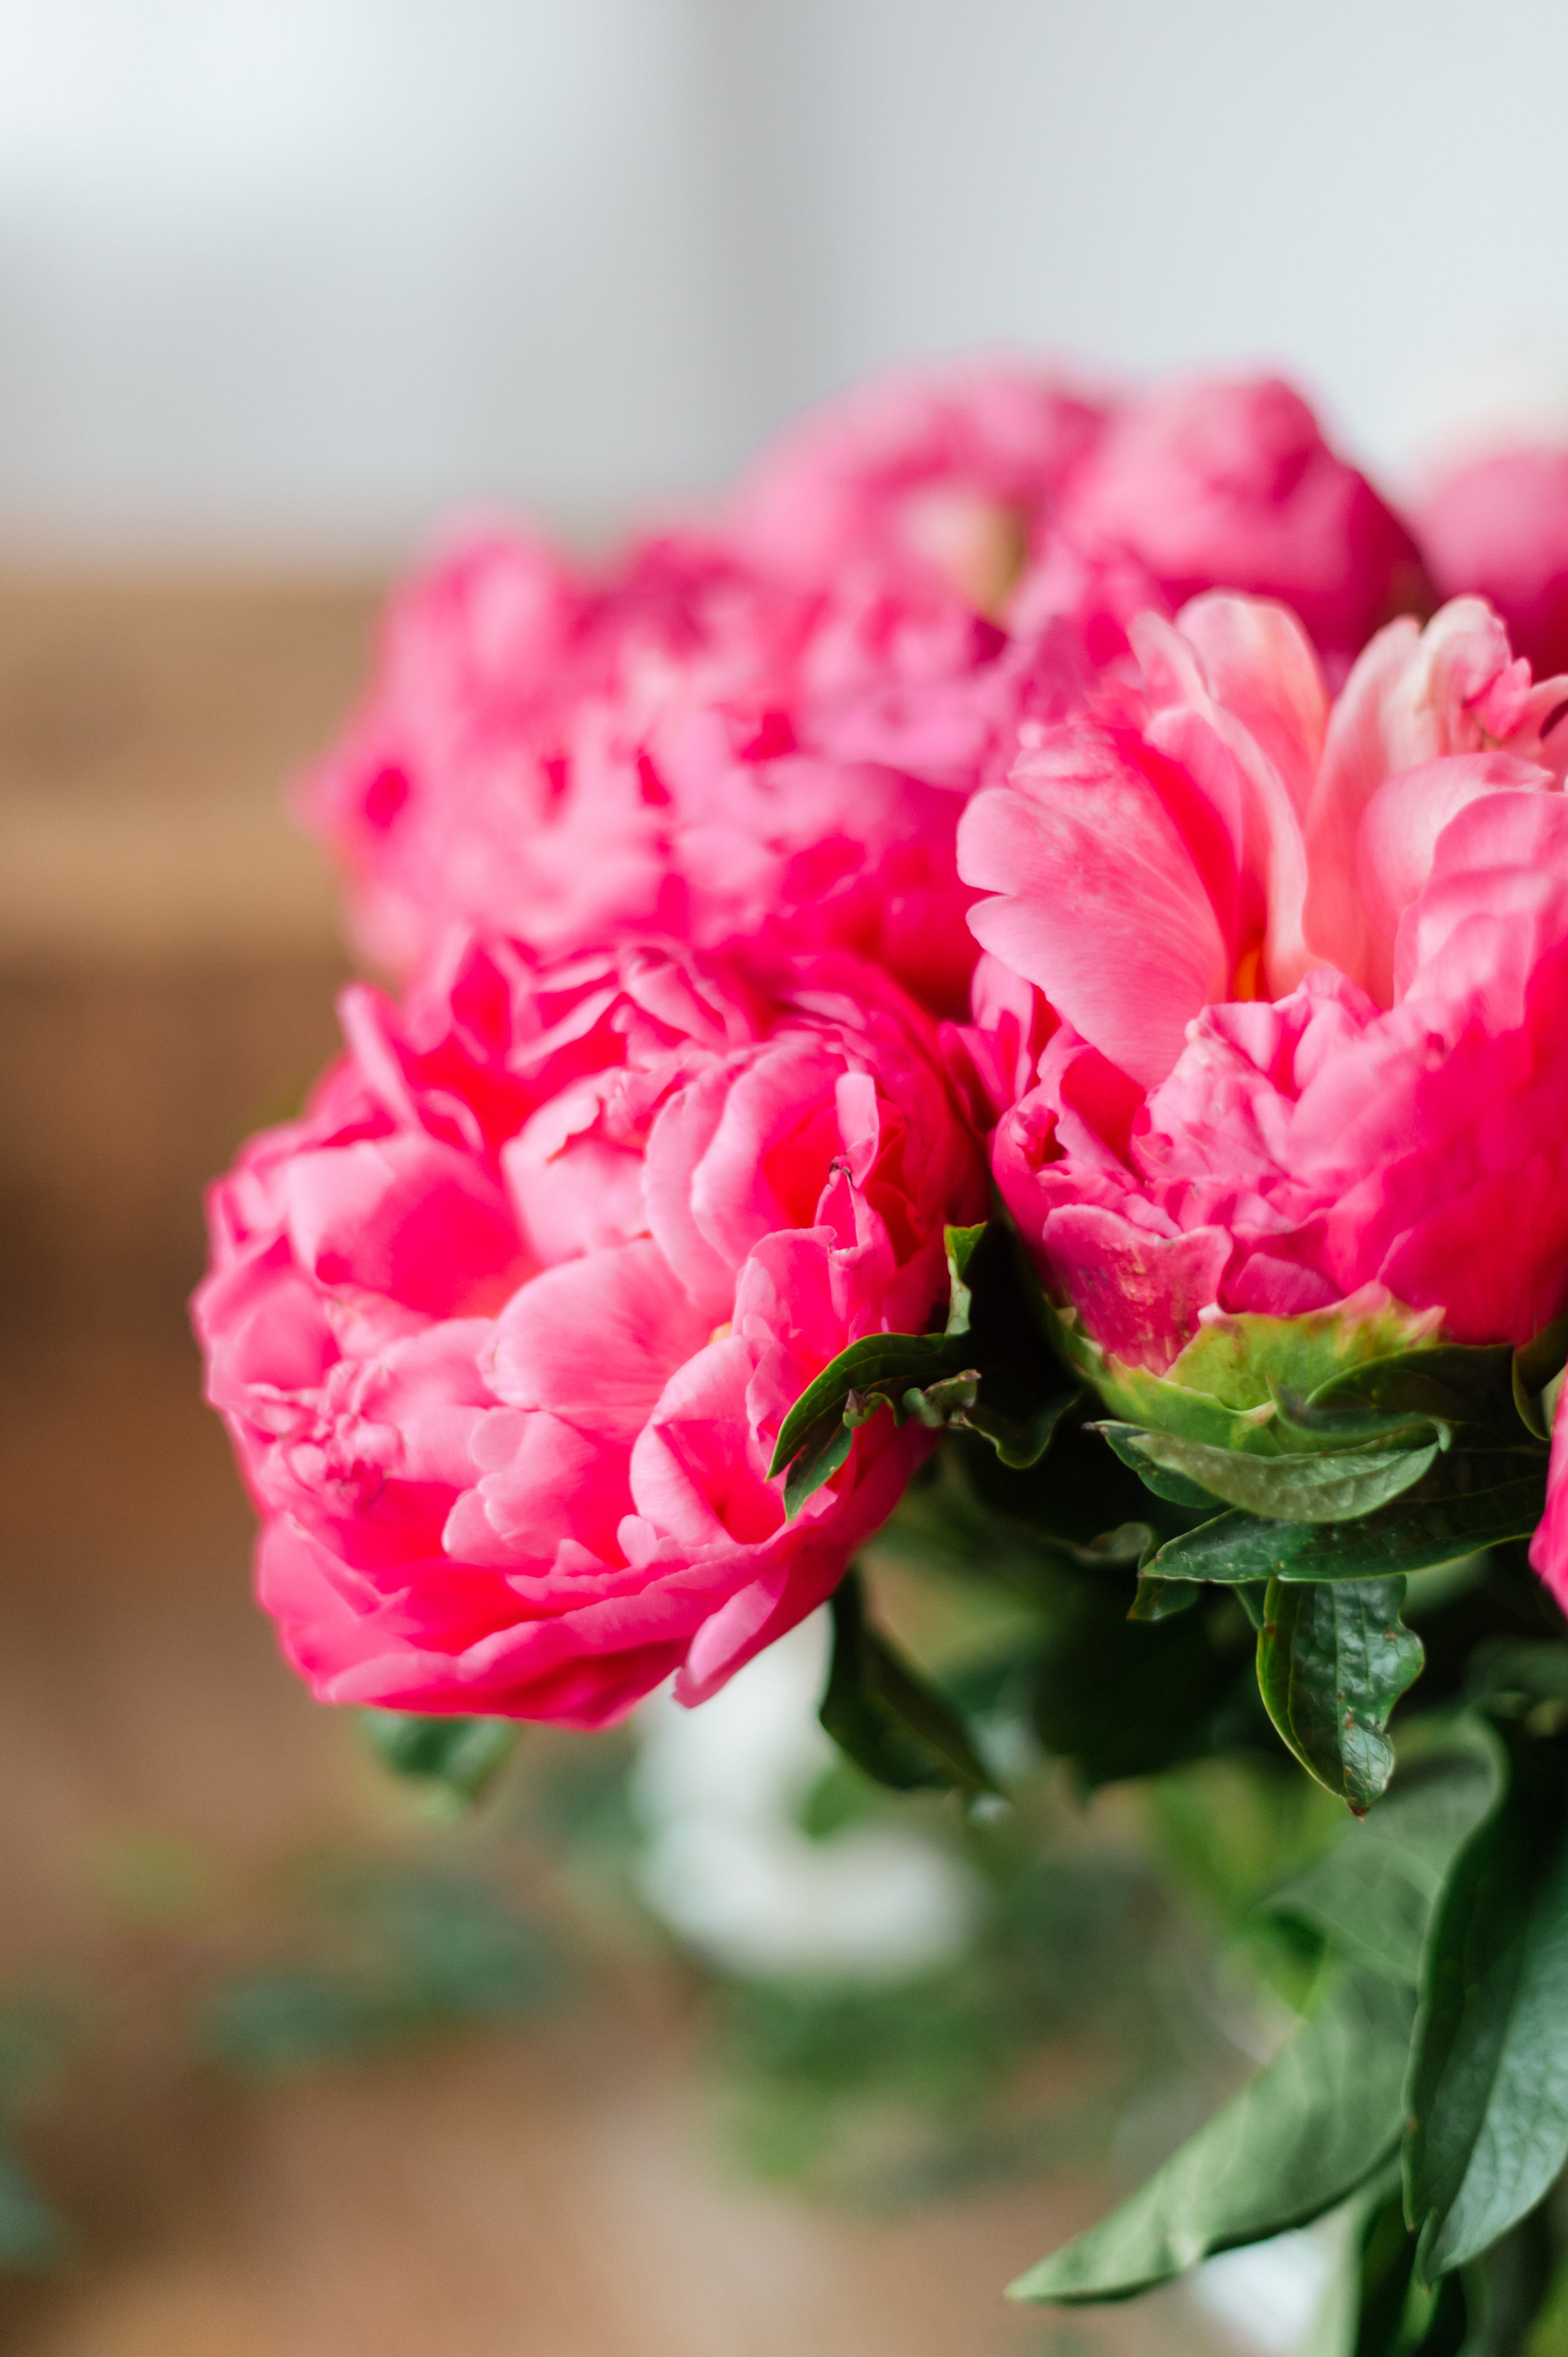
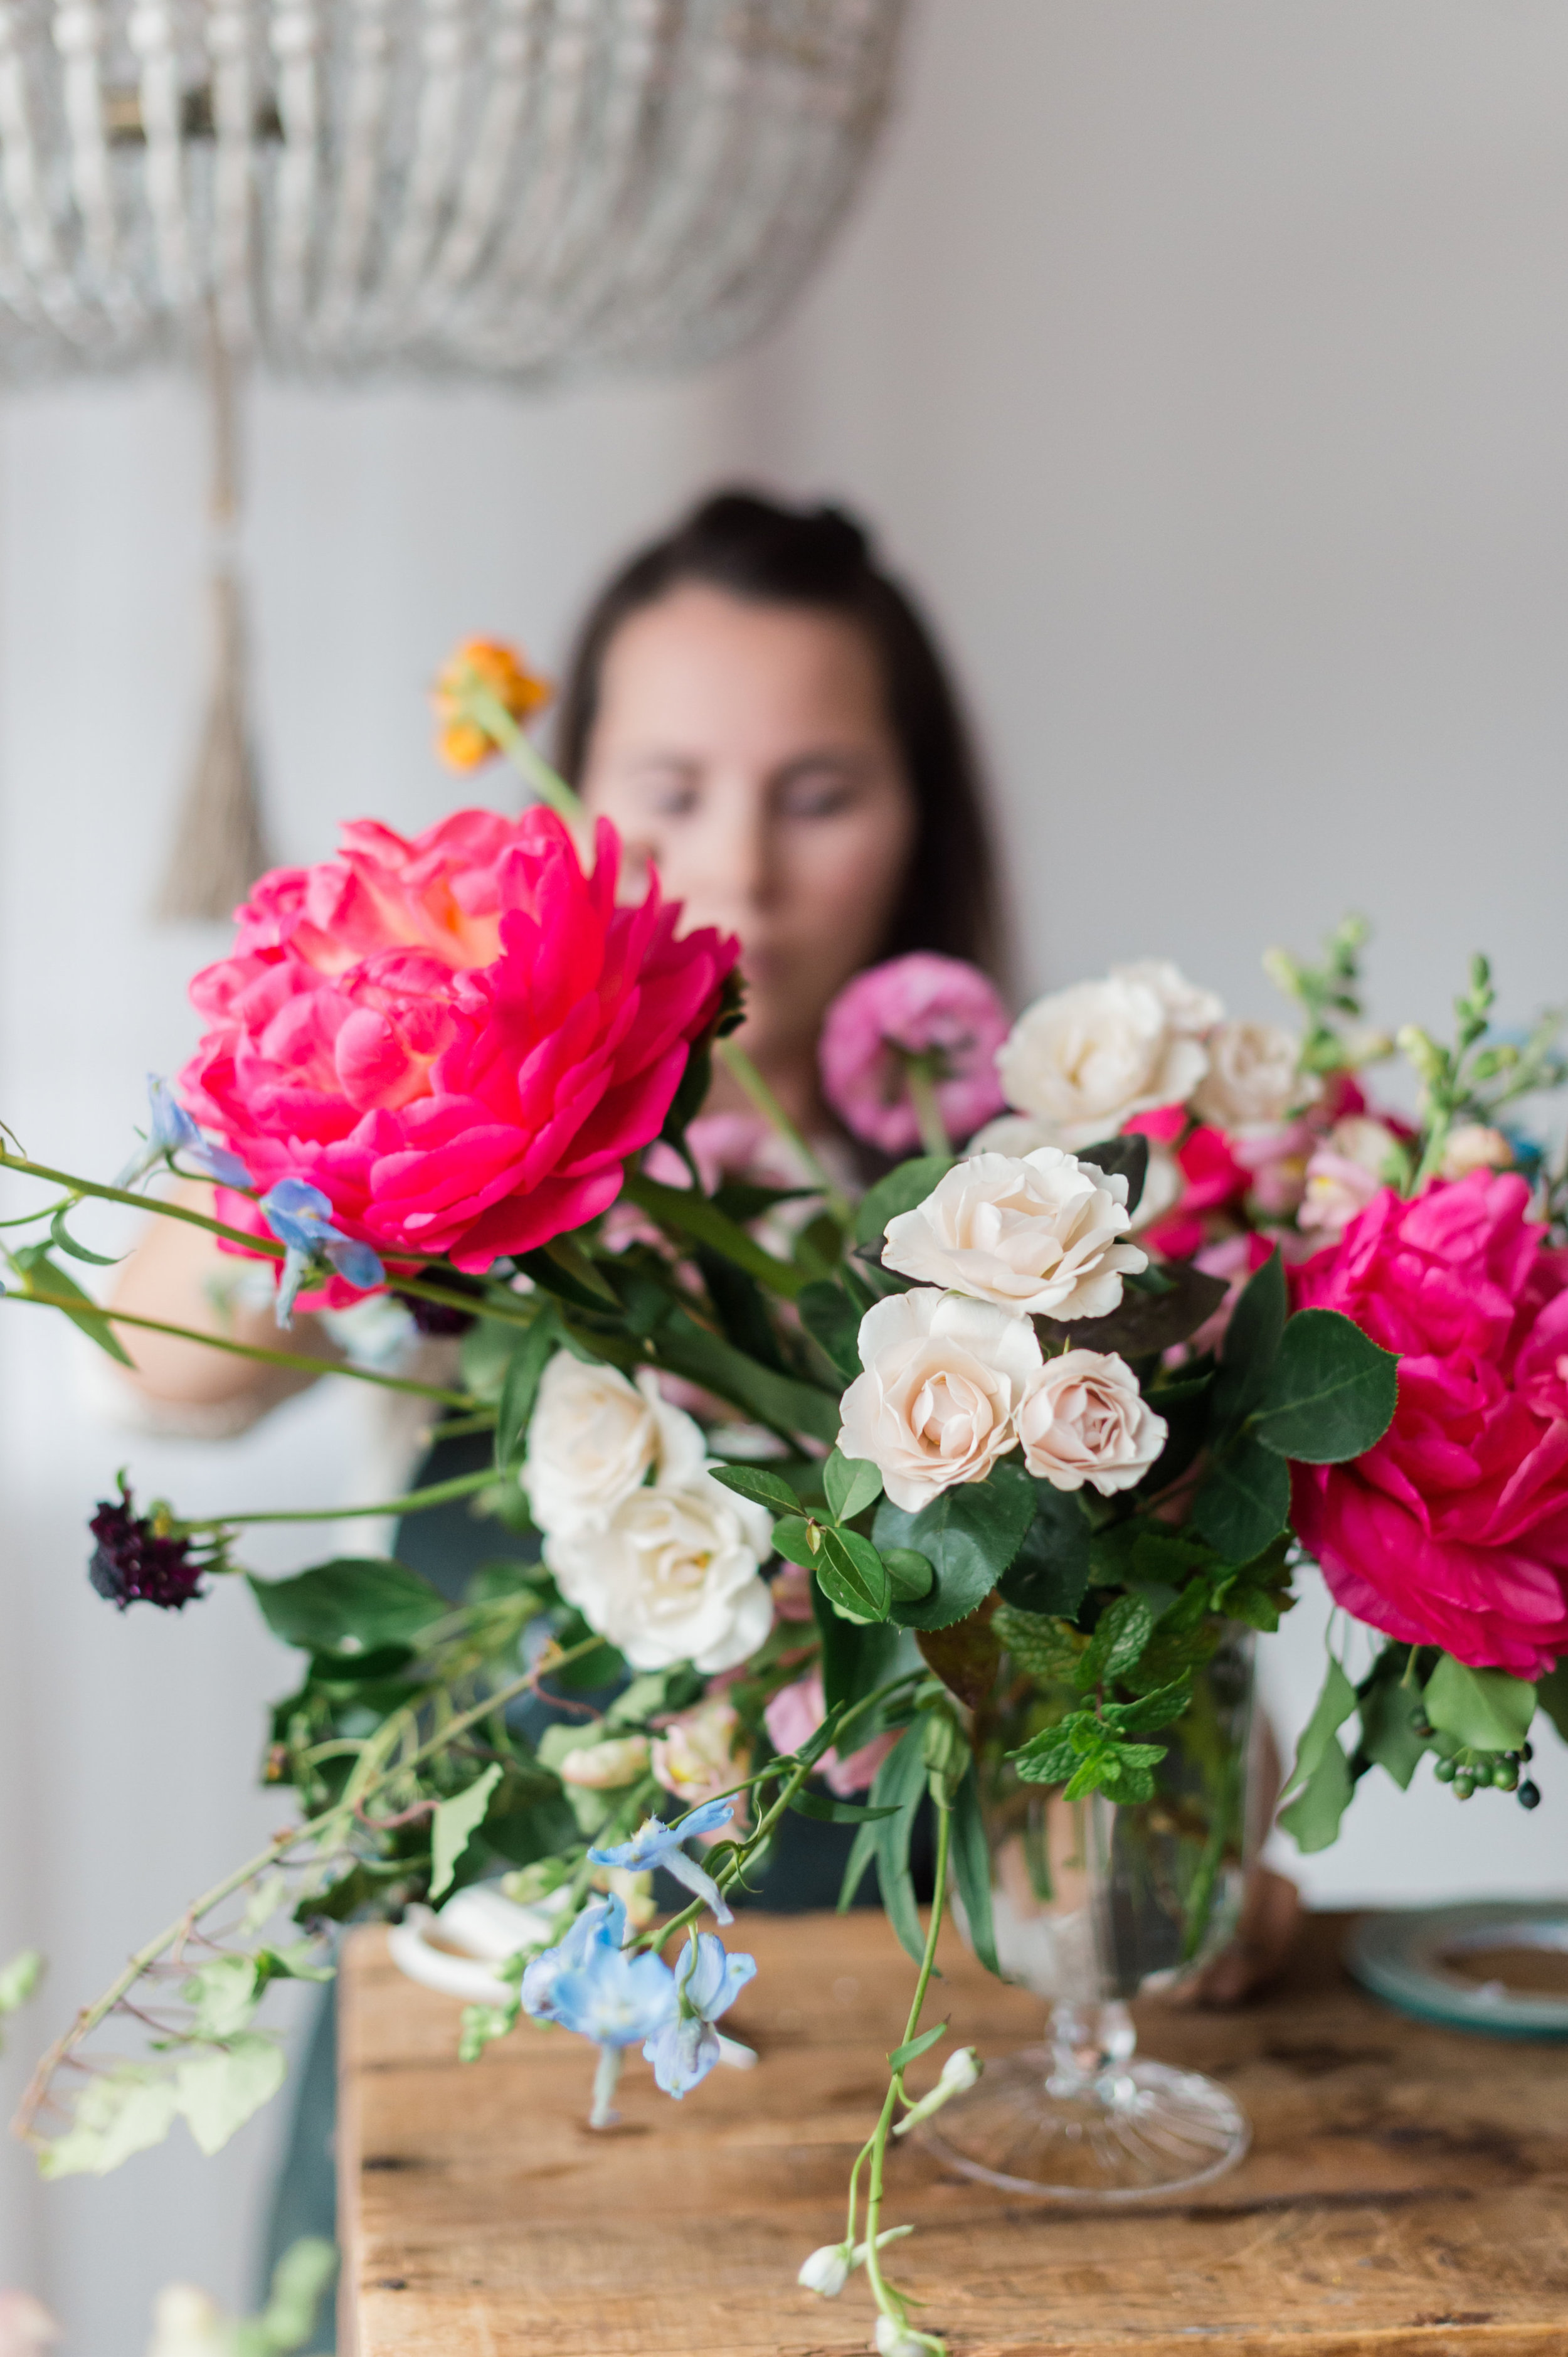
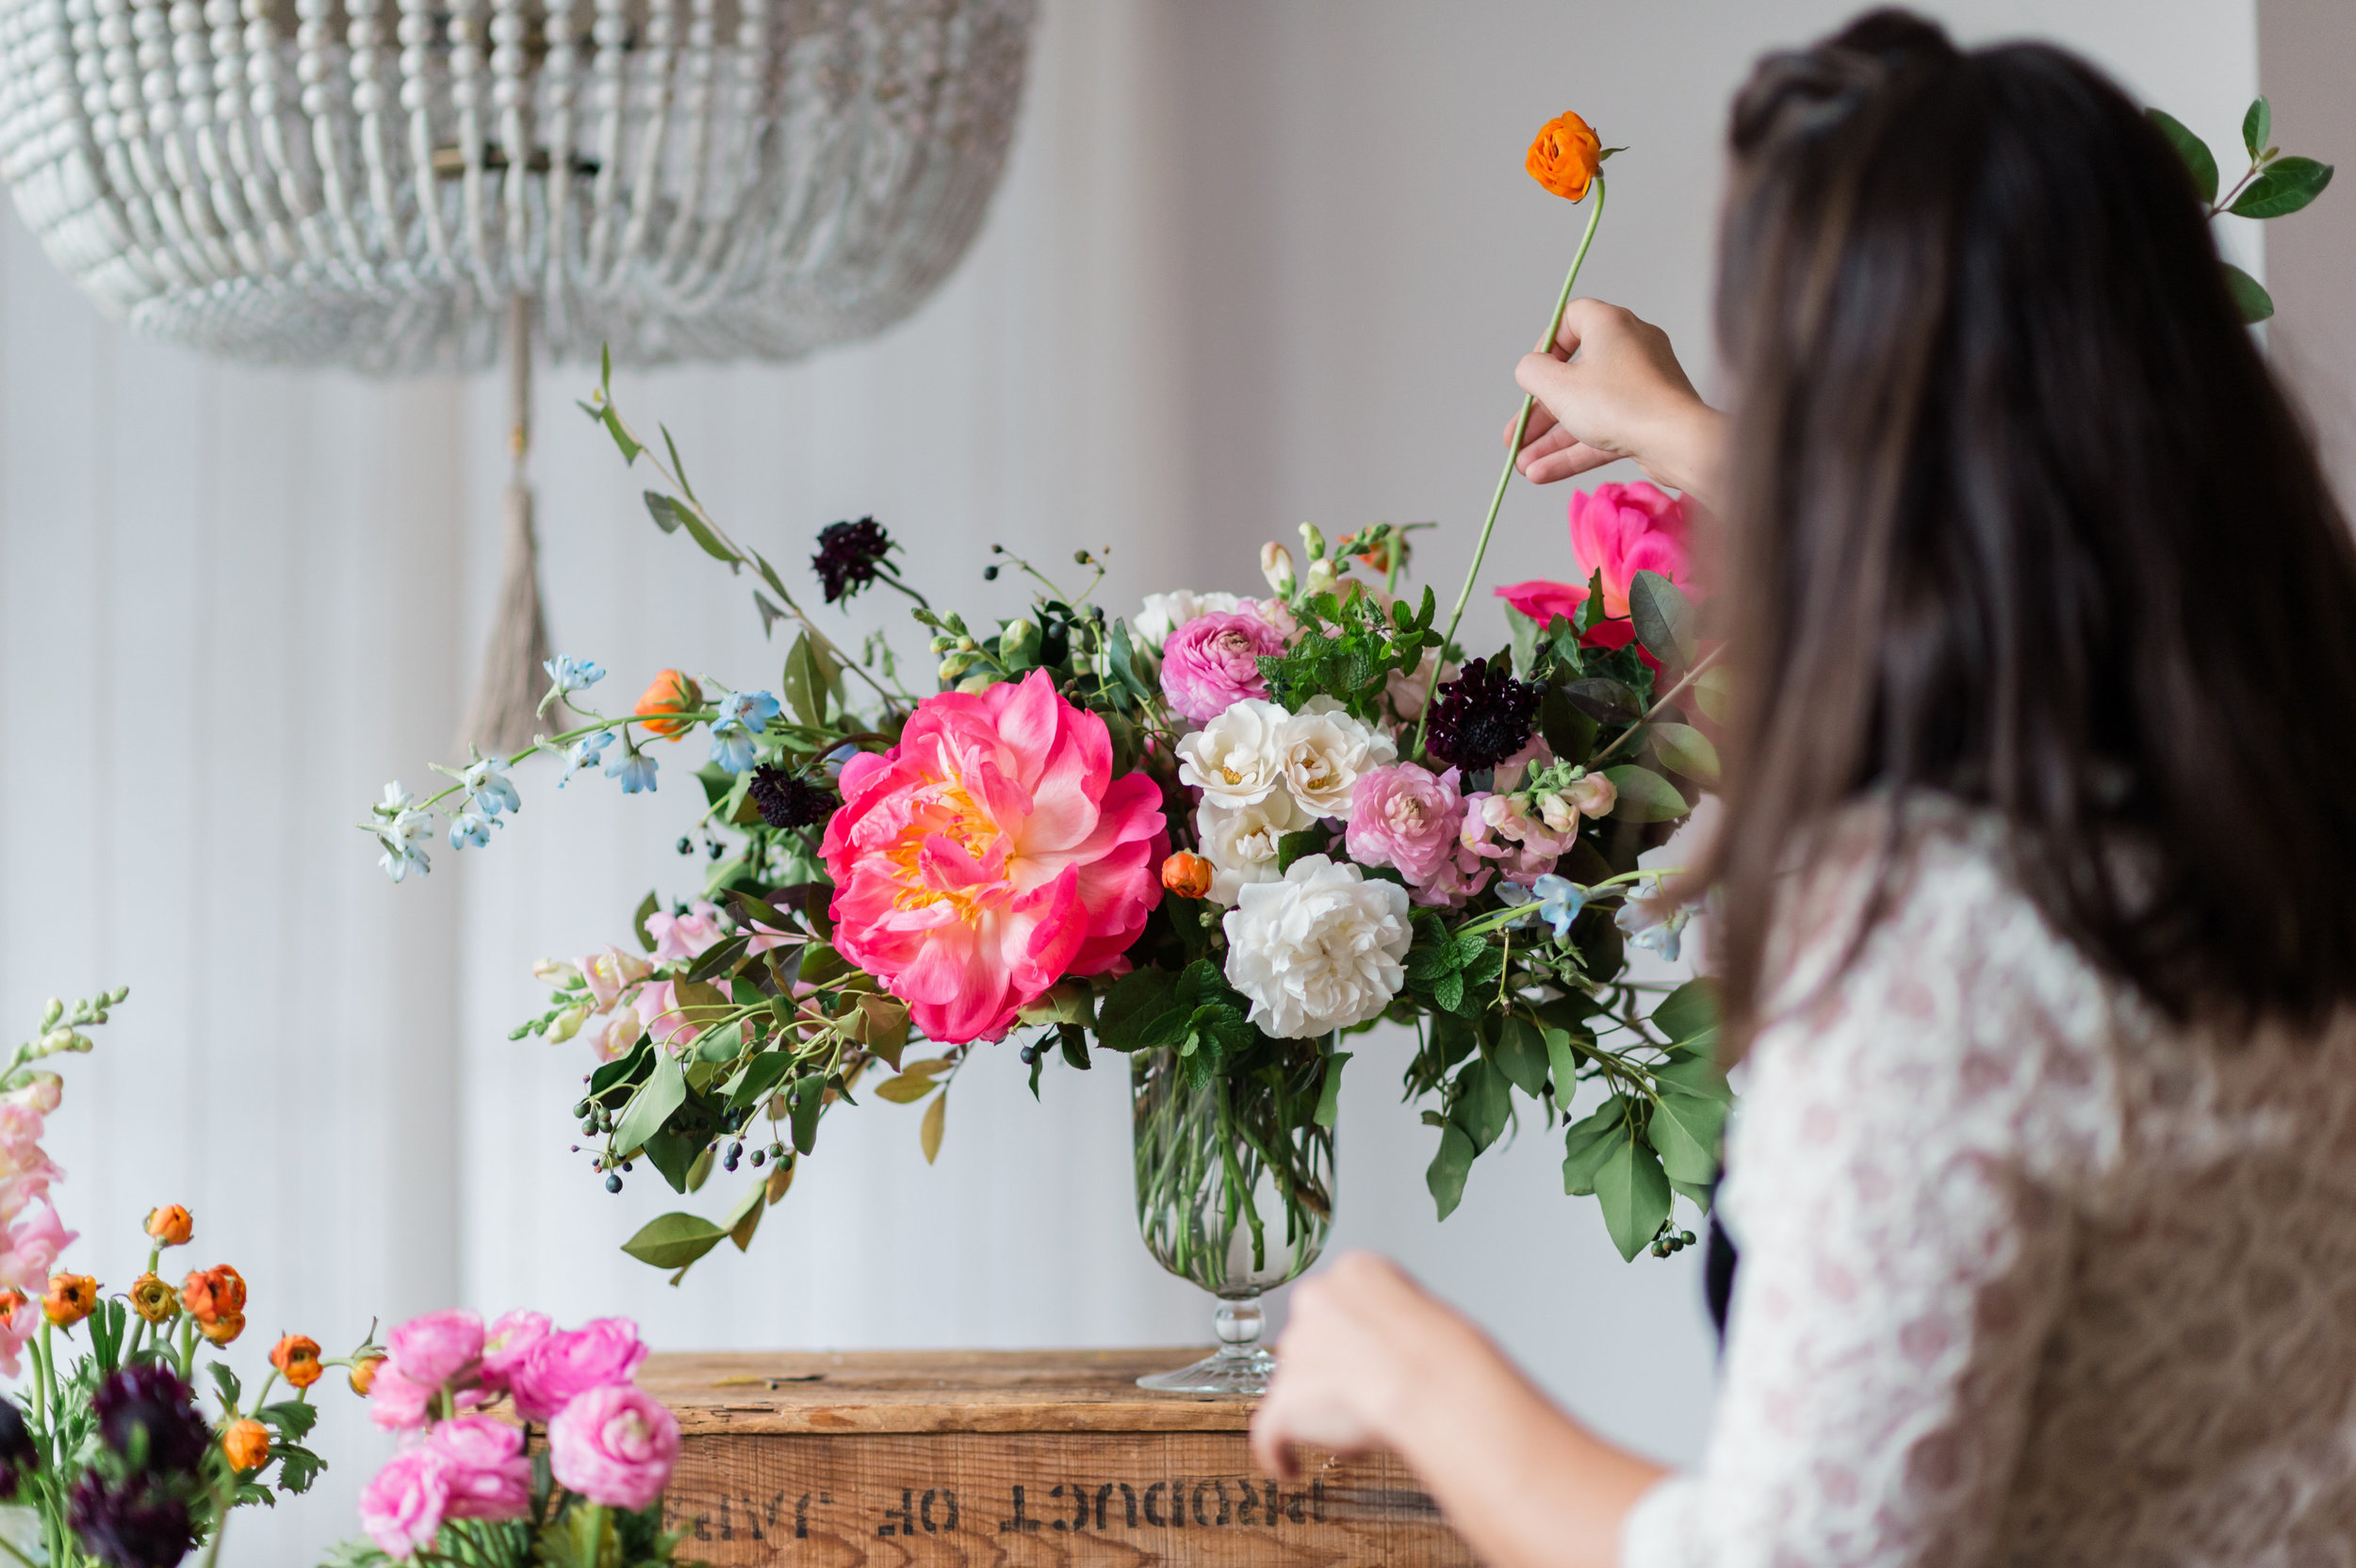
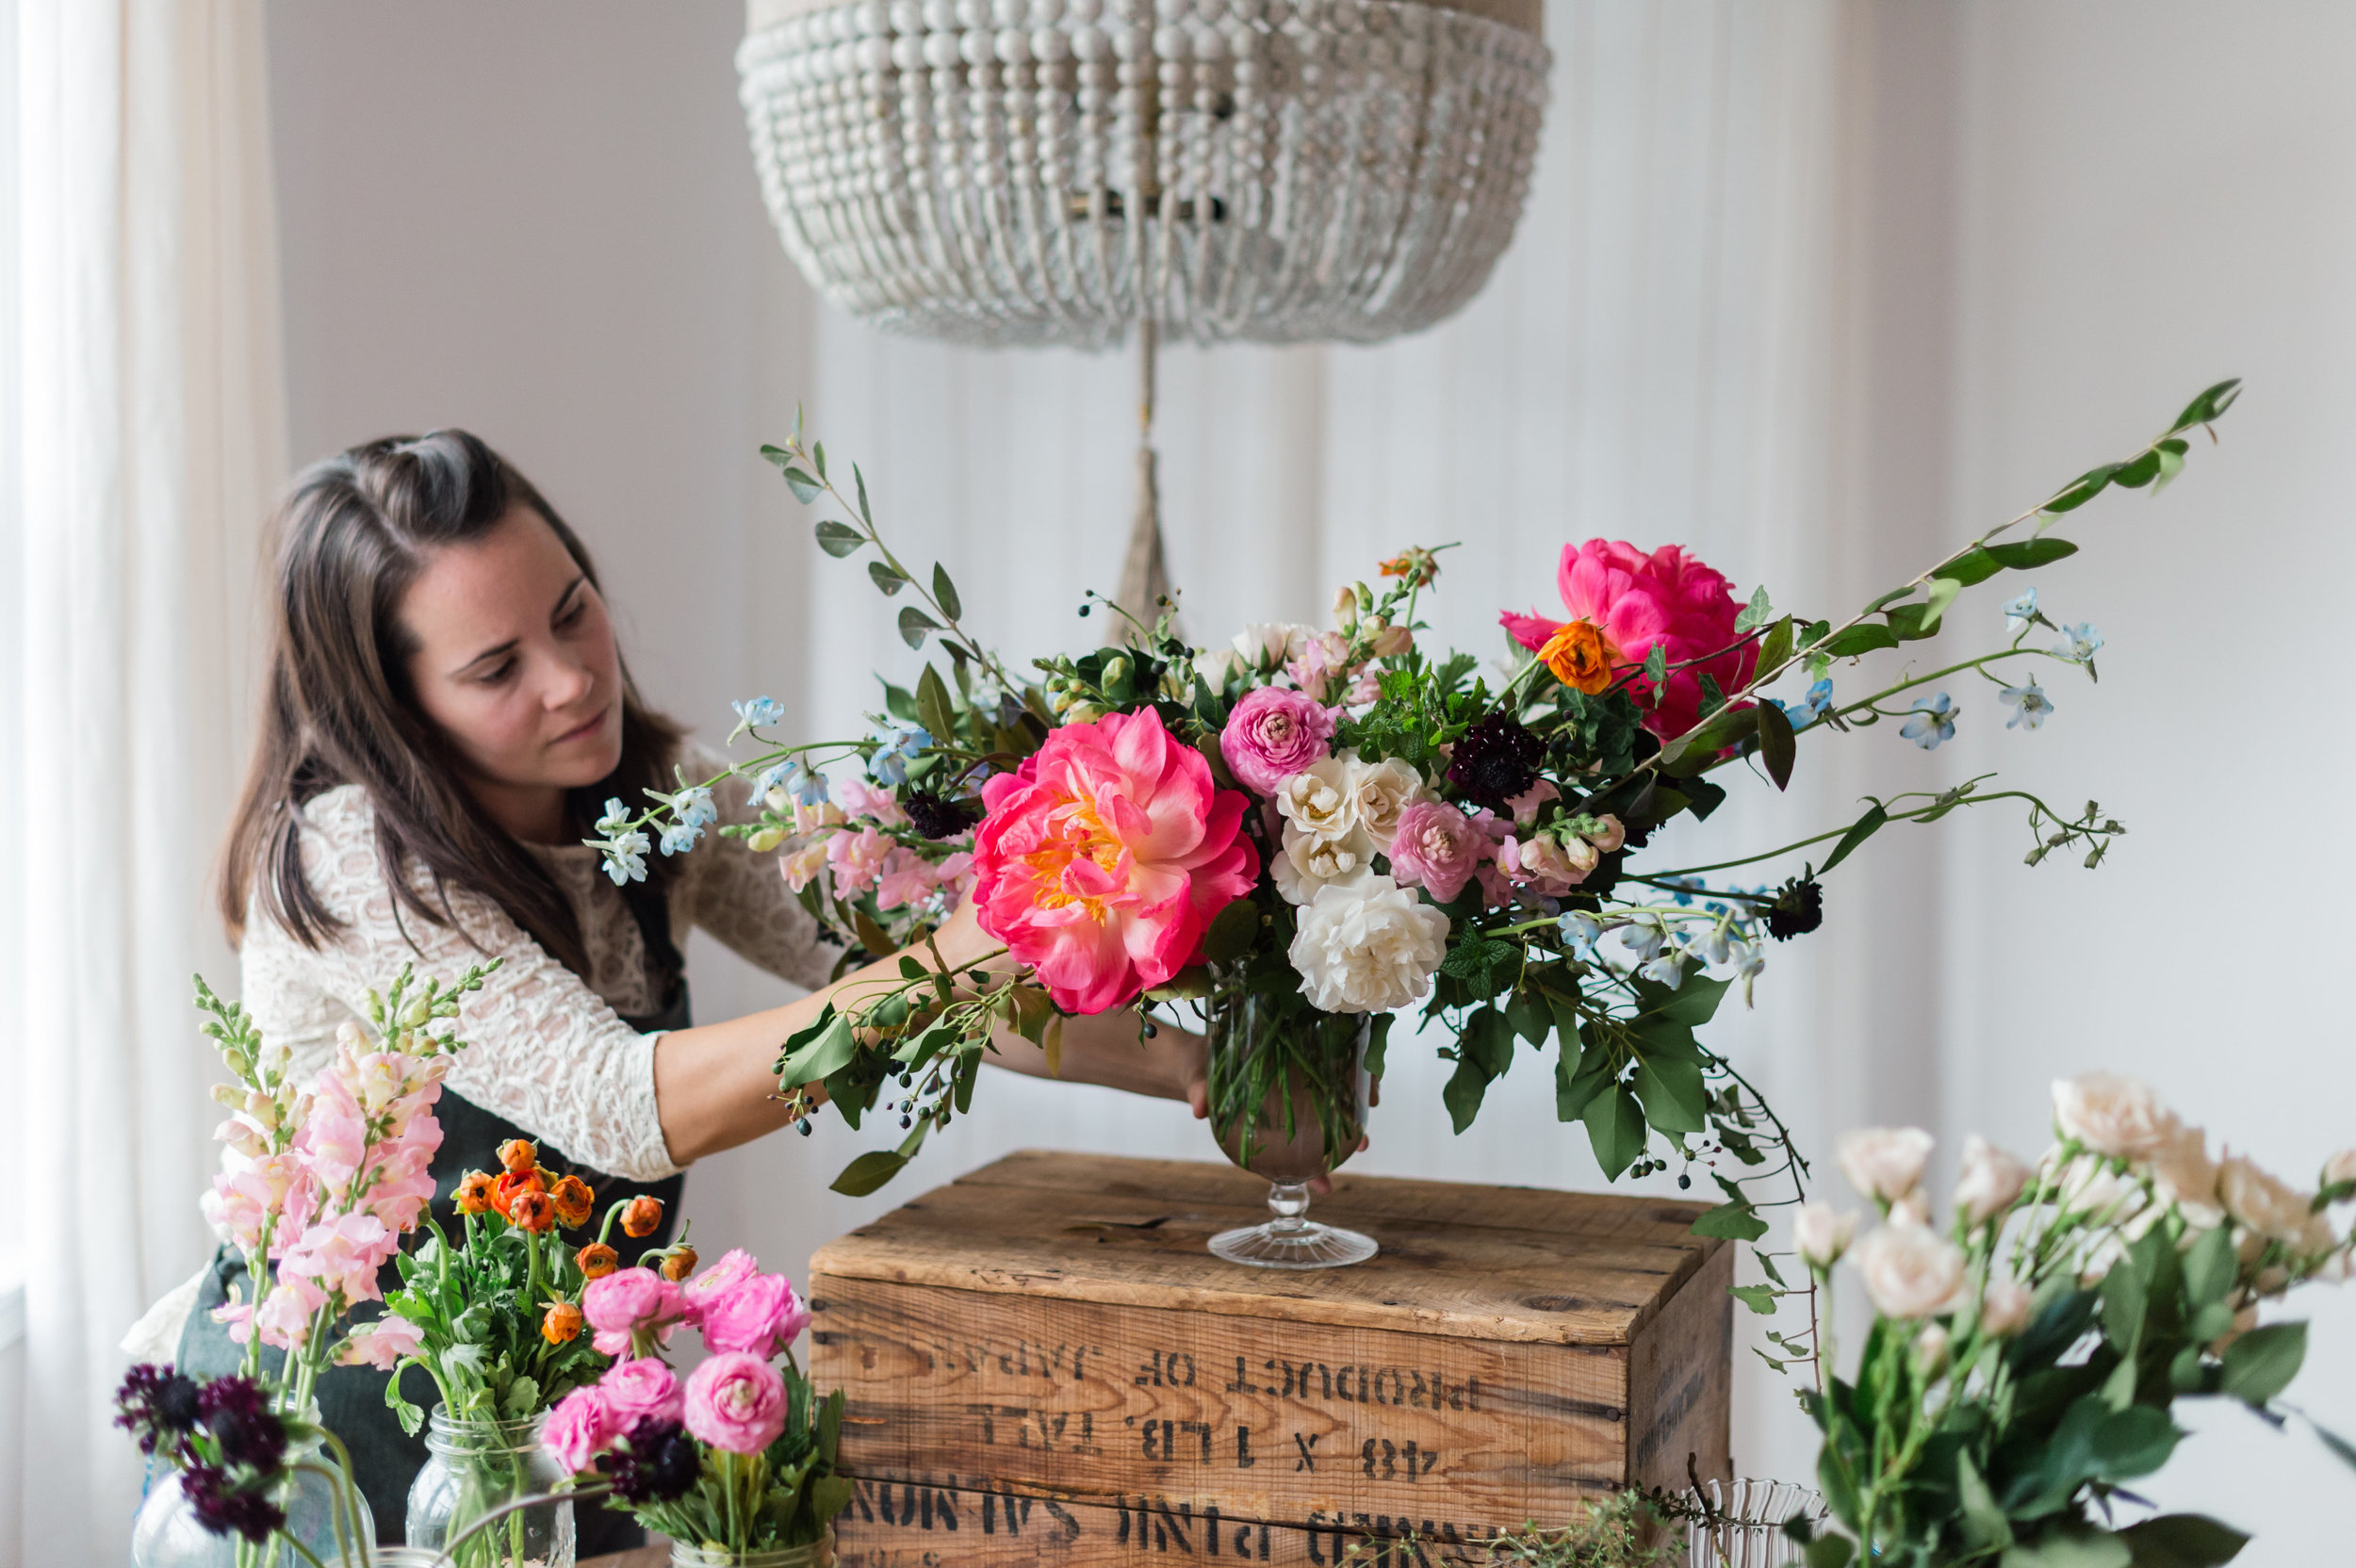
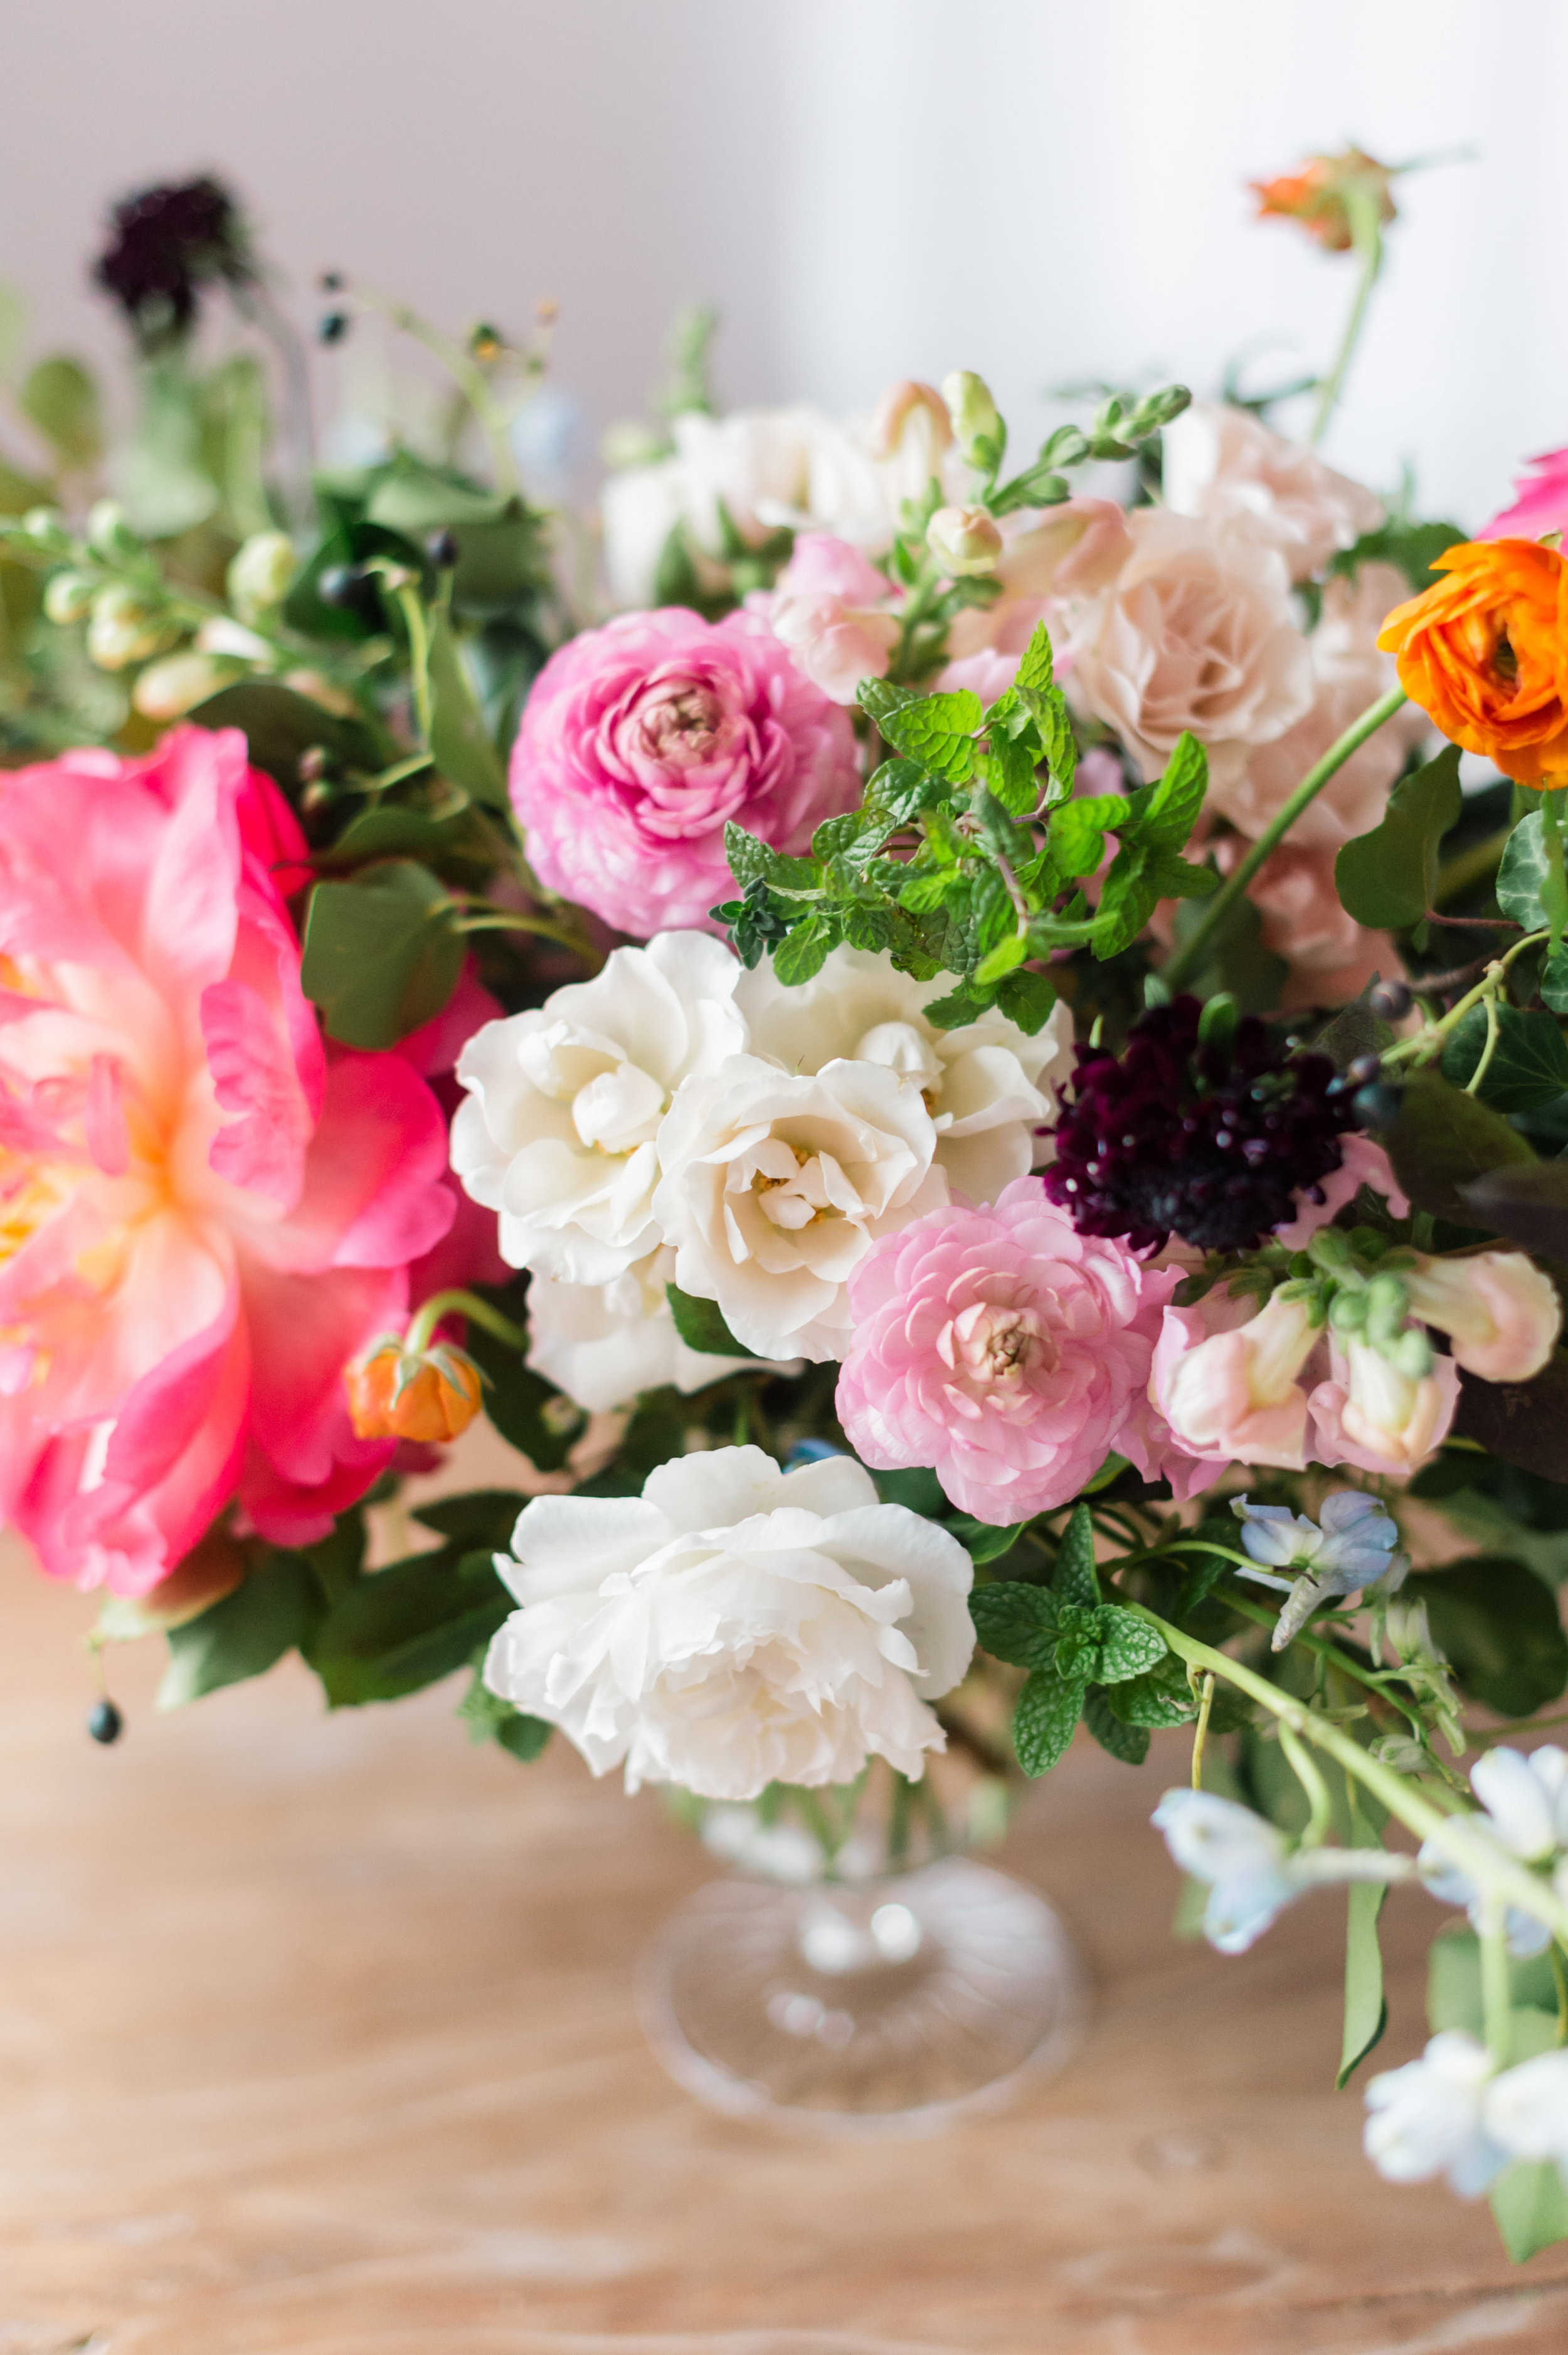
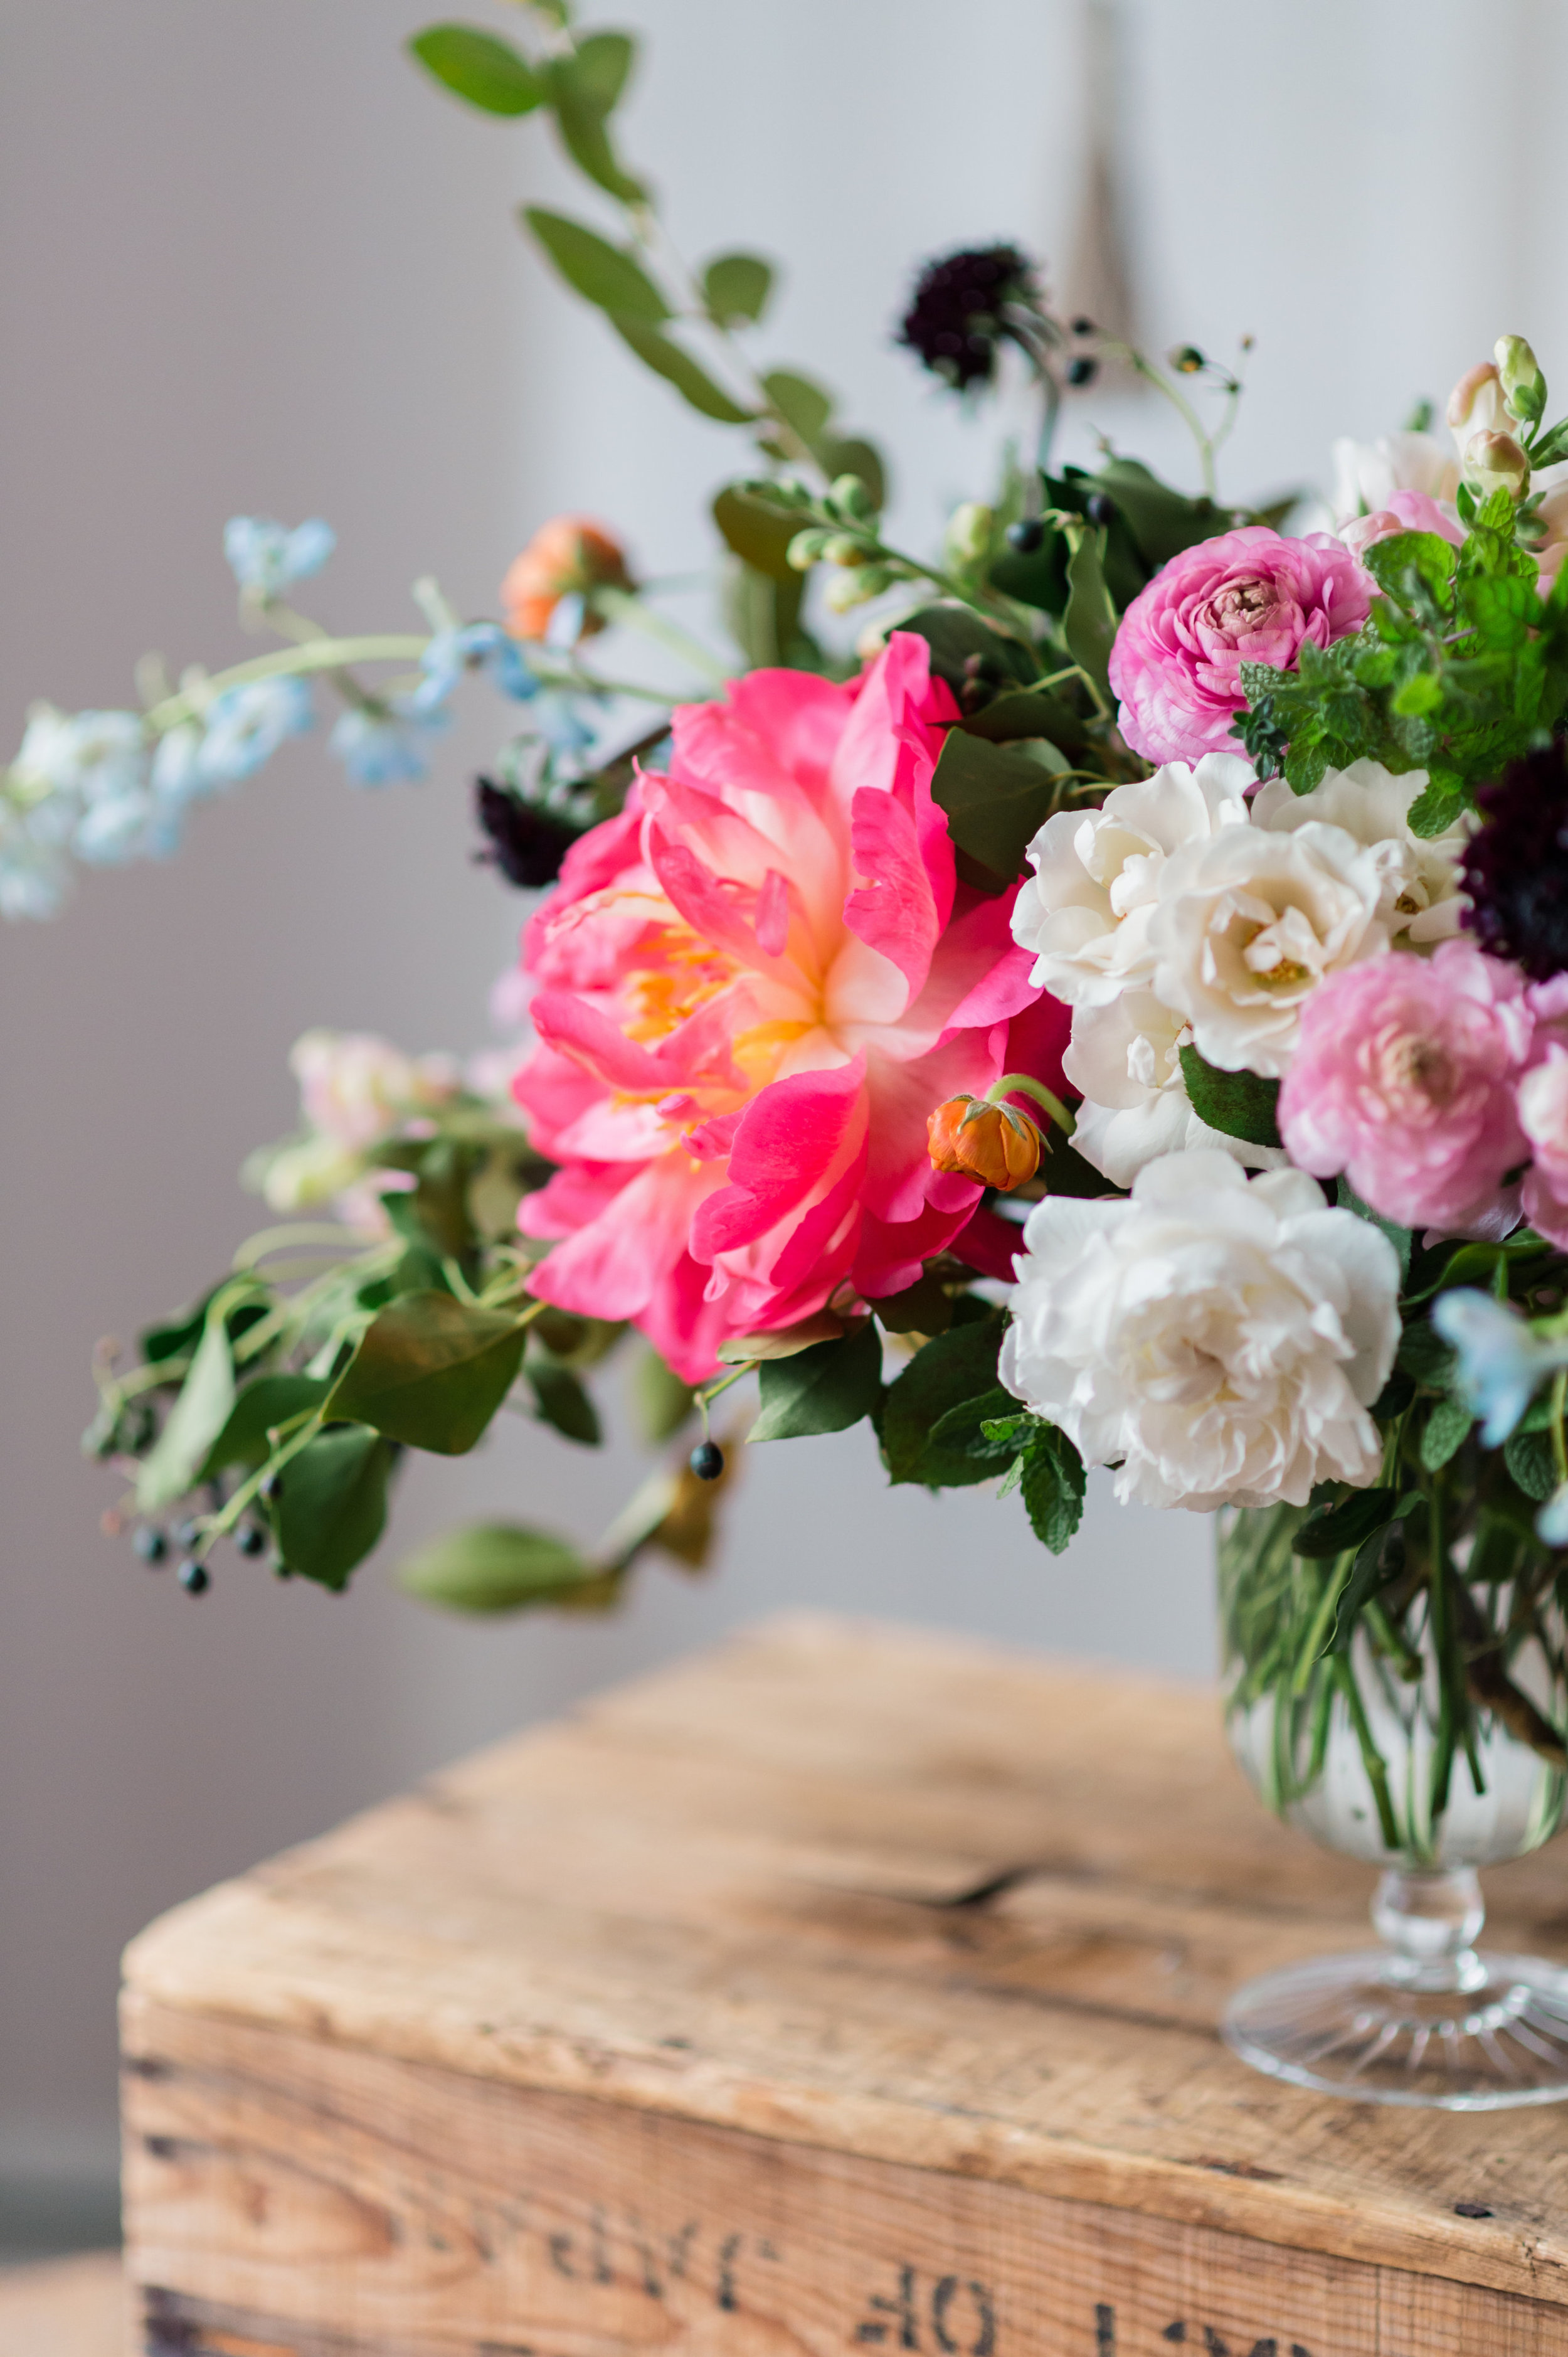
Coral charm peonies
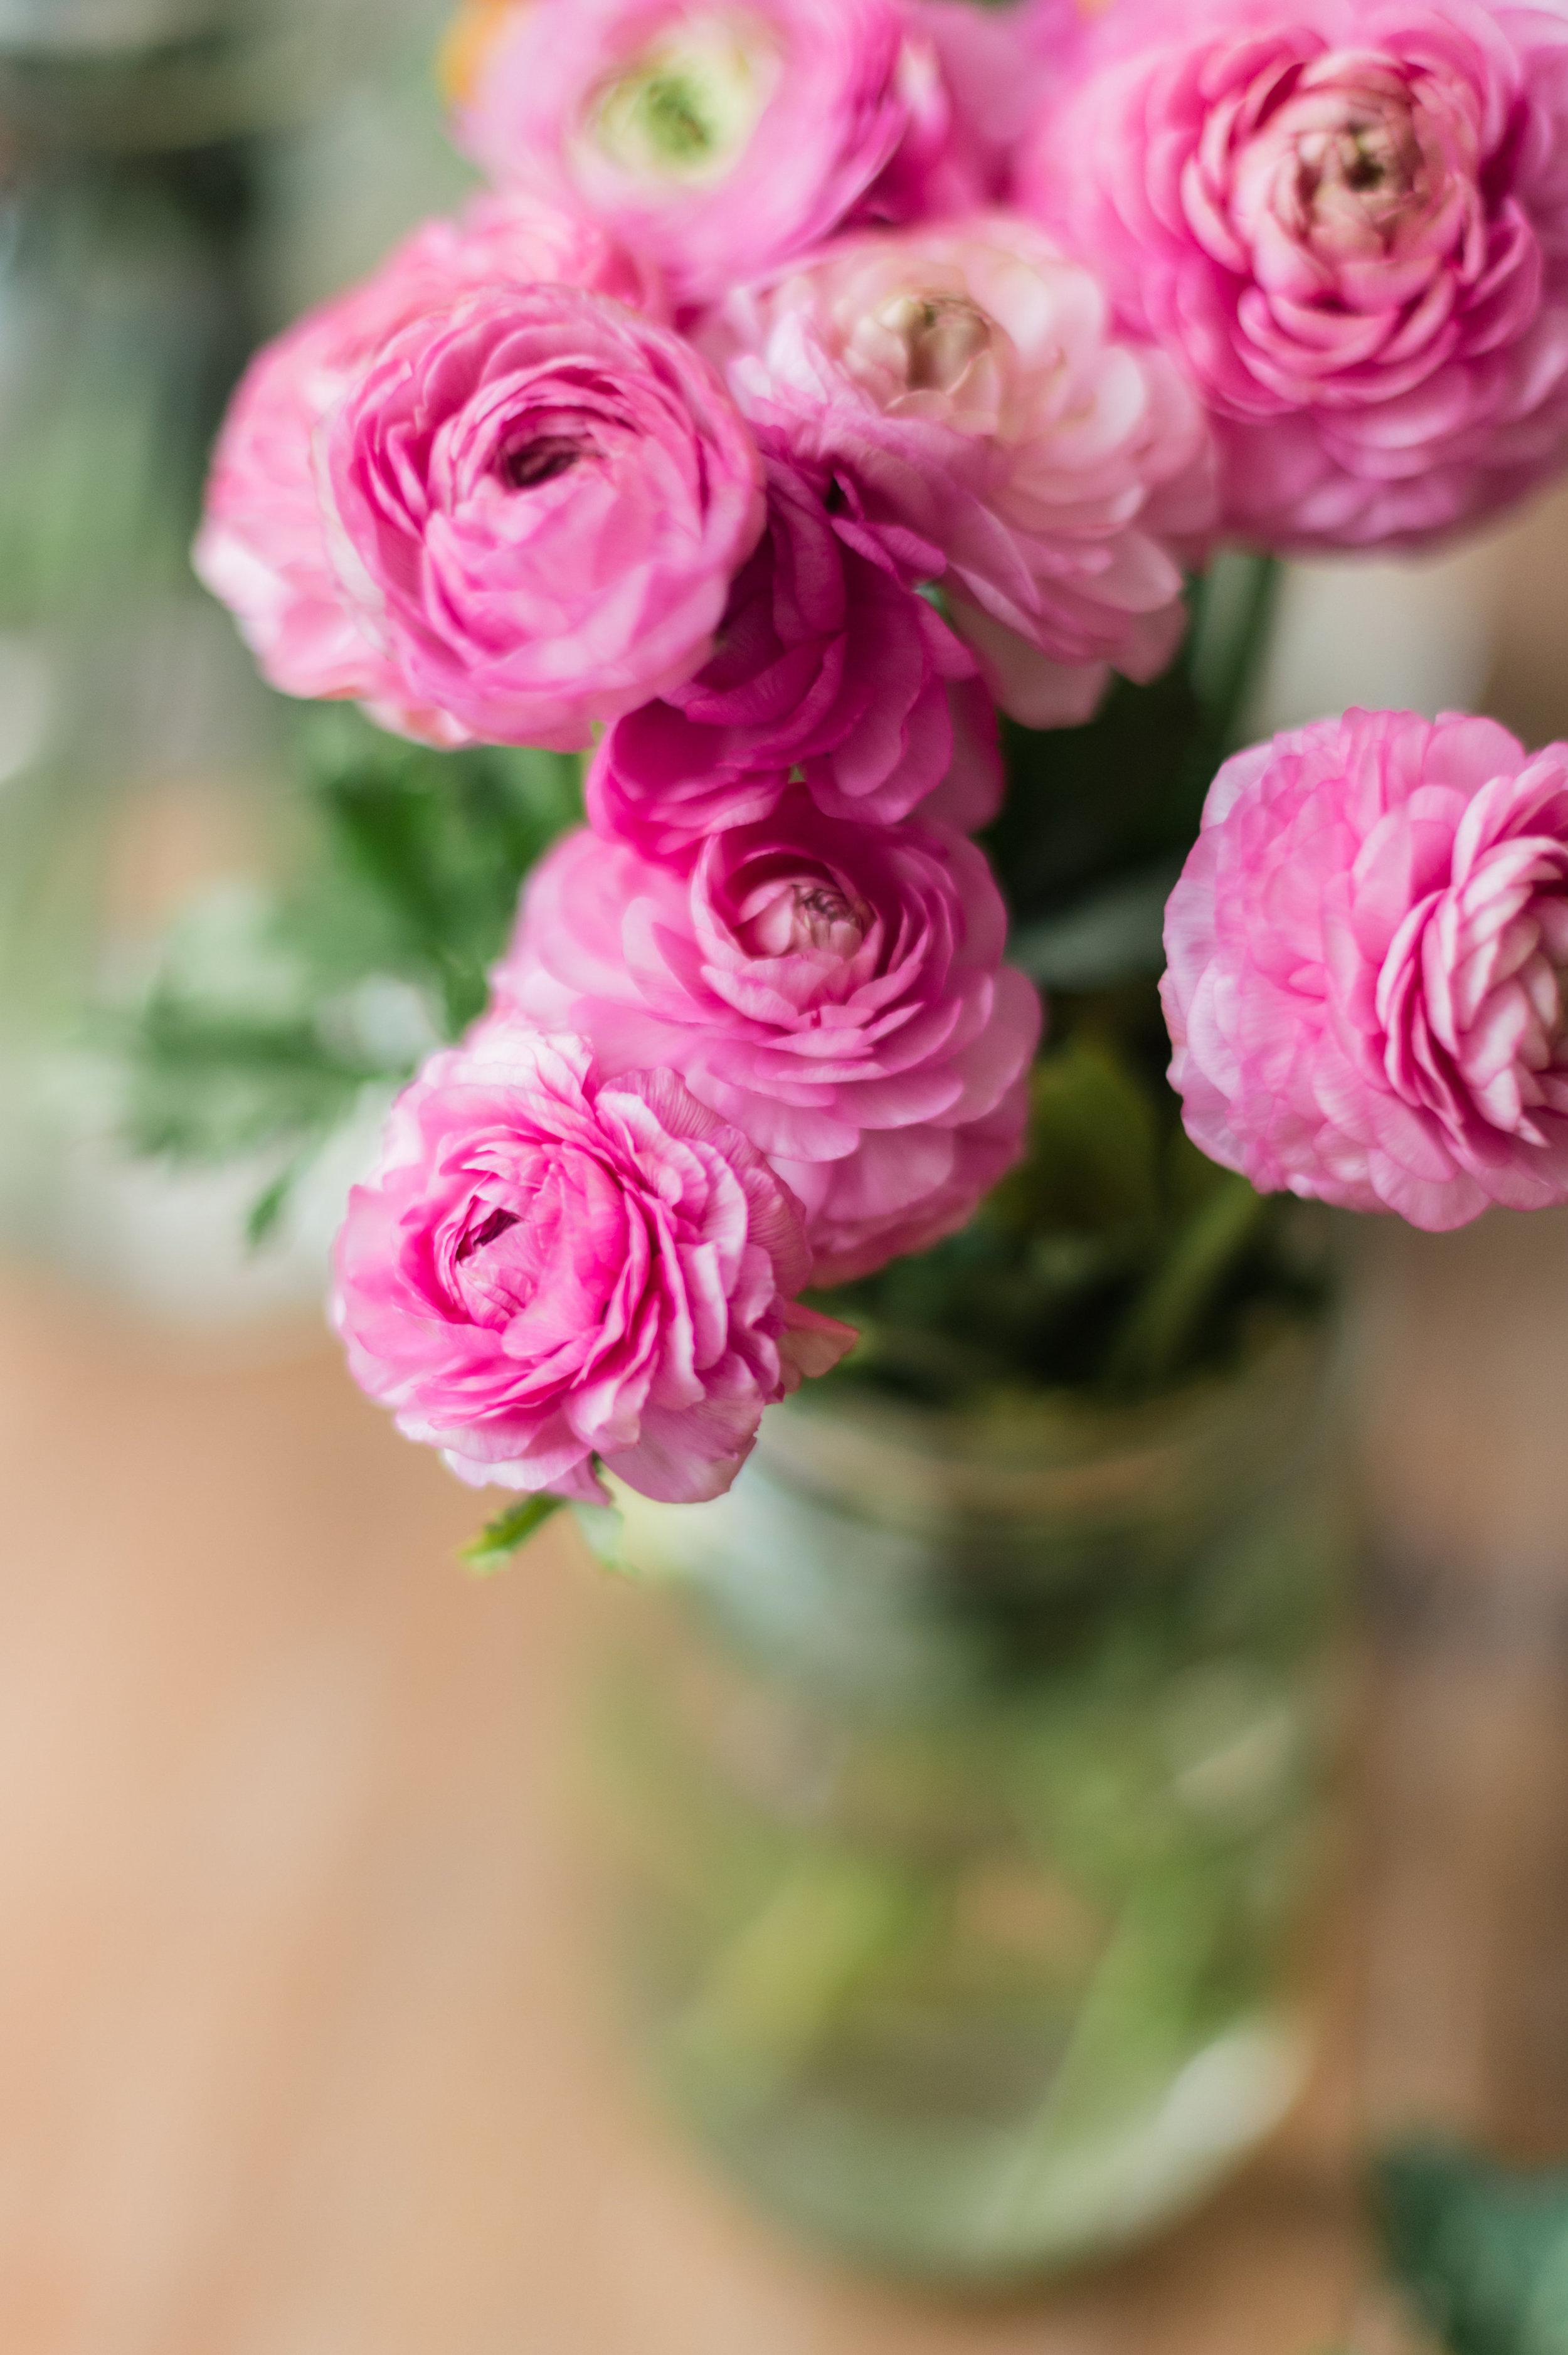
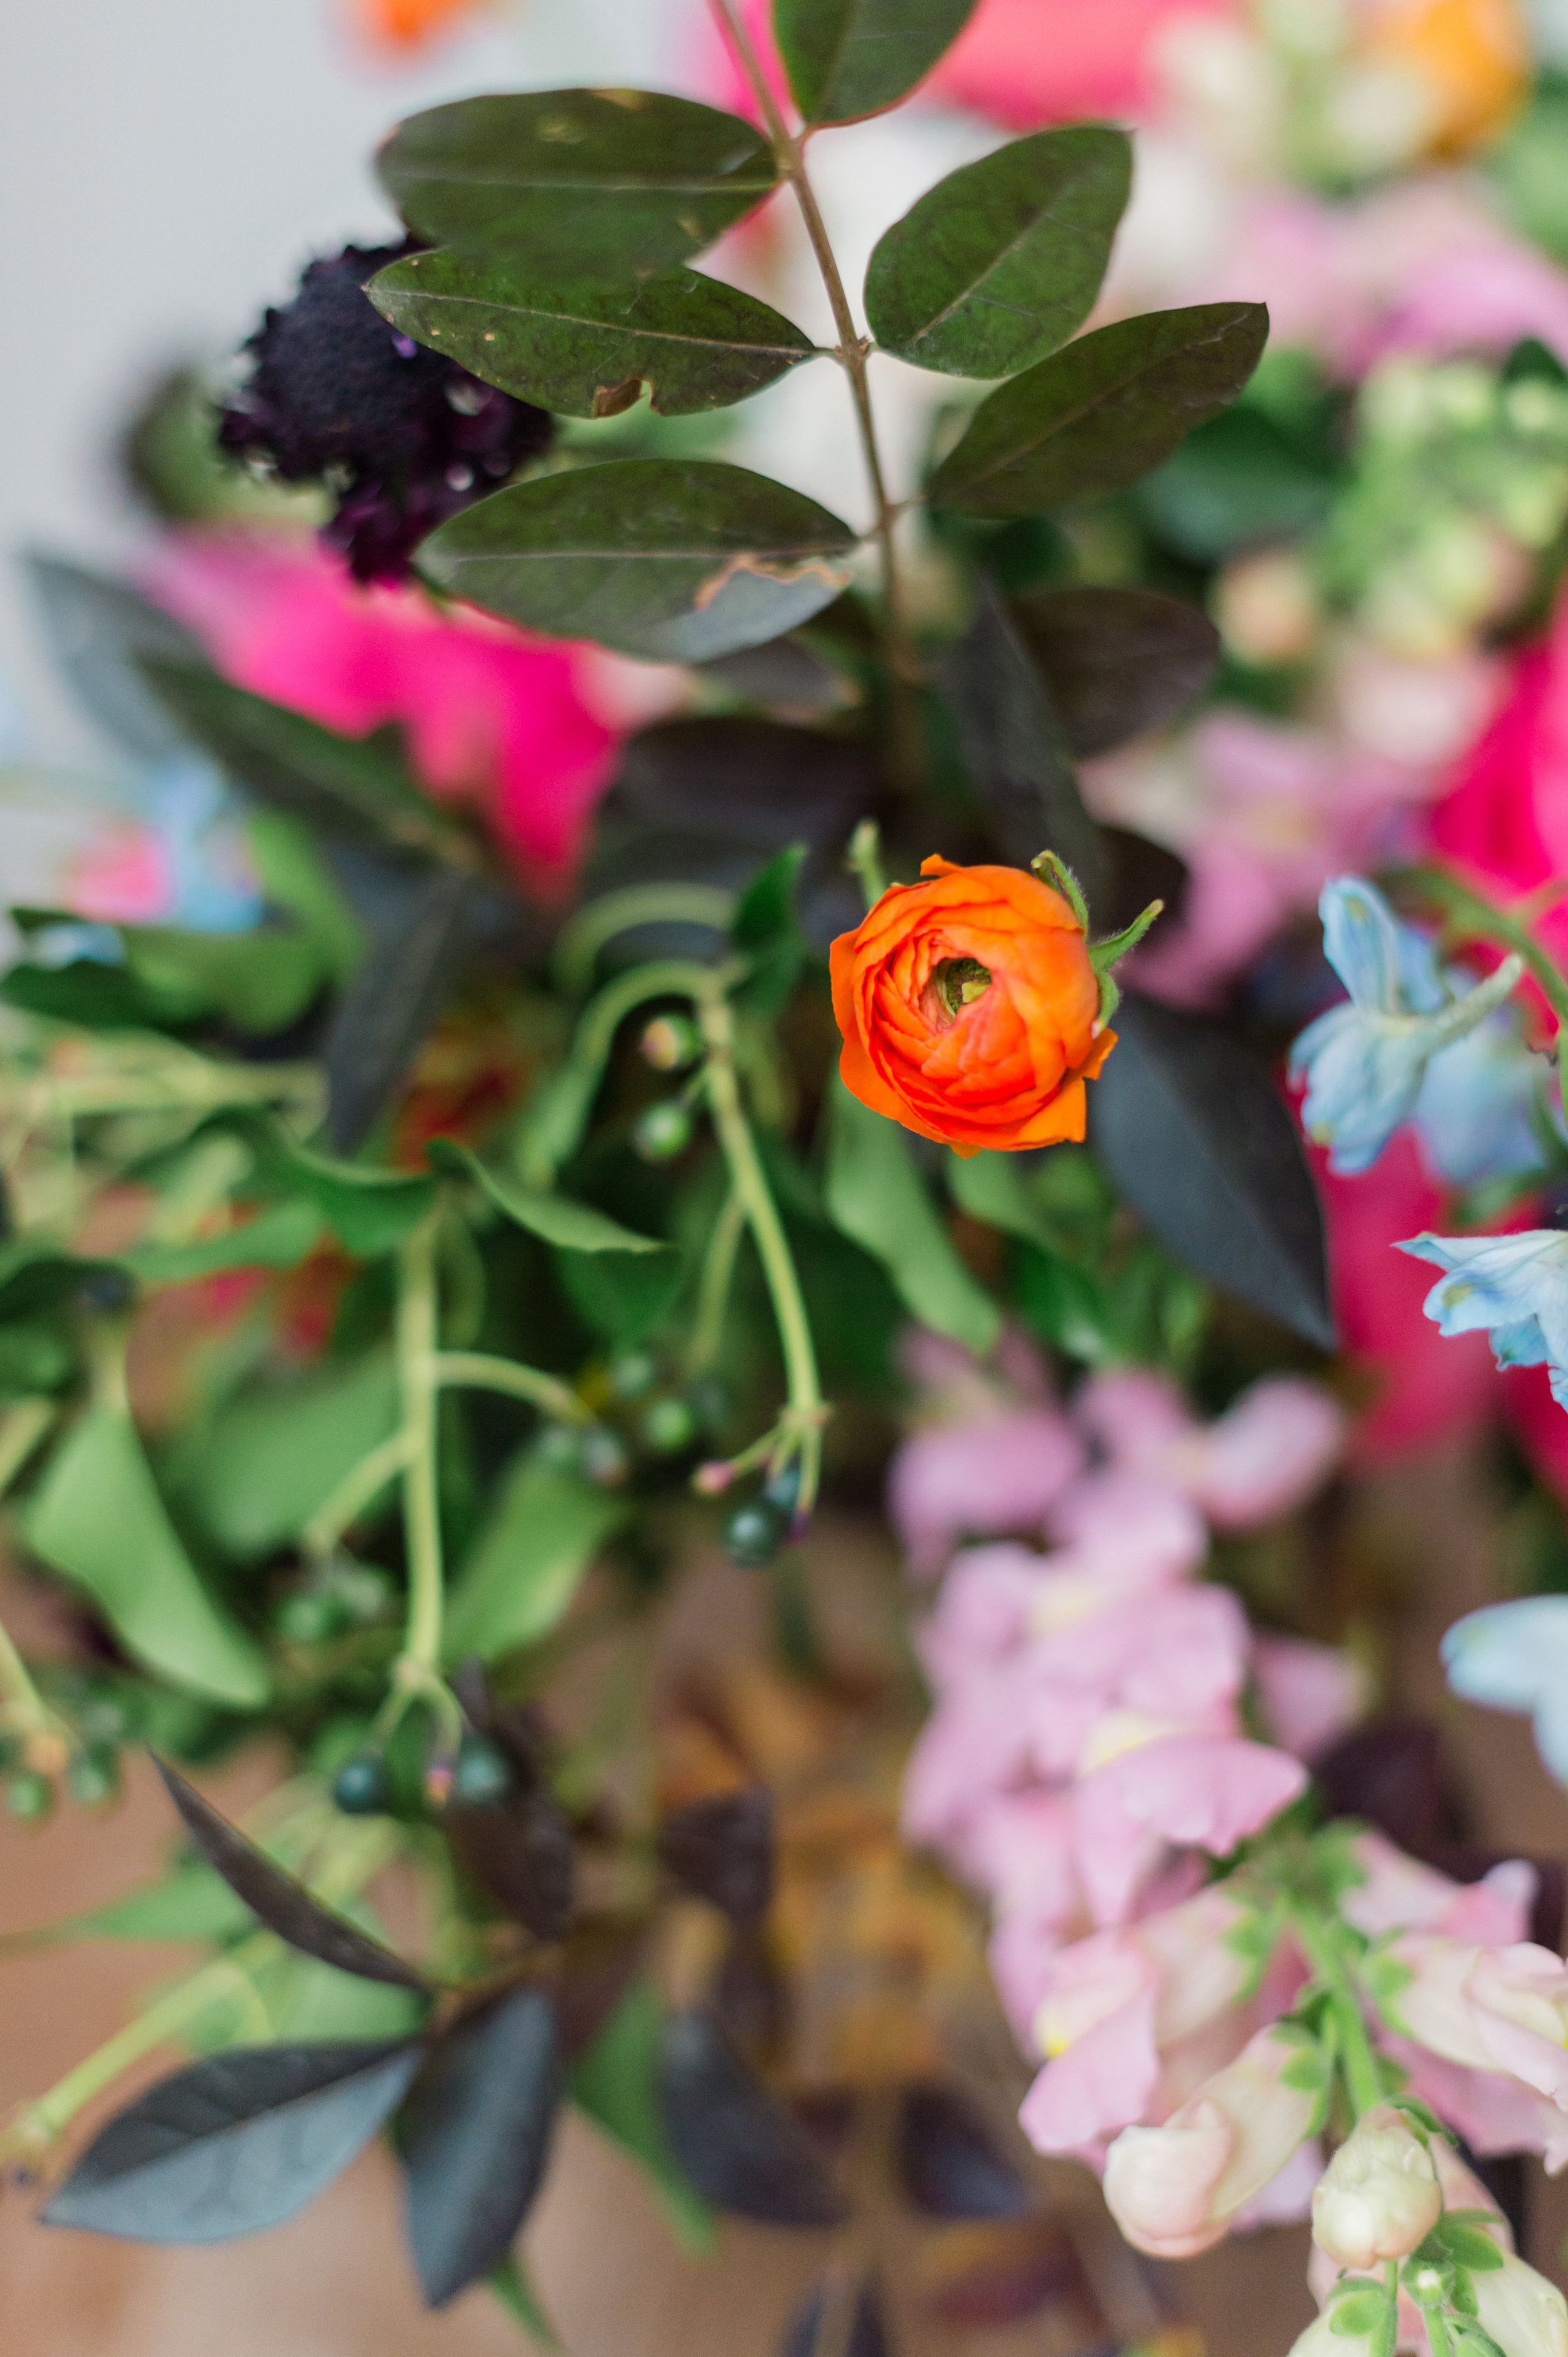
Orange and pink ranunculus
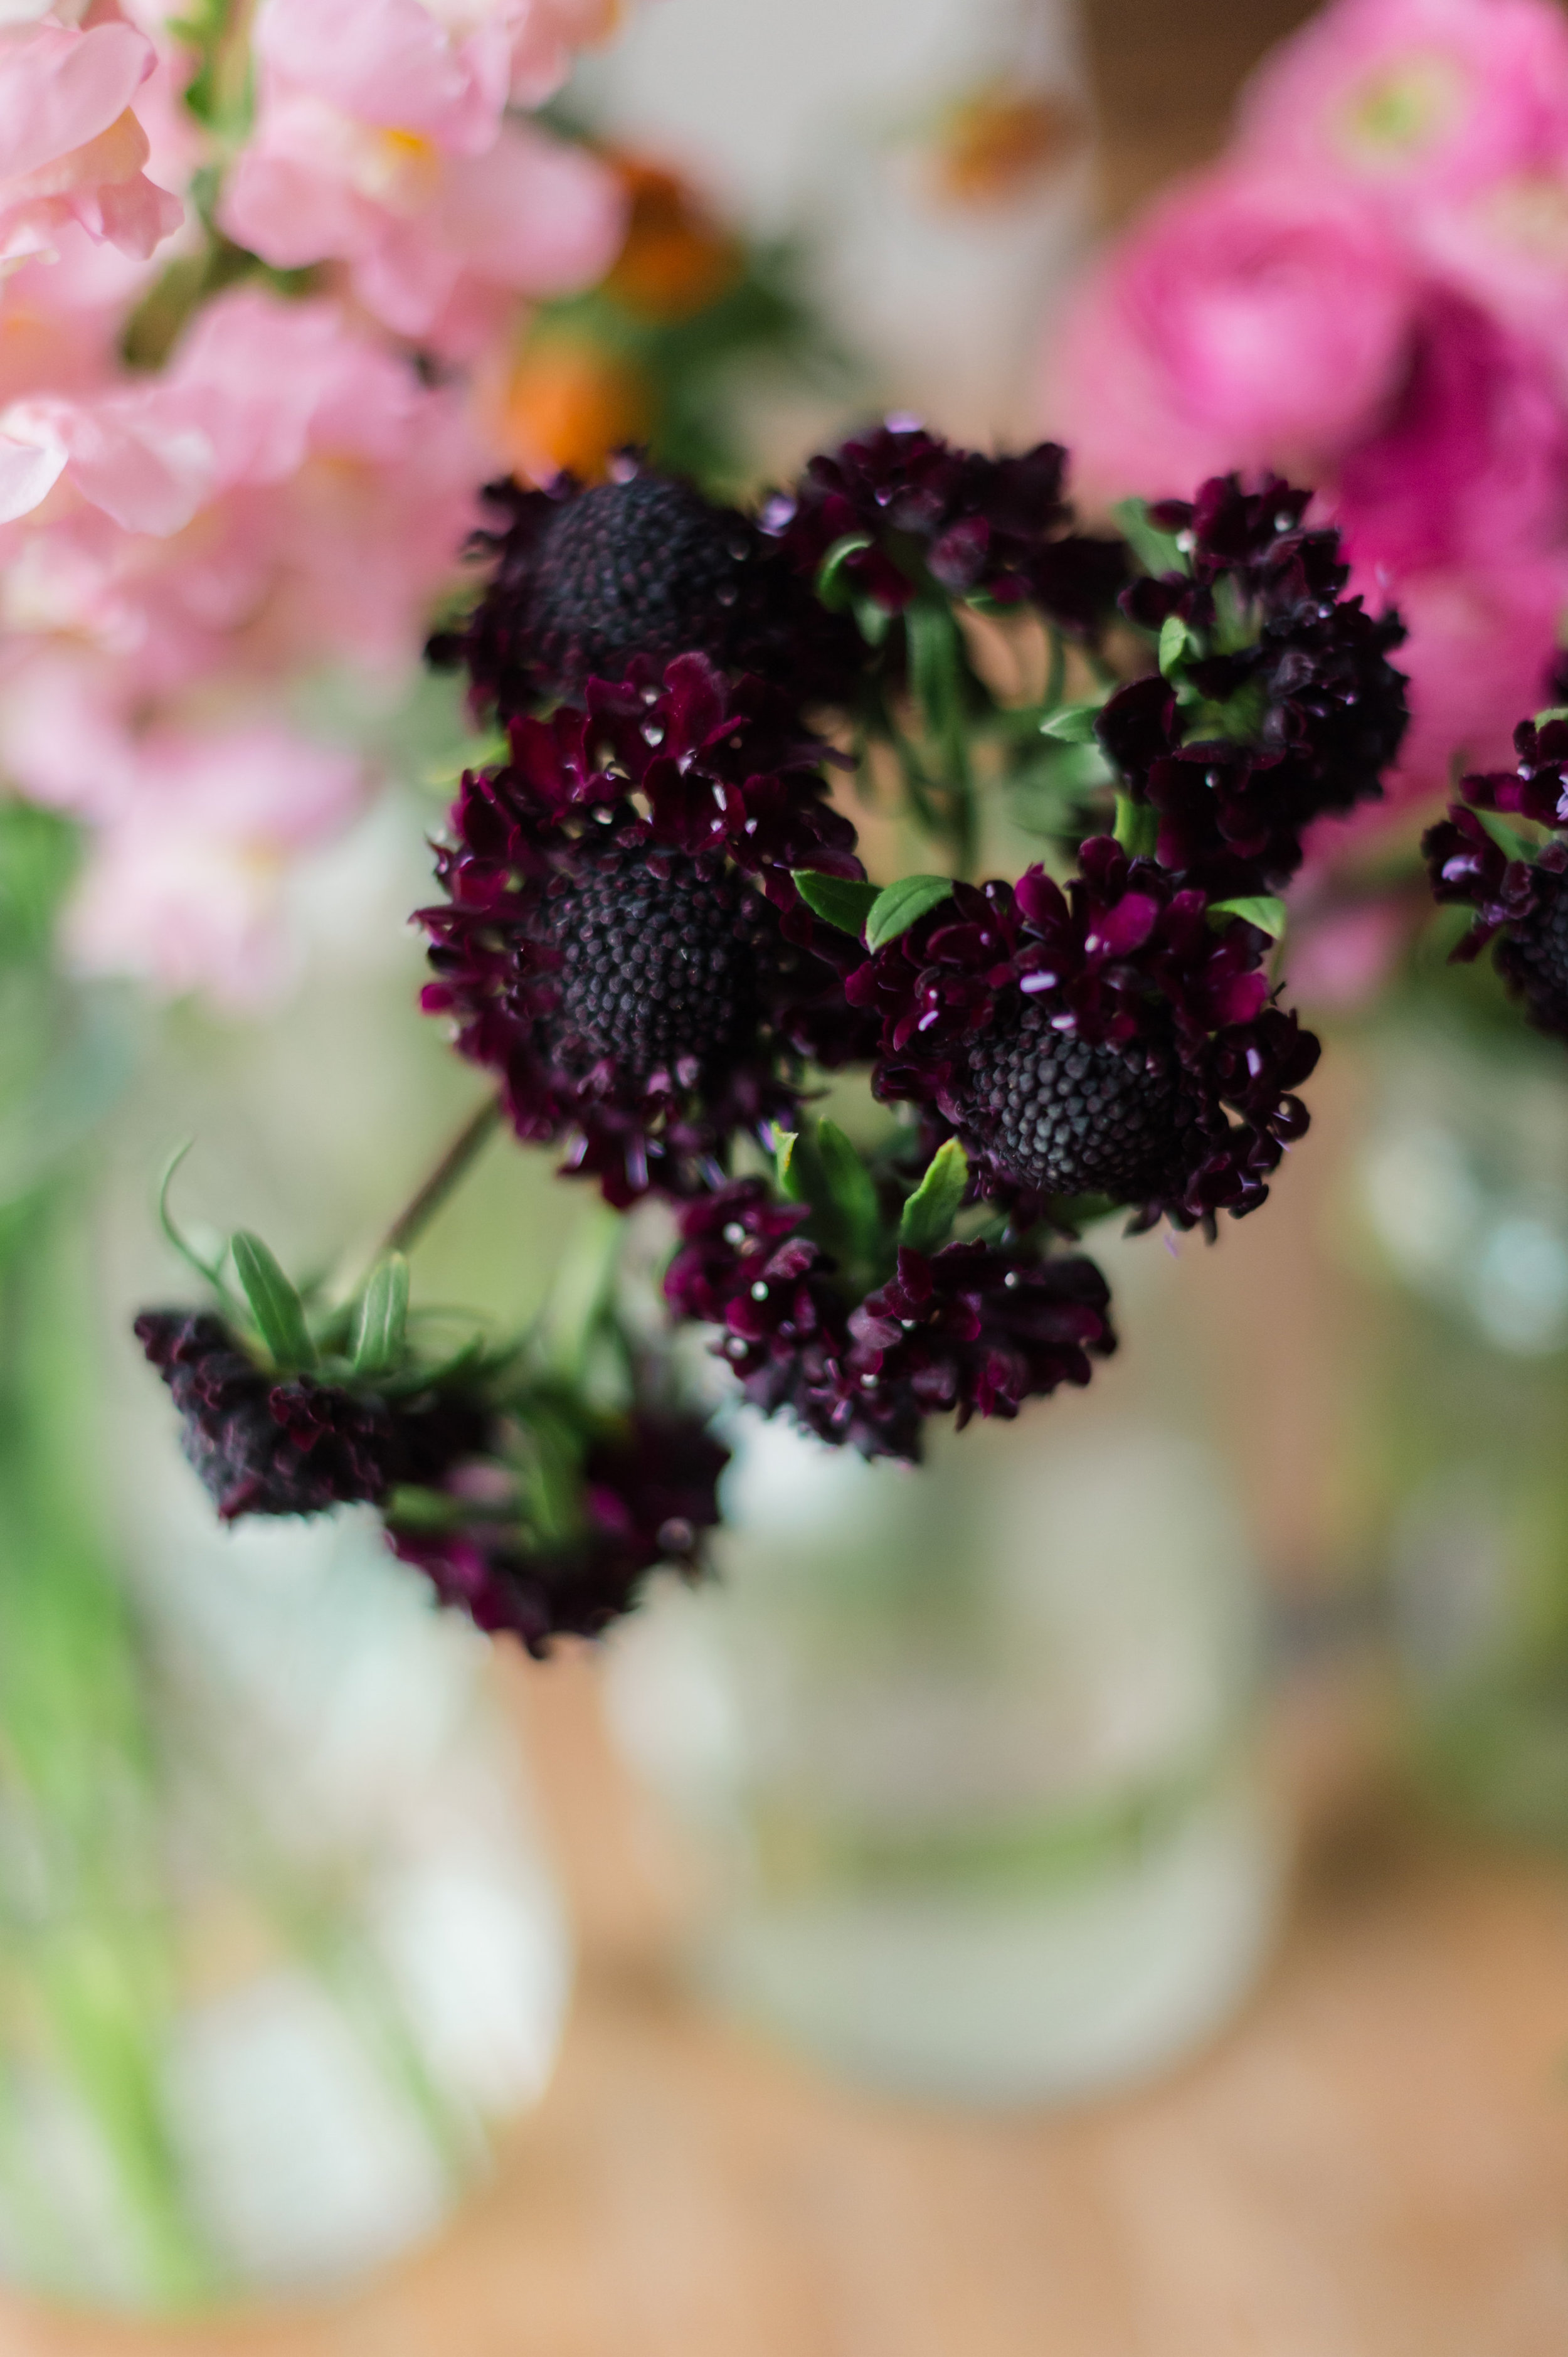
Burgundy scabiosa
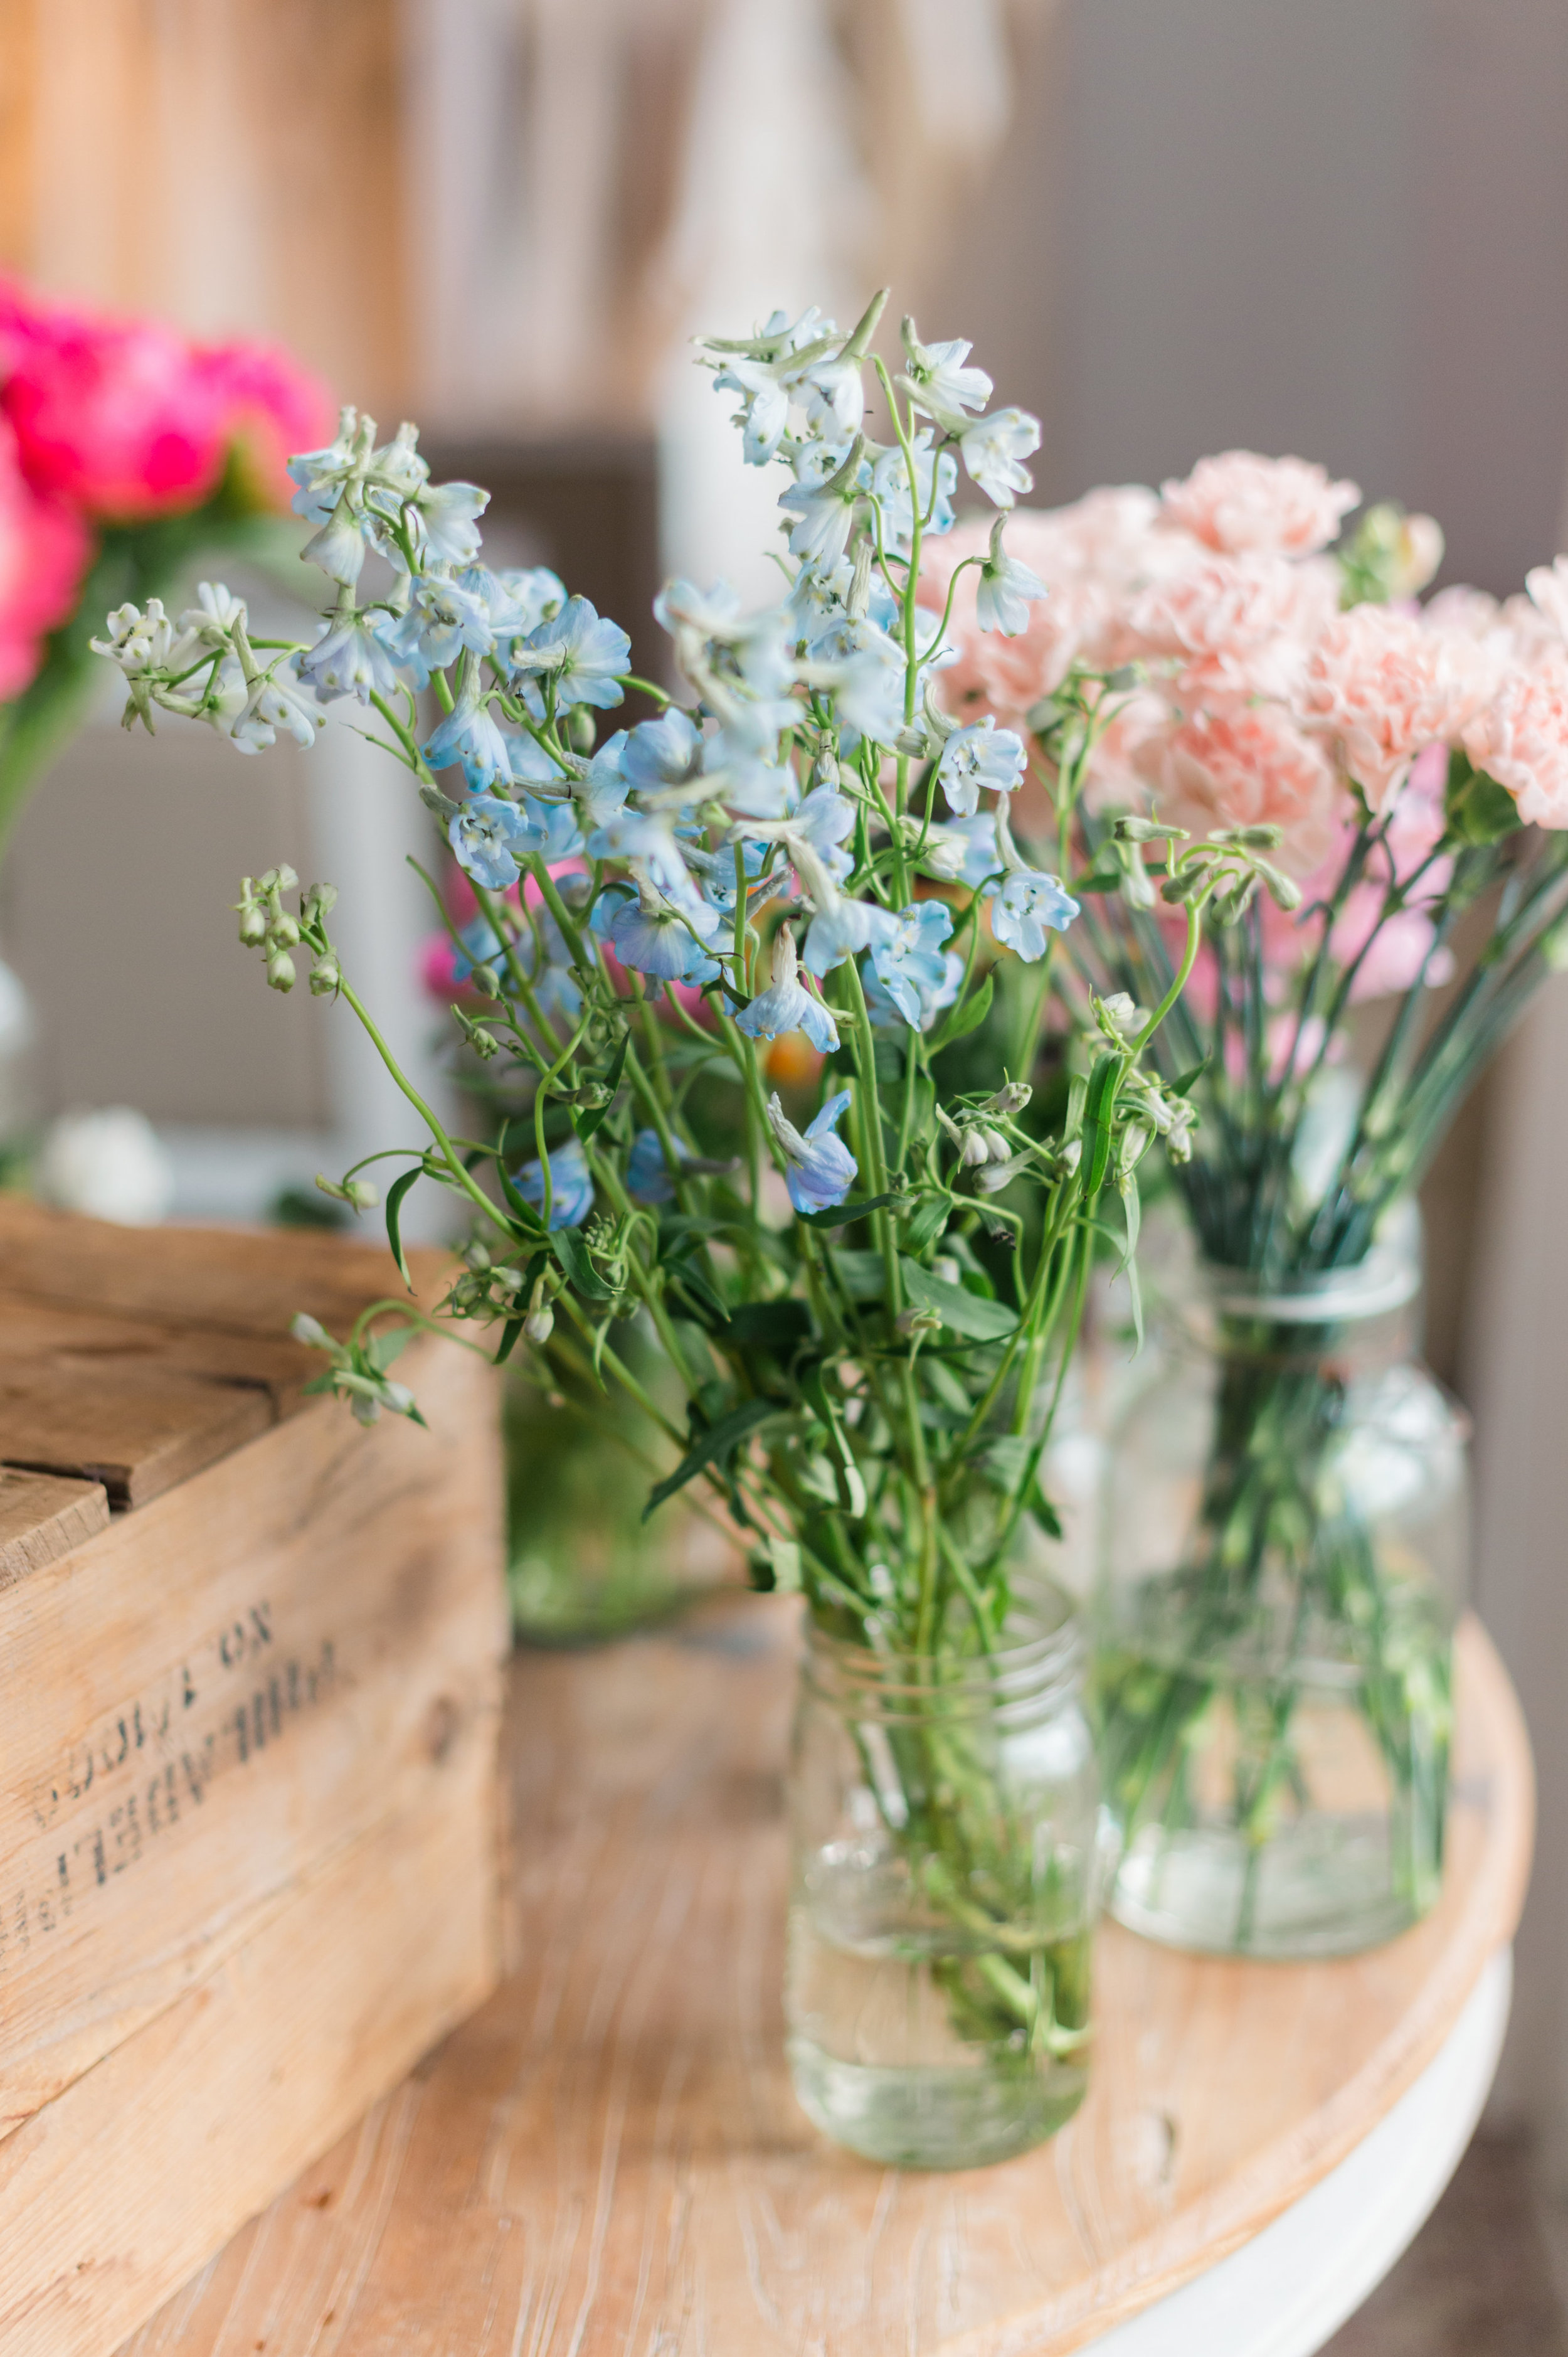
Blue delphinium
White majolica spray roses
Pink snap dragons
Peach carnations
Garden roses
Seasonal cuttings such as mint and ivy (I love to cut my greens from my surroundings!)
Instructions :
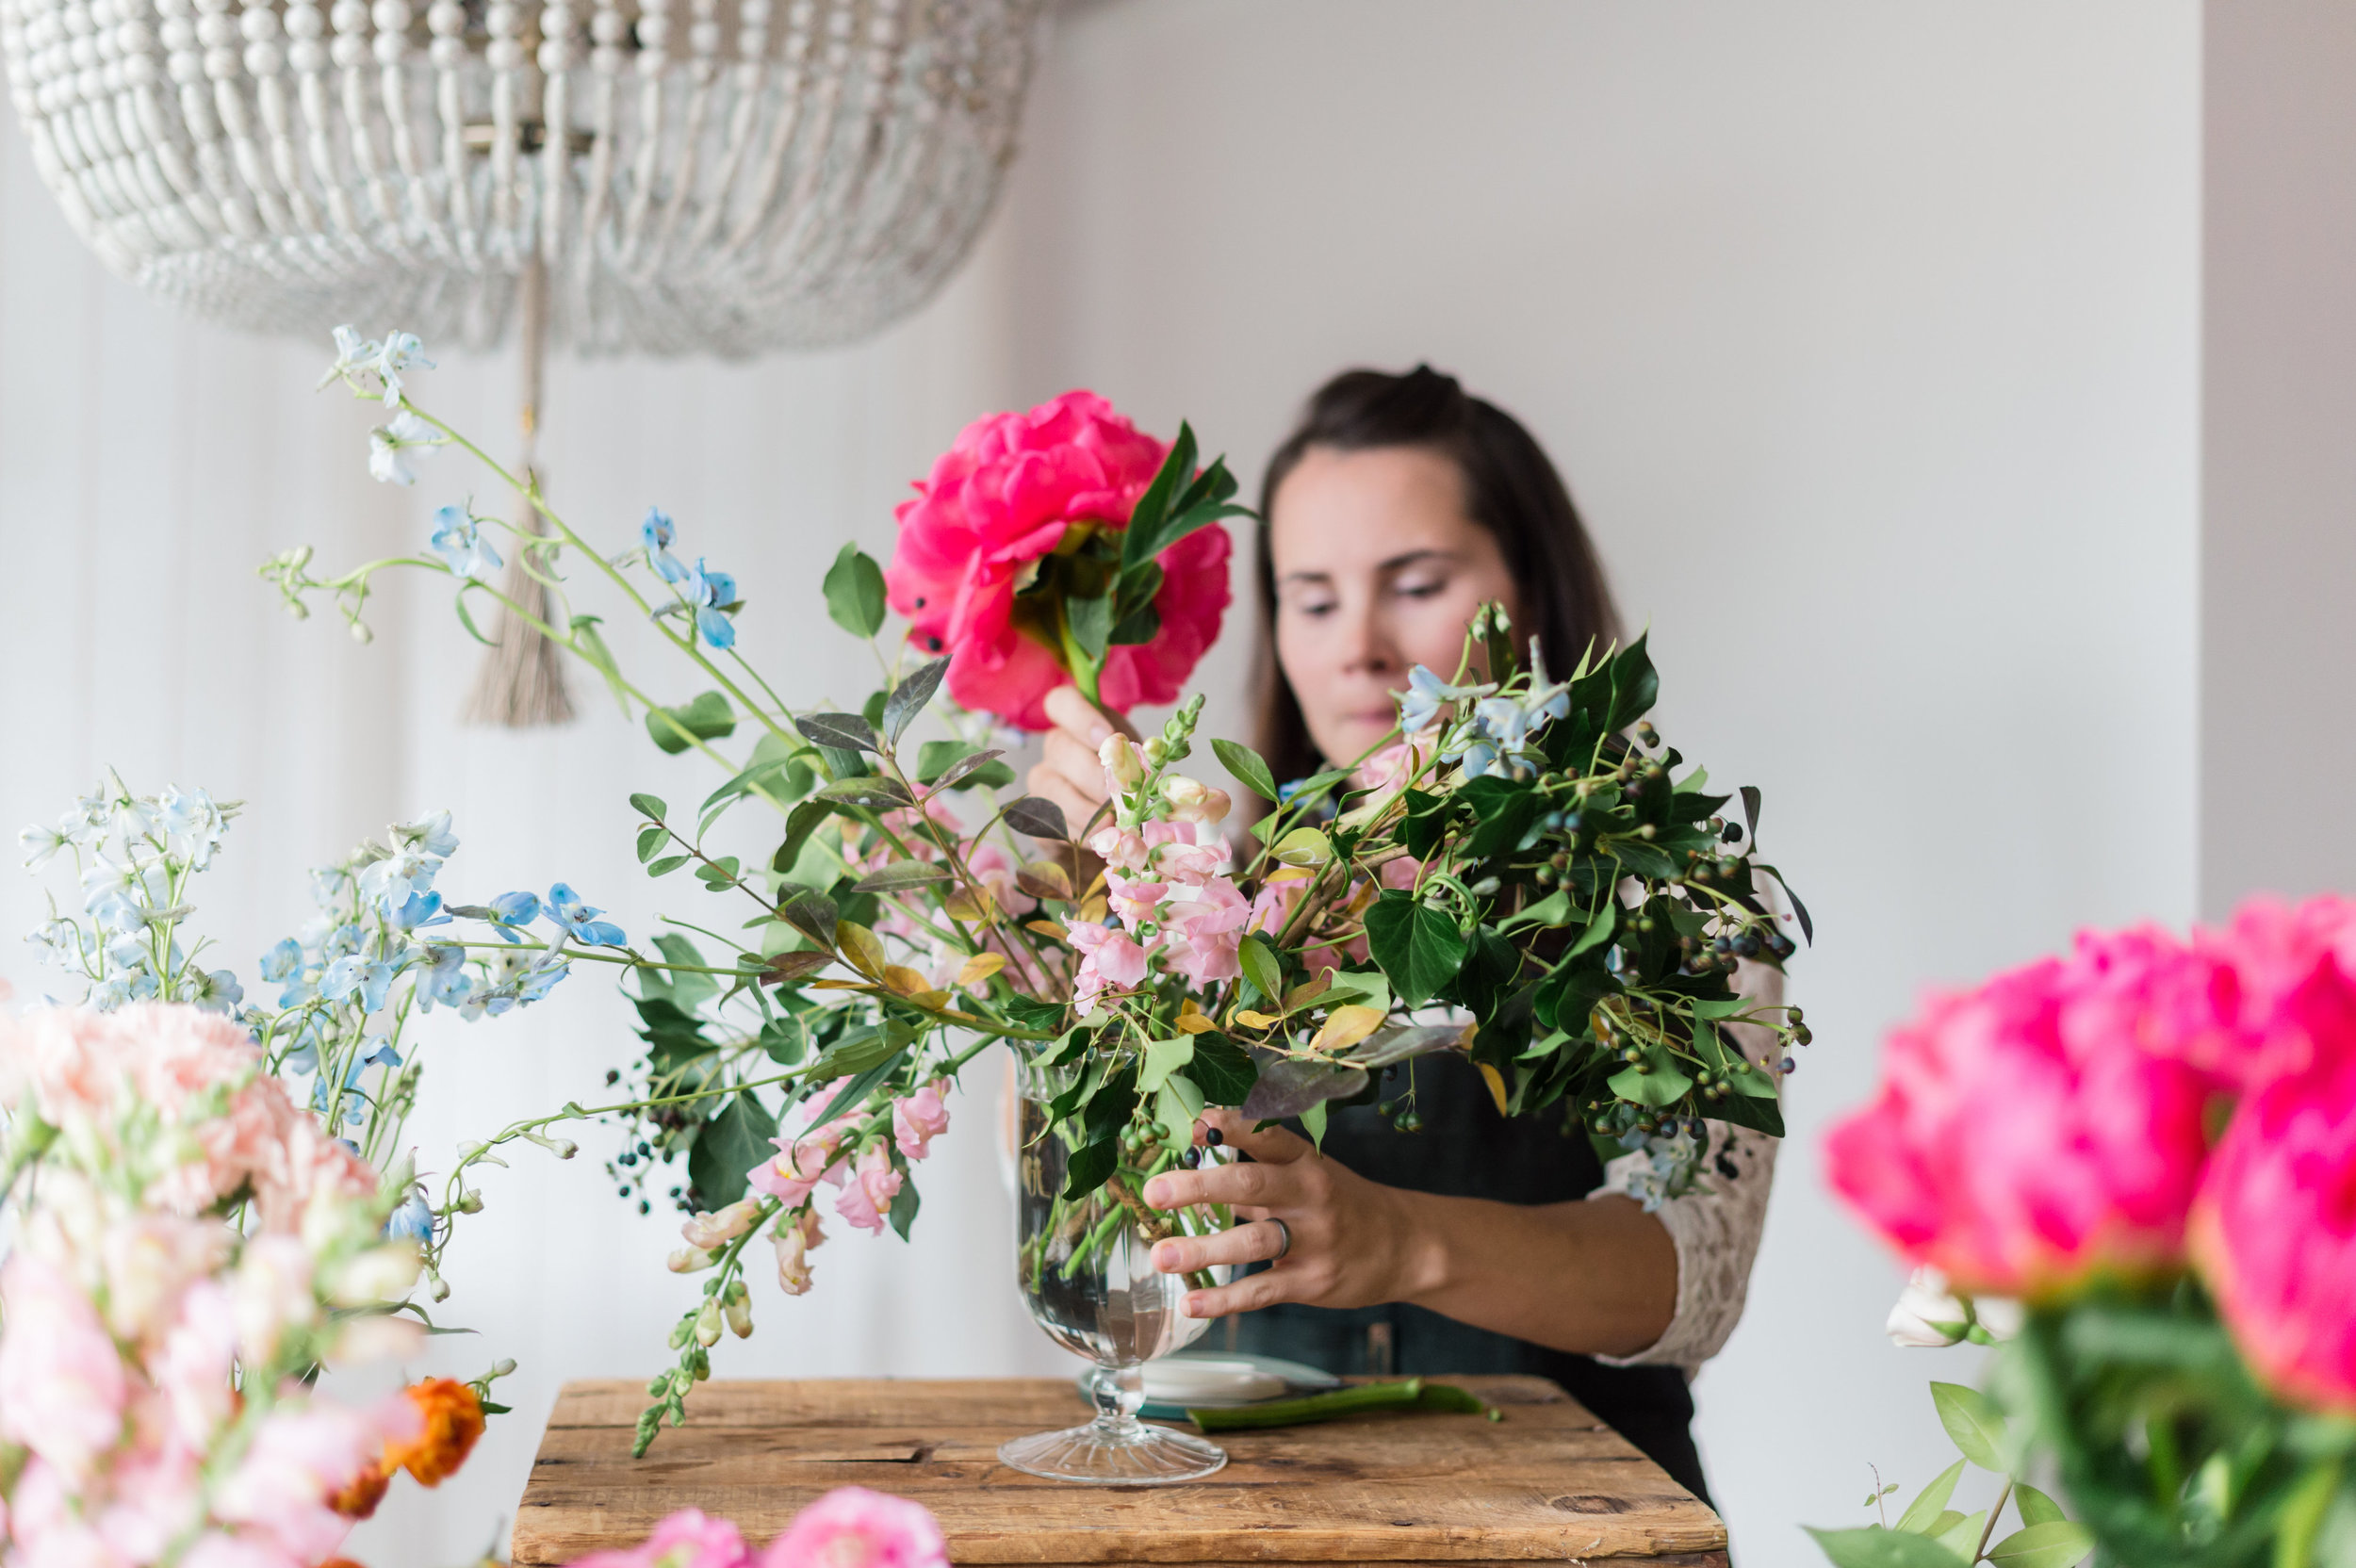
1. Using sharp clippers or a knife cut stems on a long angle. After clipping place in clean buckets or jars with cool water to process in.
2. For clear large vases build a grid. Using waterproof floral tape creating a grid pattern by placing strips of tape overlapping in opposite directions with about .25 inch over the lip of my vase (See image below). Be sure to apply your tape to a dry vase so it will stick. Next, fill the vessel with water. For vases and containers that are not clear you can also use a chicken wire structure tucked down in and use tape to secure it.
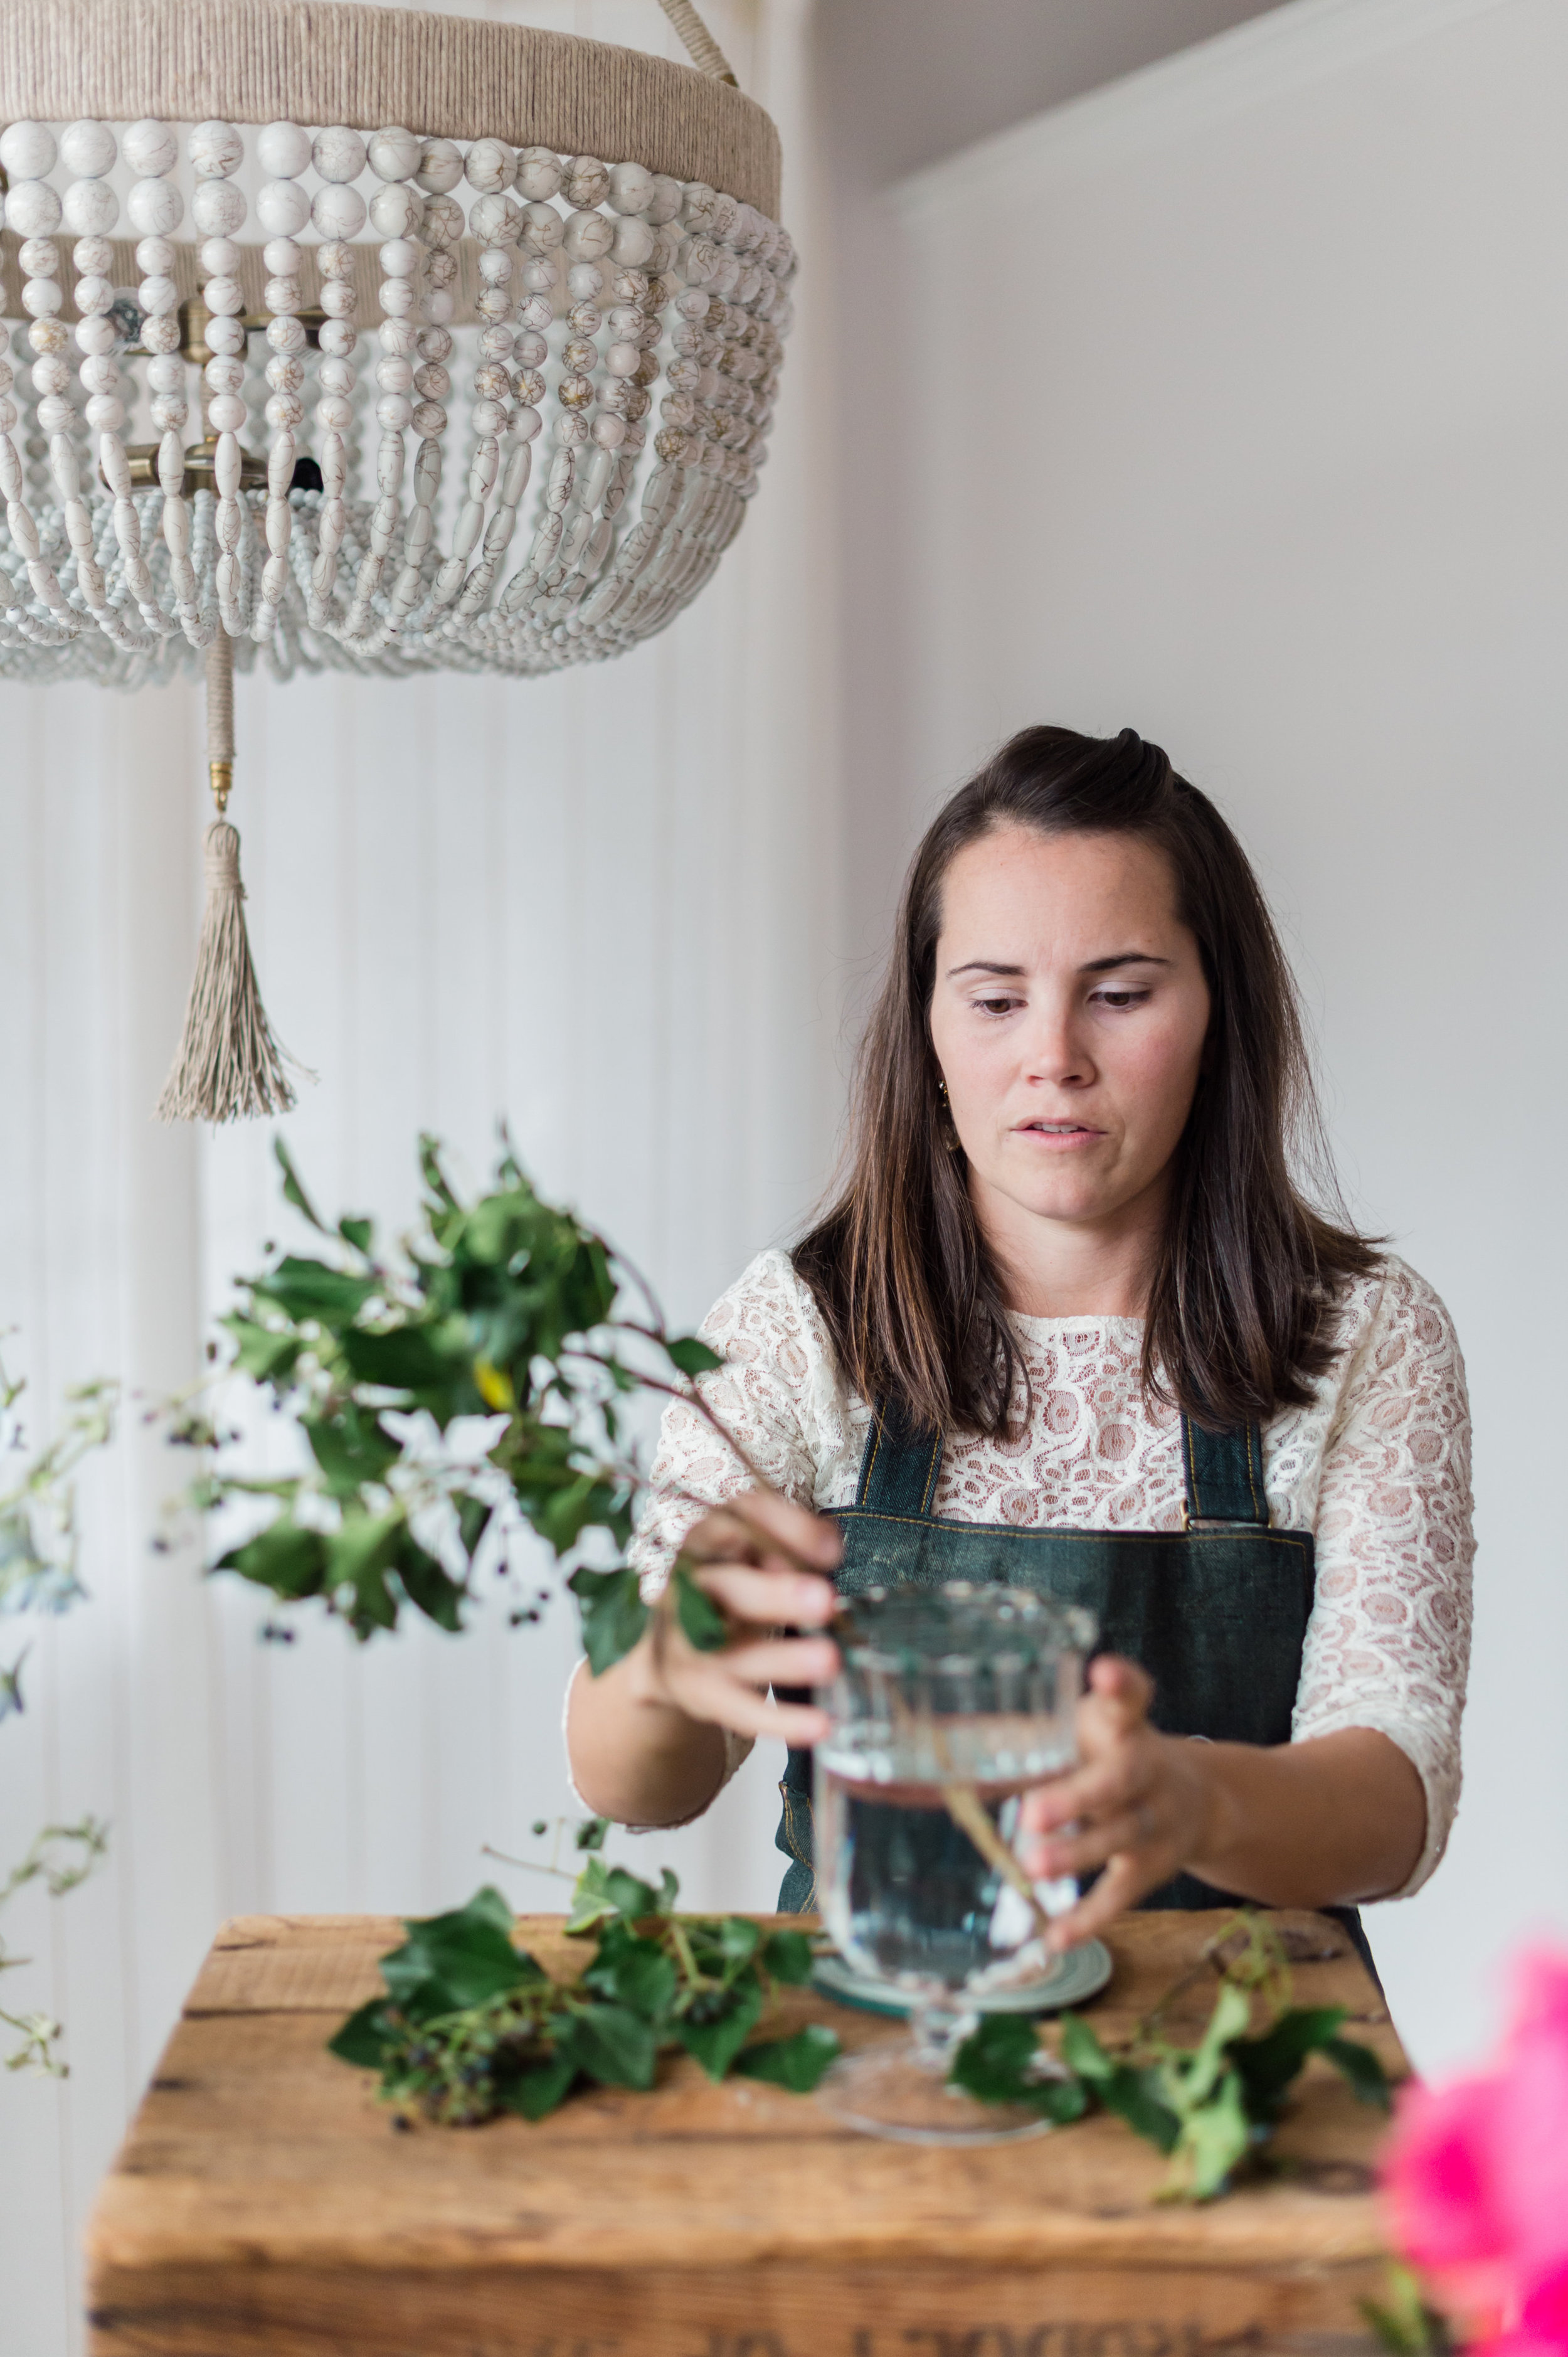
3. As your start arranging, make sure to keep all stems clear of leaves below the water line.
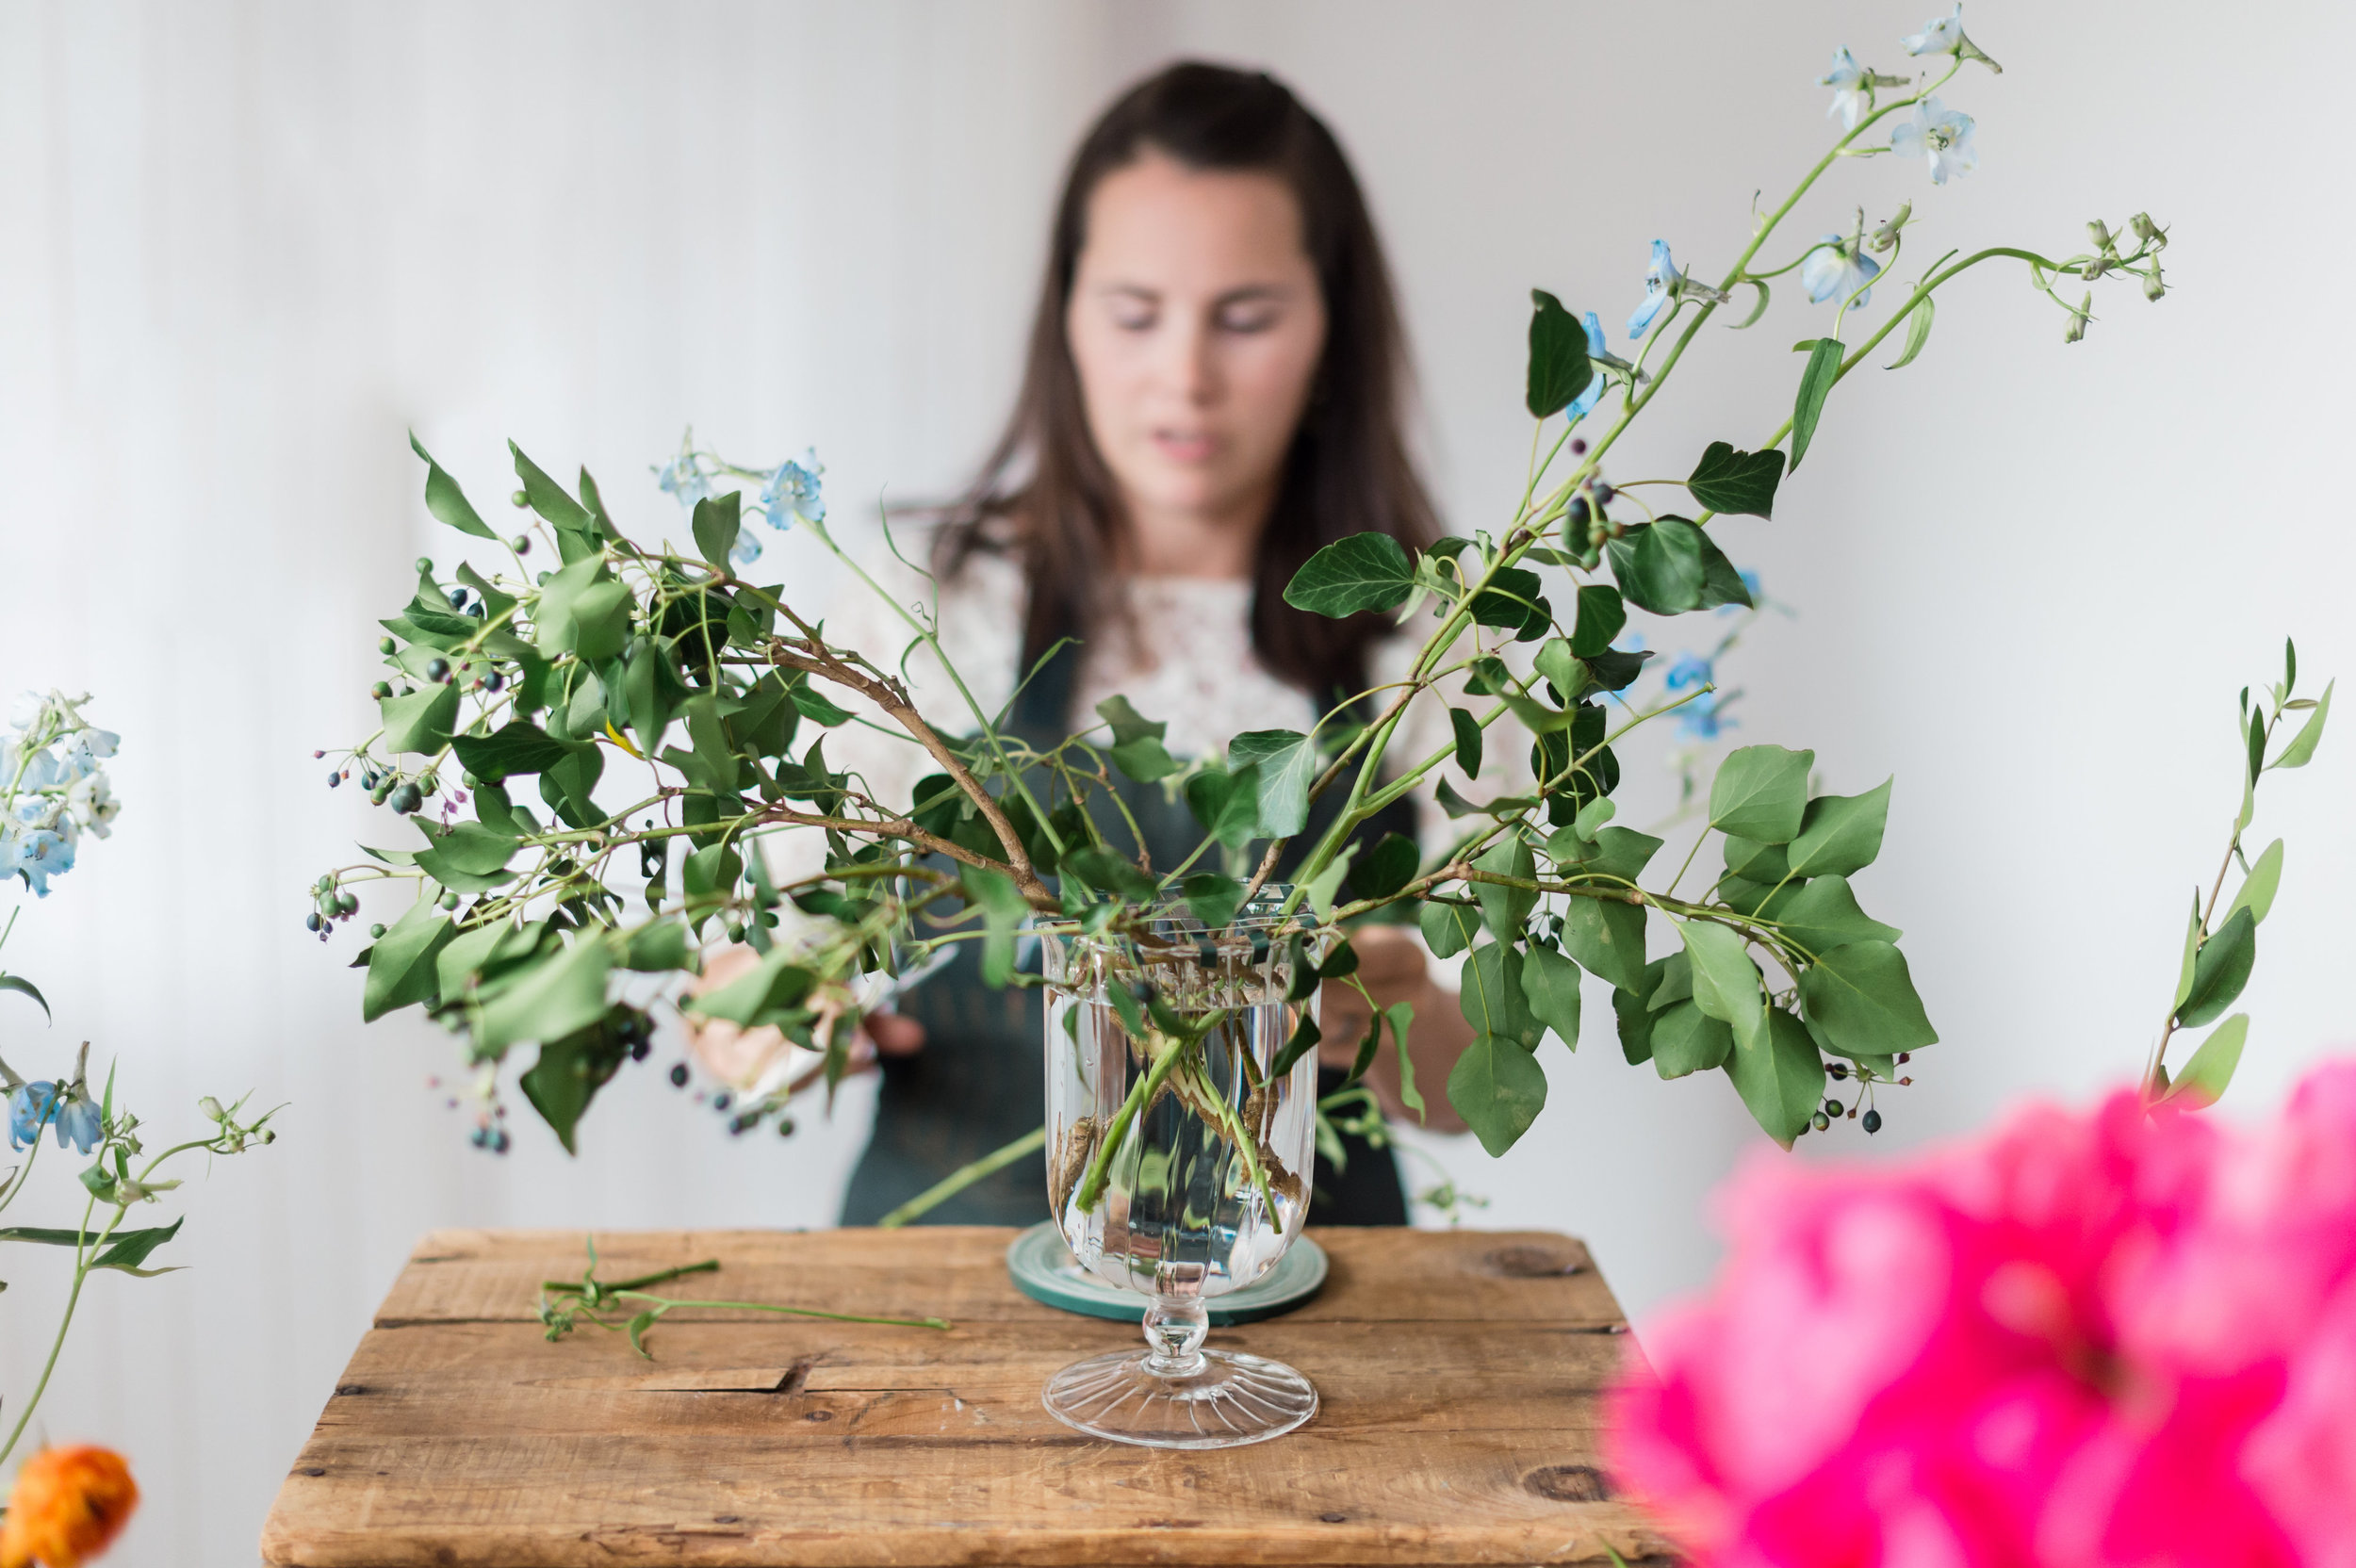
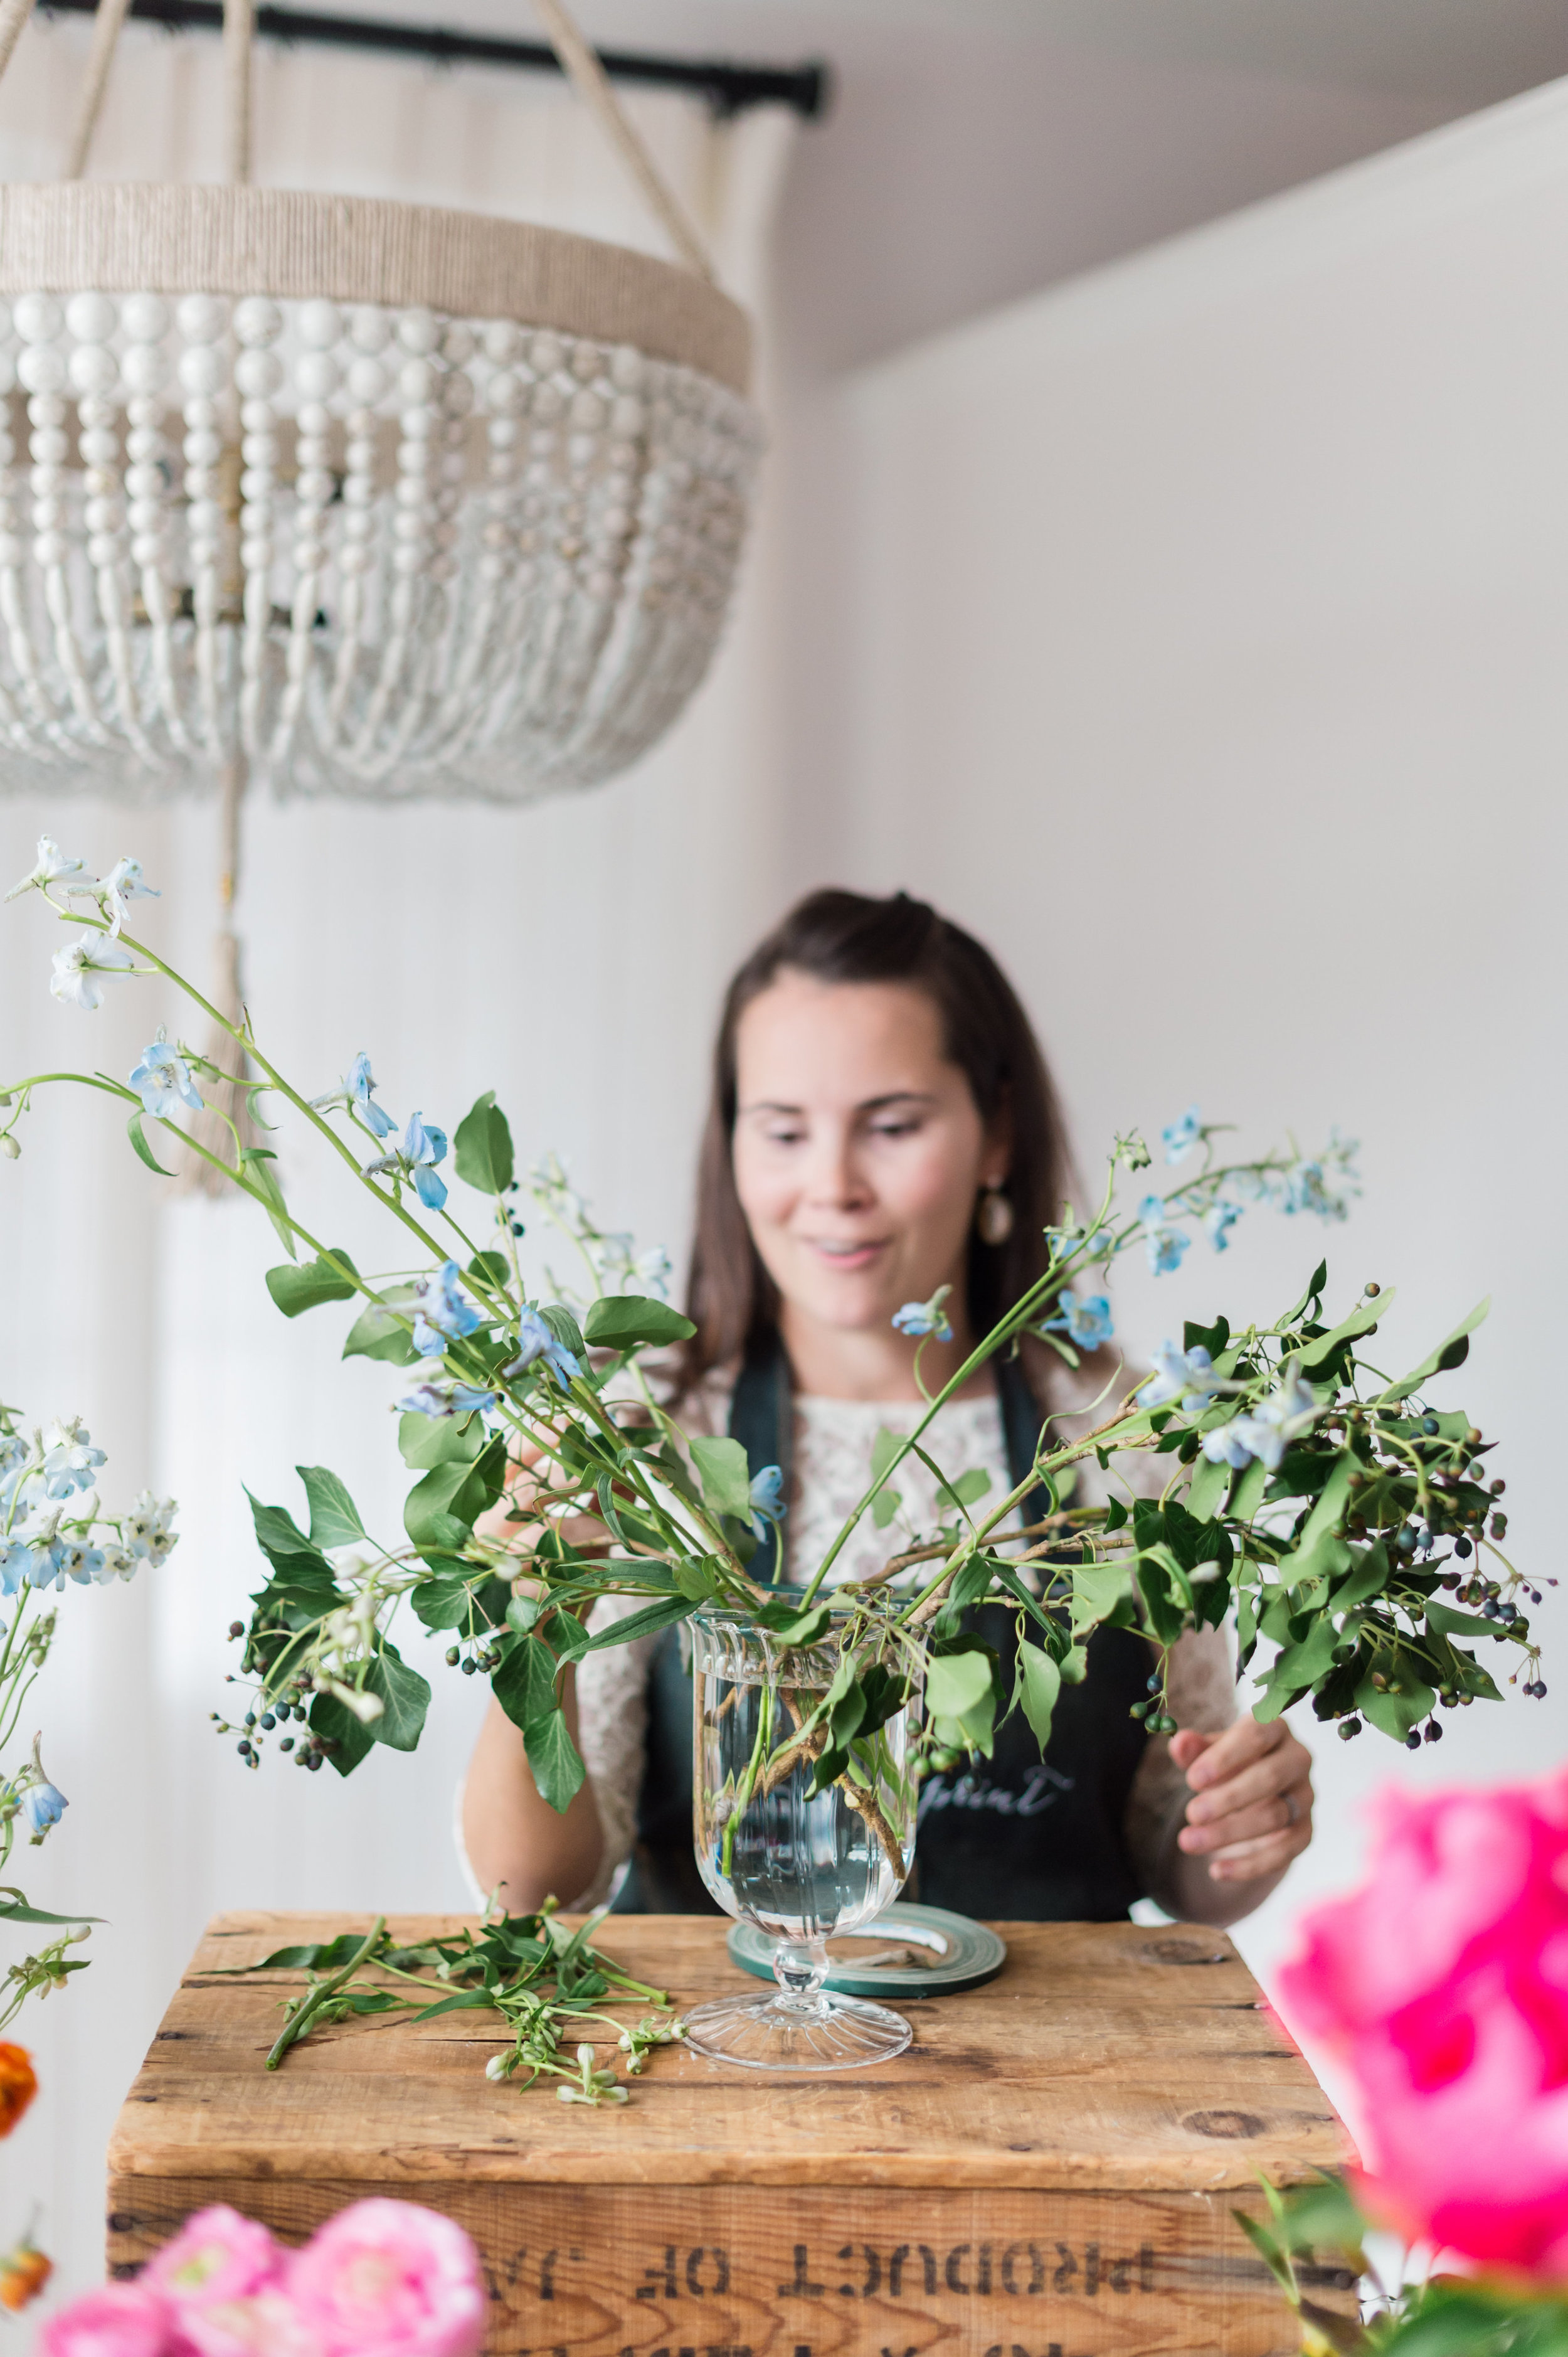
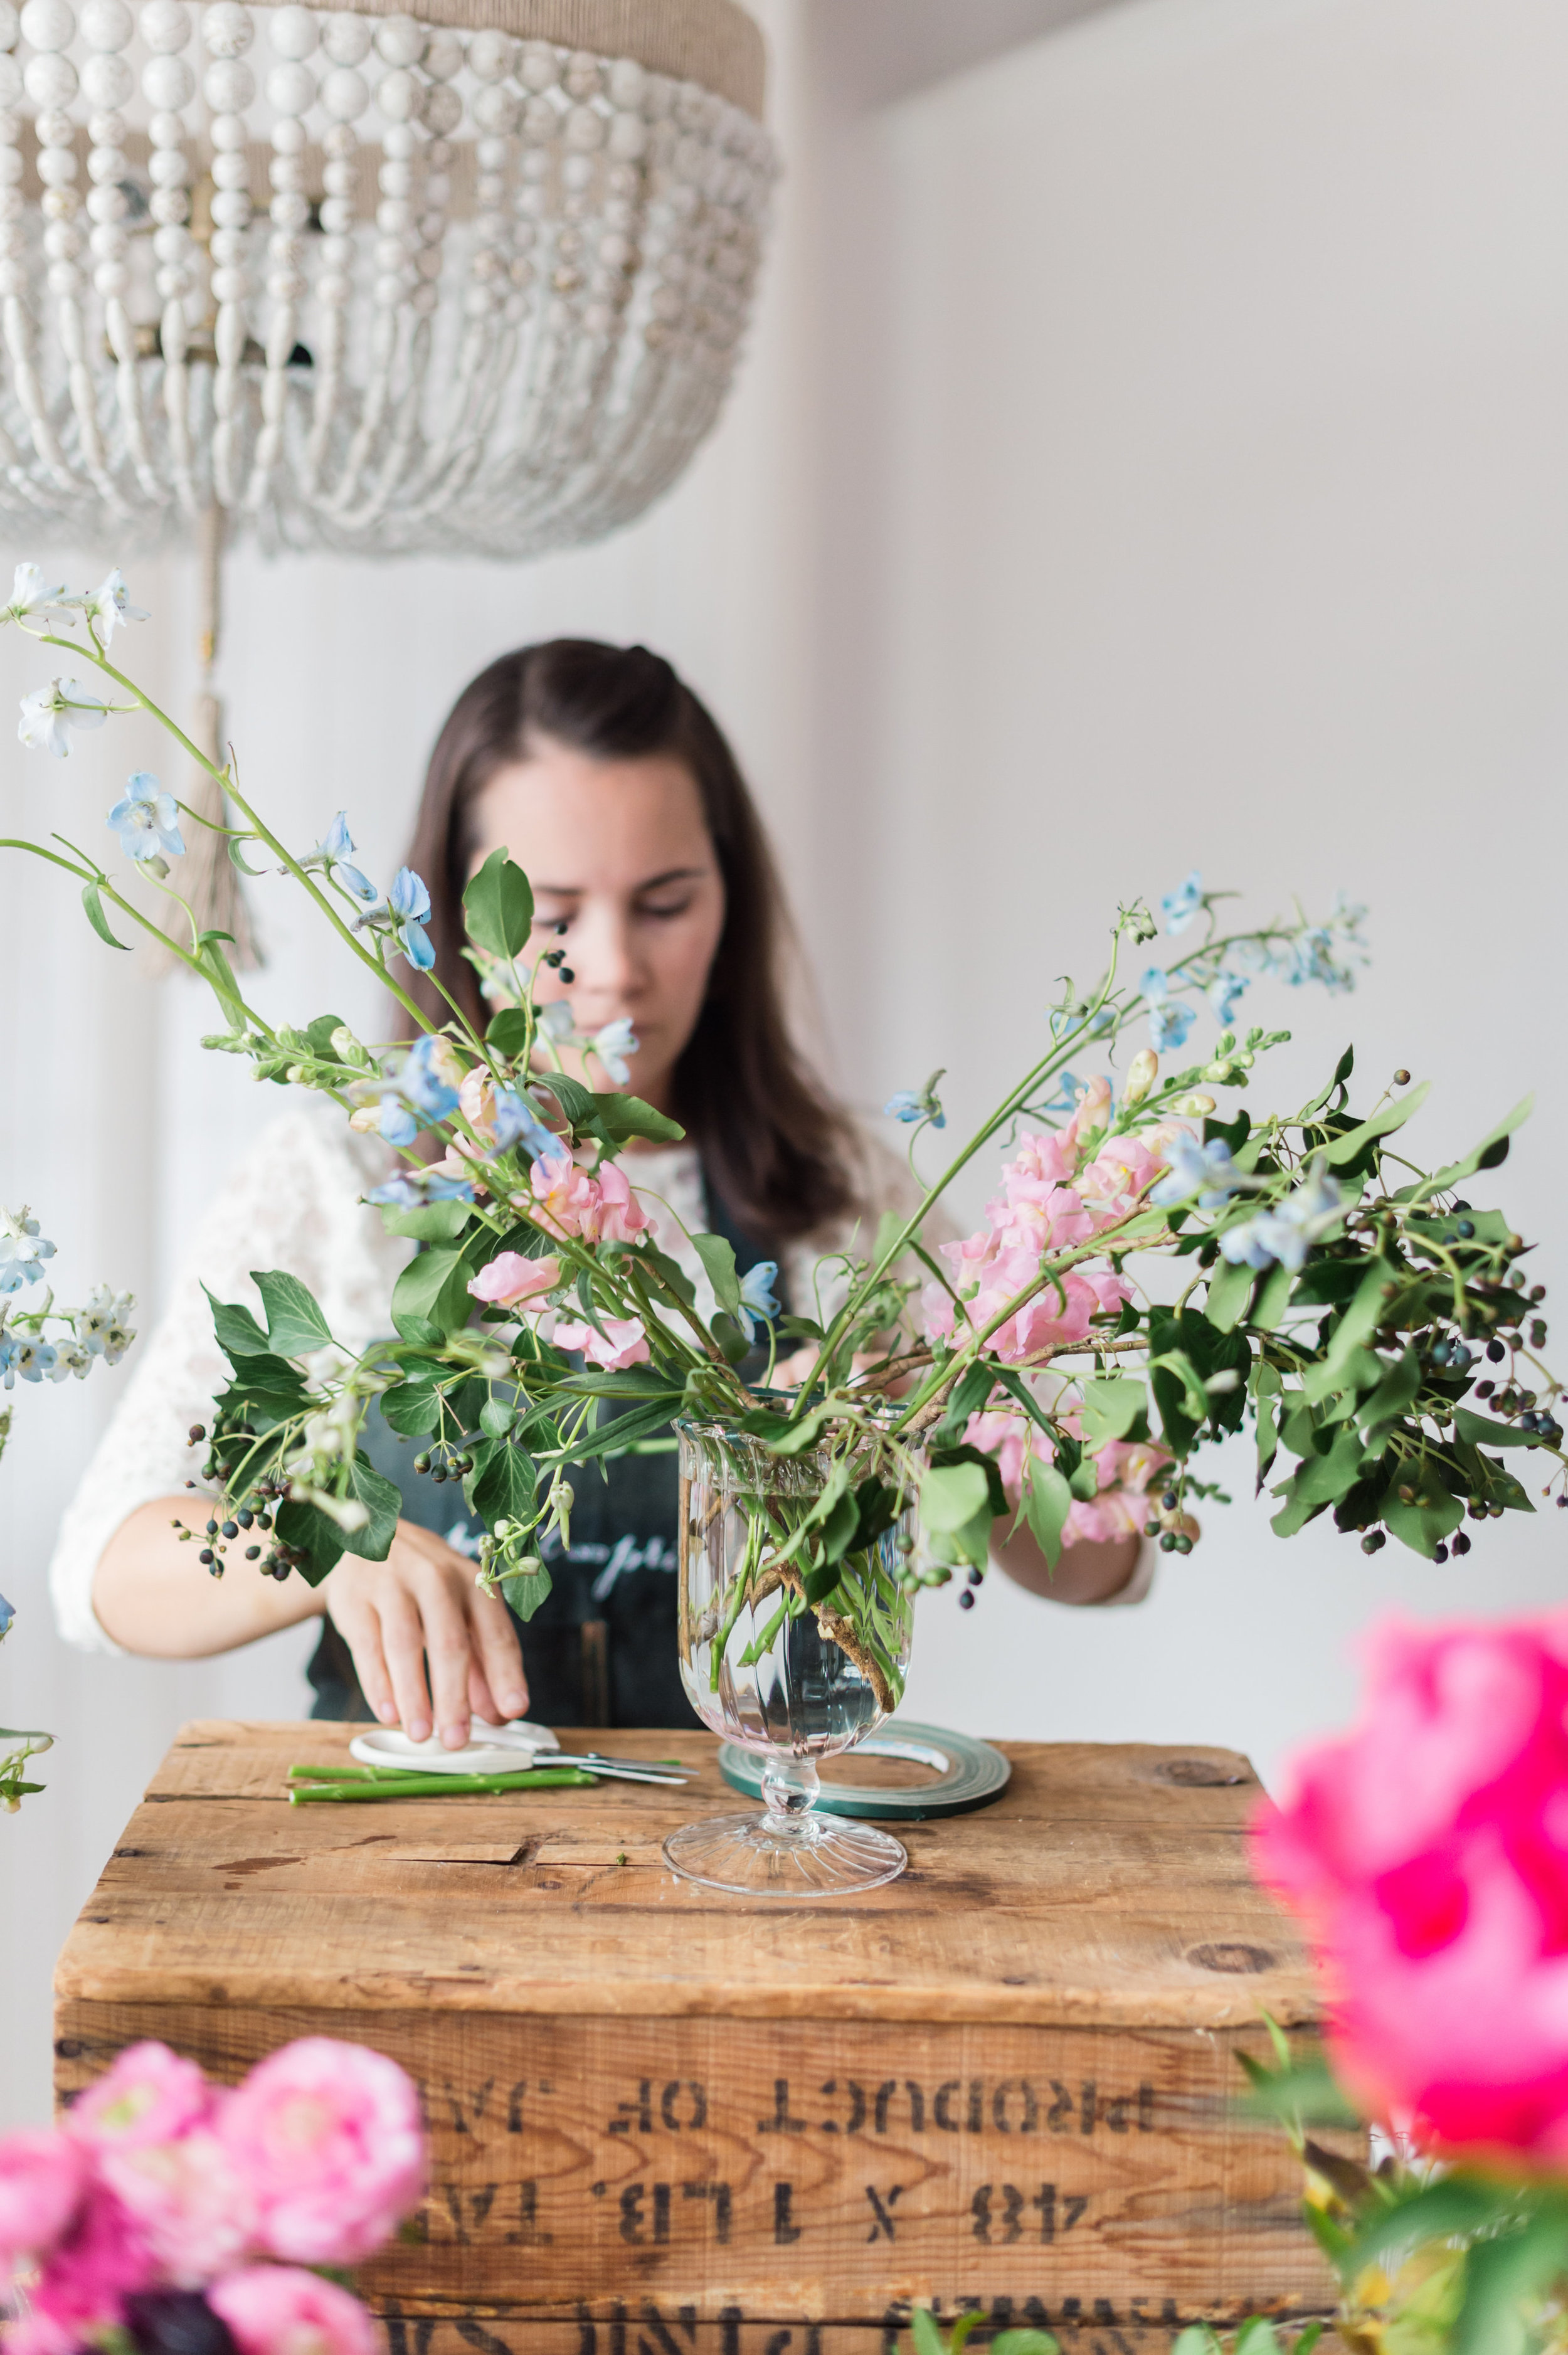
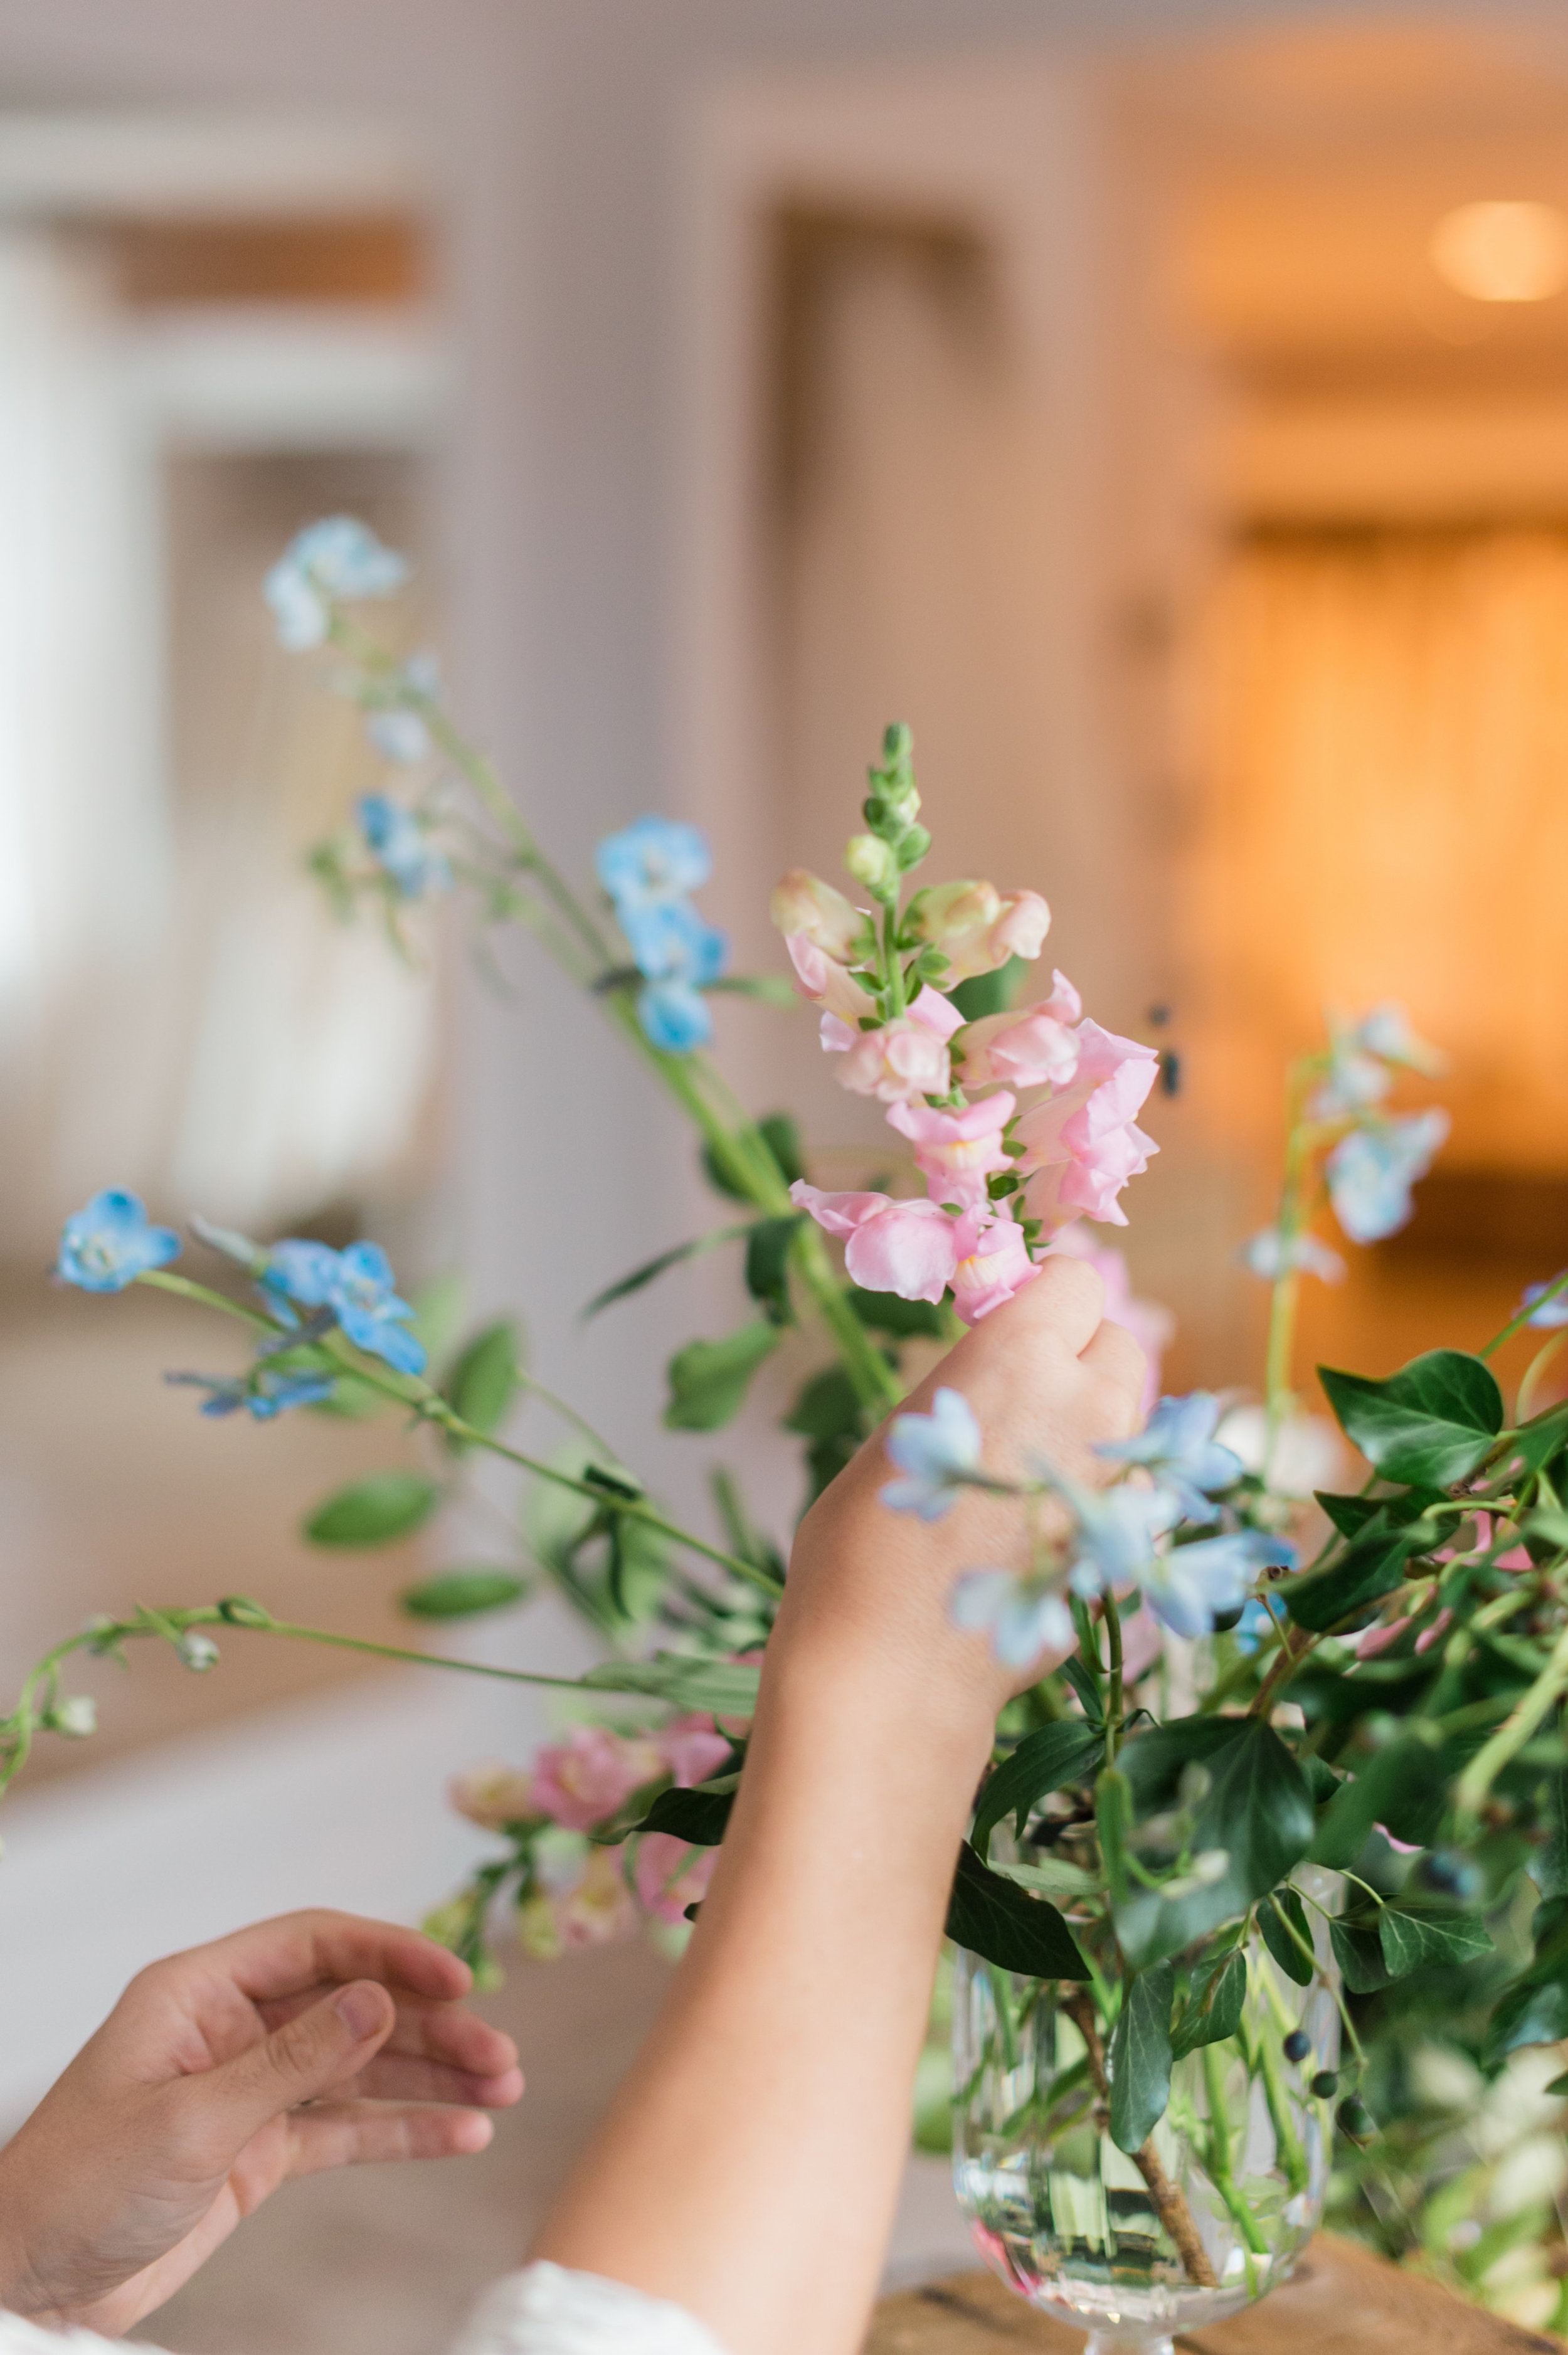
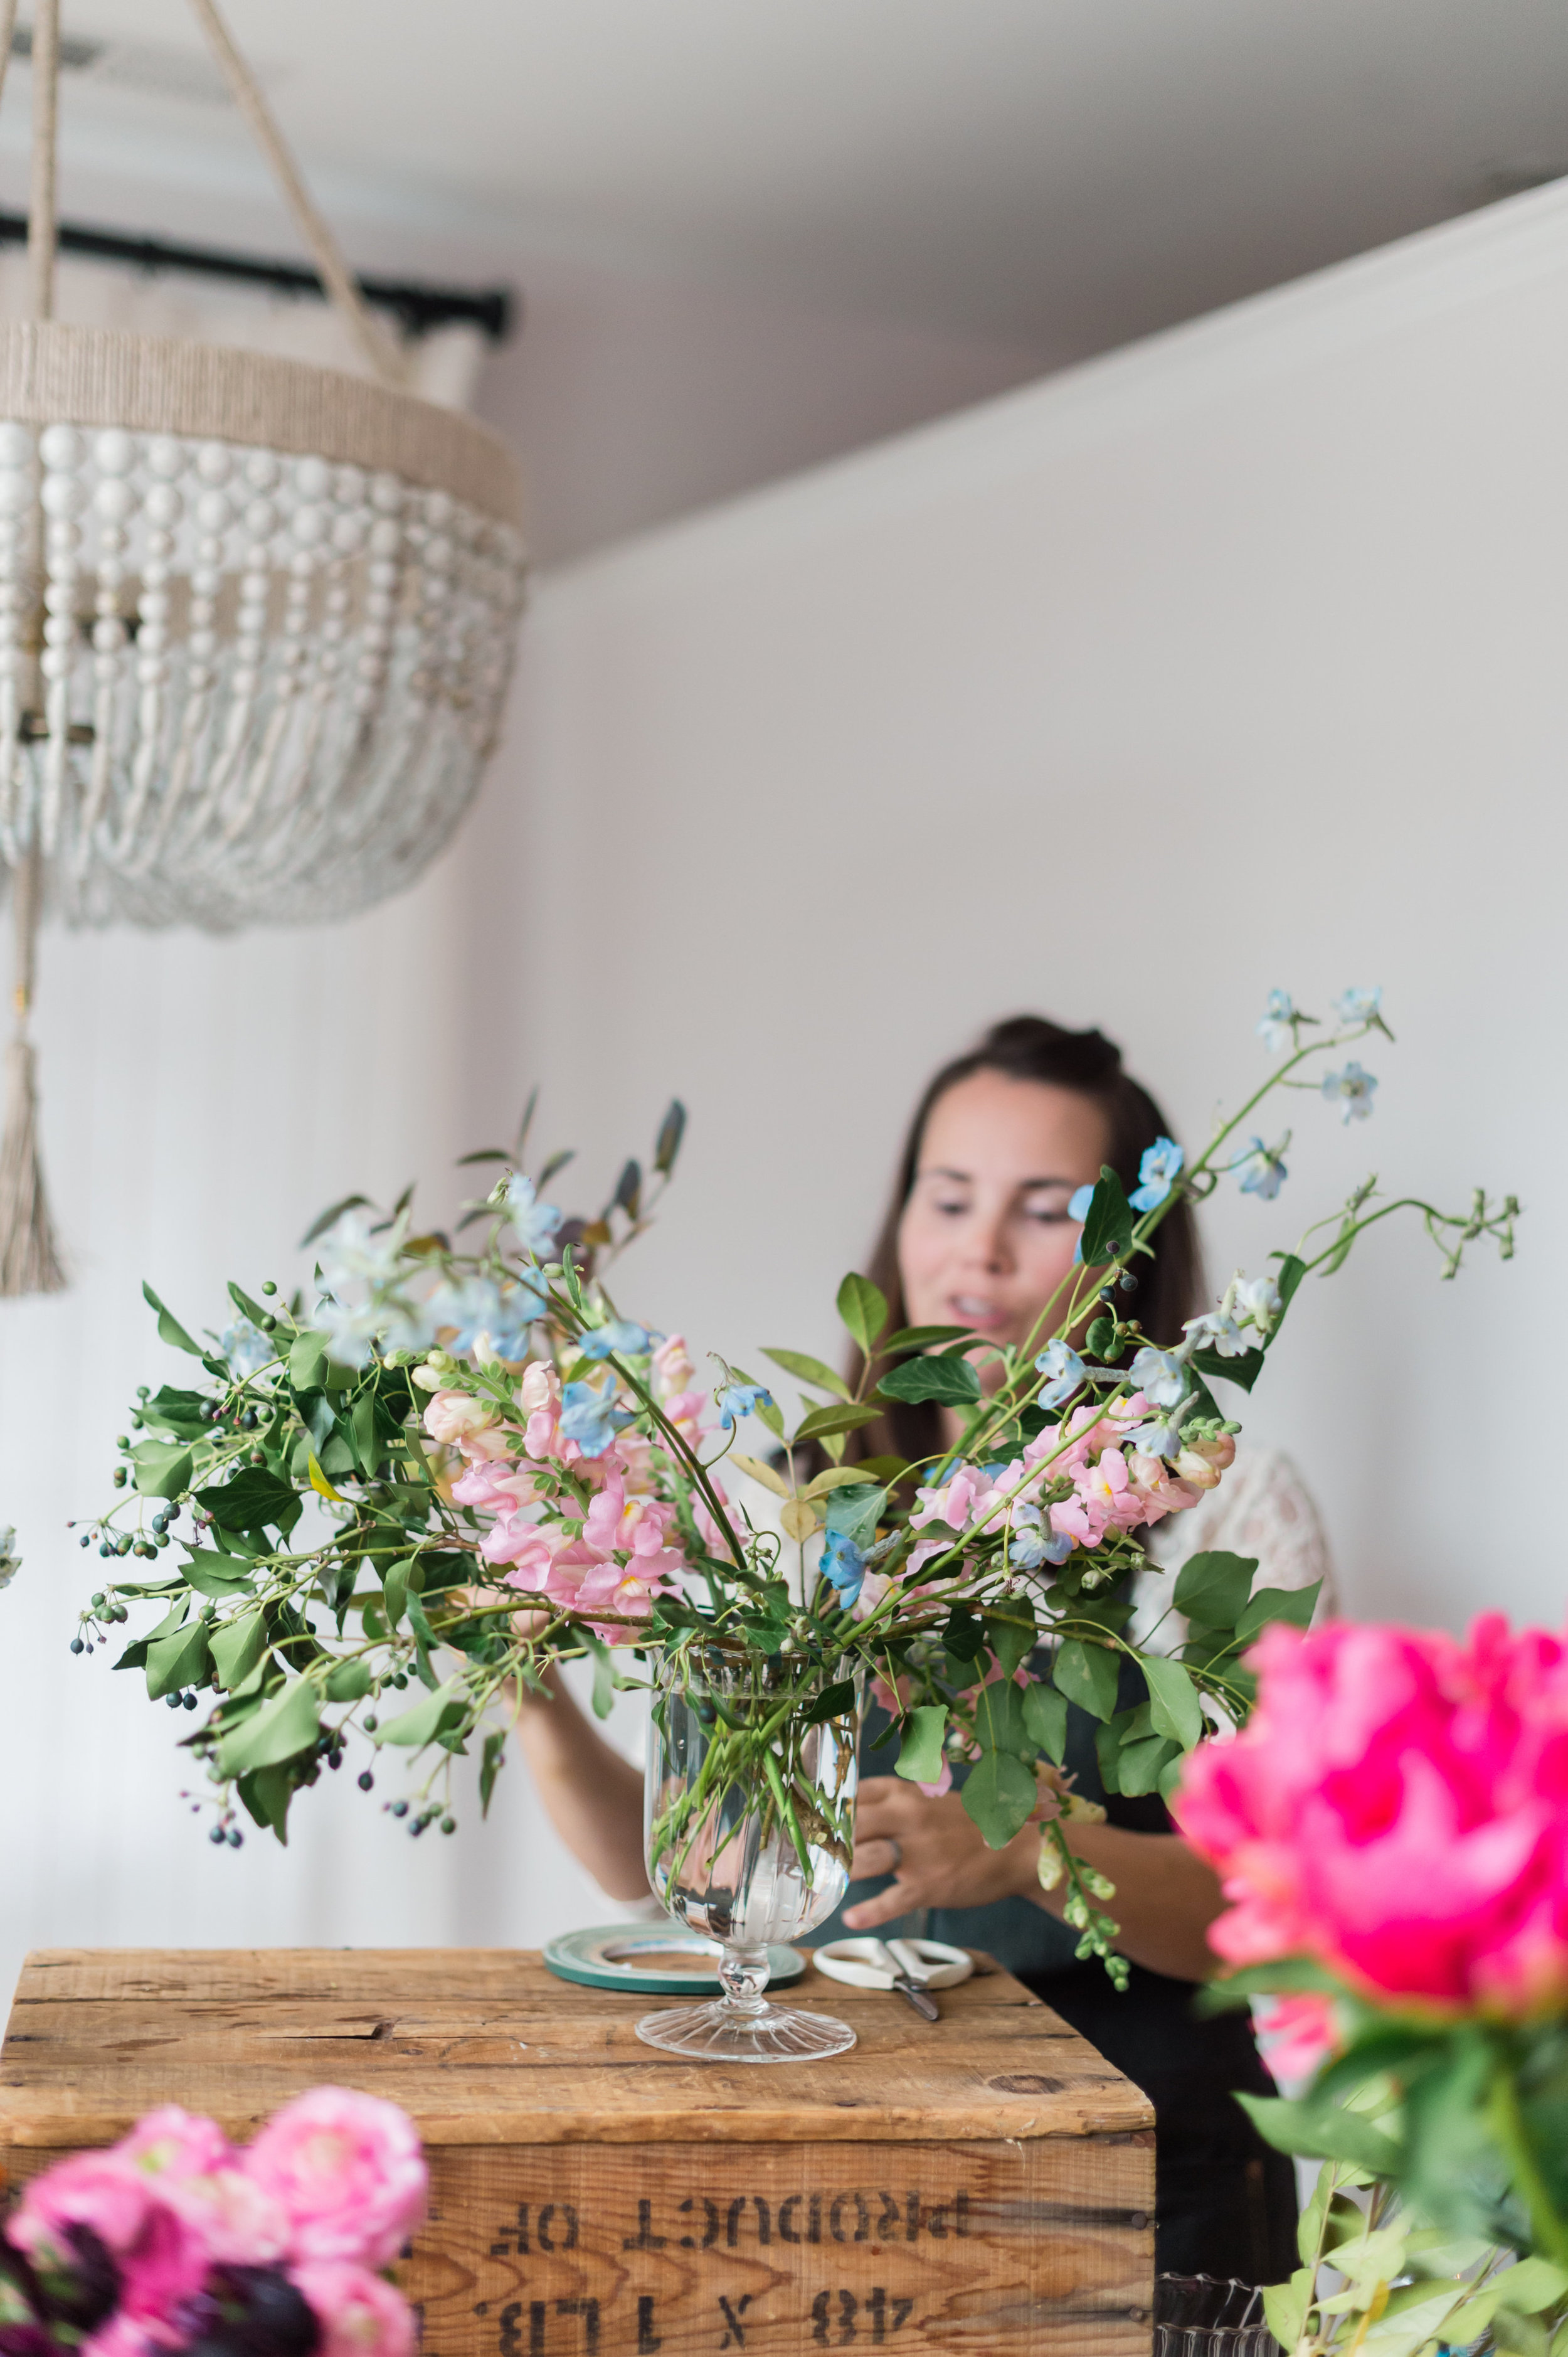
4. Work in a spiral fashion, starting from the outermost edges of the vase and working around. Begin by adding larger greens. Then add a few stems of taller flowers like the delphinium and snaps. I use this first layer to establish the shape or basic structure of my piece.
5. Continue layering in flowers and greens in a spiral fashion making sure to give extra space to some of the larger showy blooms like those coral charm peonies.
6. Once the greens and larger blooms are arranged, tuck in some smaller buds and greens throughout the arrangement that would otherwise get lost if placed in earlier.
I hope you’ll feel inspired and empowered to make your own lovely arrangements!

Photography by Lauren R. Swann :: Florals by Petal and Print Location Garnish Boutique